
Acoustic Bass Preamp Replacement

Introduzione
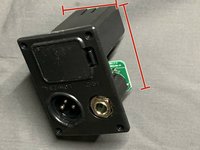
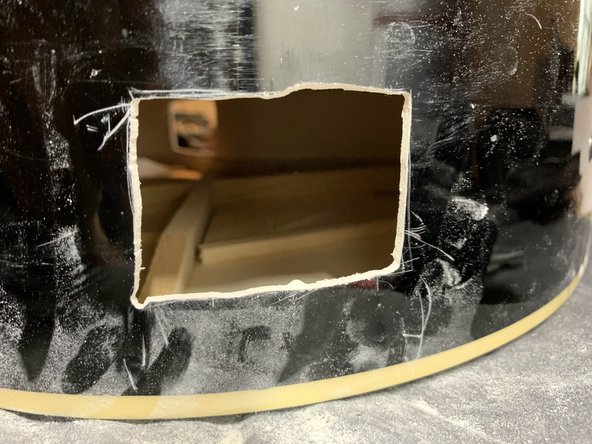
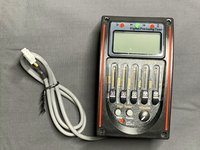
Vai al passo 1This guide will help you replace the preamp for your acoustic bass. This guide can also be applied to other guitars because of the similar process.
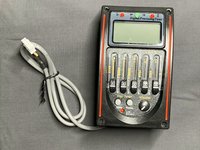
For this process, make sure to purchase a preamp kit that will fit your bass or guitar.
Cosa ti serve
Ricambi

Strumenti


Mostra di più…


Congratulations! You have just retrofitted a new amp into your bass.
Had trouble with one of the steps? Leave a comment letting us know how we can help!
Congratulations! You have just retrofitted a new amp into your bass.
Had trouble with one of the steps? Leave a comment letting us know how we can help!

Team

CSU Los Angeles, Team 77-86, Briggs Spring 2023 Membro di CSU Los Angeles, Team 77-86, Briggs Spring 2023
CSULA-BRIGGS-S23S77G86
1 Membro
1 Guida realizzata