Salta al contenuto principale
Acer Chromebook C720-2420 Memory Replacement

Acer Chromebook C720-2420 Memory Replacement

Jessica Beckford

Jessica Beckford e 3 altri collaboratori

Ultimo aggiornamento il October 24, 2019

7 minuti
Facile

Introduzione

Vai al passo 1

This guide will provide you with the most practical way to remove the memory card off your C720-2420 Chromebook with a couple of steps.

Cosa ti serve

Ricambi

Strumenti

Mostra di più…

iFixit guadagna commissioni quando acquisti tramite questi link.
  1. Acer Chromebook C720-2420 Memory Replacement, Back Cover Replacement: passo 1, immagine 1 di 2 Acer Chromebook C720-2420 Memory Replacement, Back Cover Replacement: passo 1, immagine 2 di 2
    • Place your Chromebook upside down.

    • Utilizing the precision magnetized Phillips #0 screwdriver, remove all thirteen 6.5 mm Phillips screws that secure the back cover.

    • Before doing anything, make sure your Acer Chromebook is completely turned off.

  2. Acer Chromebook C720-2420 Memory Replacement: passo 2, immagine 1 di 1
    • Use the plastic opening tool to carefully remove the bottom.

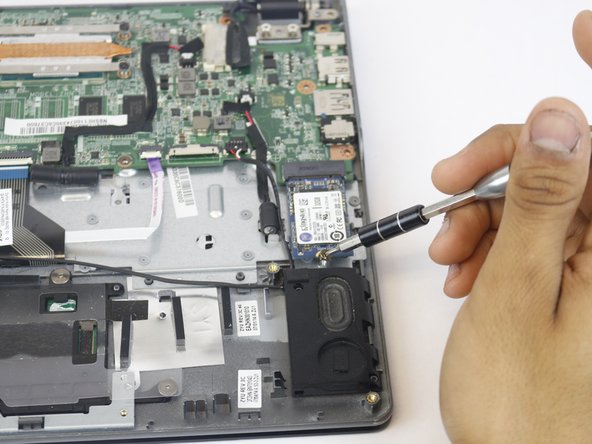
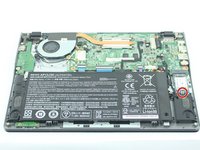
  3. Acer Chromebook C720-2420 Memory Replacement, Memory: passo 3, immagine 1 di 2 Acer Chromebook C720-2420 Memory Replacement, Memory: passo 3, immagine 2 di 2
    • Remove the 3.6 mm Phillips screw that secures the SSD in place.

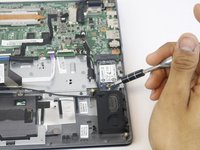
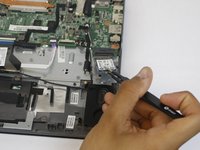
  4. Acer Chromebook C720-2420 Memory Replacement: passo 4, immagine 1 di 2 Acer Chromebook C720-2420 Memory Replacement: passo 4, immagine 2 di 2
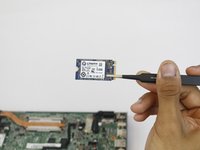
    • Pull out the SSD.

Conclusione

To reassemble your device, follow these instructions in reverse order.

Altre 2 persone hanno completato questa guida.

Team

USF Tampa, Team S15-G4, Boczar Spring 2018 Membro di USF Tampa, Team S15-G4, Boczar Spring 2018

USFT-BOCZAR-S18S15G4

4 Membri

12 Guide realizzate

0 Commenti

Aggiungi Commento

Visualizza Statistiche:

Ultime 24 Ore: 0

Ultimi 7 Giorni: 2

Ultimi 30 Giorni: 7

Tutti i Tempi: 472