Salta al contenuto principale

Acer Aspire V5-131-2629 Wireless Adapter Replacement

Cosa ti serve

  1. Acer Aspire V5-131-2629 Wireless Adapter Replacement, Battery: passo 1, immagine 1 di 1
    • Carefully turn your Acer Aspire V5-131-2629 upside down, so that the battery cell is visible and nearest to you.

  2. Acer Aspire V5-131-2629 Wireless Adapter Replacement: passo 2, immagine 1 di 1
    • Identify the small, oval slide switch on the left hand side of the laptop, directly above the battery.

  3. Acer Aspire V5-131-2629 Wireless Adapter Replacement: passo 3, immagine 1 di 1
    • Insert an opening tool into the hole on the right side of the oval switch. Use the opening tool to slide the switch to the right.

  4. Acer Aspire V5-131-2629 Wireless Adapter Replacement: passo 4, immagine 1 di 2 Acer Aspire V5-131-2629 Wireless Adapter Replacement: passo 4, immagine 2 di 2
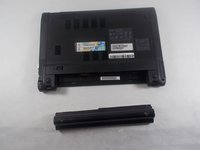
    • With the switch engaged to the right, firmly pull the battery out and towards yourself, parallel to your work surface.

  5. Acer Aspire V5-131-2629 Wireless Adapter Replacement, Cover: passo 5, immagine 1 di 1
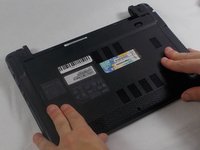
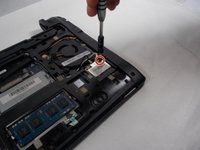
    • Remove the single Phillips #0 screw from the cover on the underside of the laptop.

  6. Acer Aspire V5-131-2629 Wireless Adapter Replacement: passo 6, immagine 1 di 2 Acer Aspire V5-131-2629 Wireless Adapter Replacement: passo 6, immagine 2 di 2
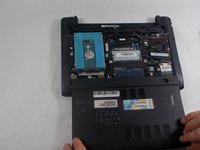
    • Remove the cover by sliding it outwards and remove it from the device.

  7. Acer Aspire V5-131-2629 Wireless Adapter Replacement, Wireless Adapter: passo 7, immagine 1 di 1
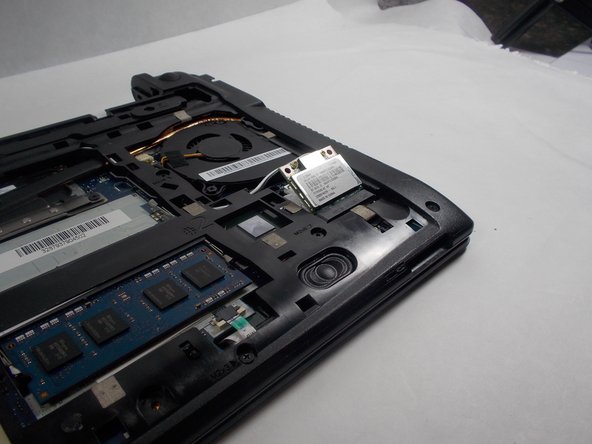
    • Remove the black and white cables that are attached to the Wi-Fi card.

  8. Acer Aspire V5-131-2629 Wireless Adapter Replacement: passo 8, immagine 1 di 2 Acer Aspire V5-131-2629 Wireless Adapter Replacement: passo 8, immagine 2 di 2
    • Remove the single Phillips screw securing the Wi-Fi card.

    • The wireless adapter will pop out at a 45 degree angle.

  9. Acer Aspire V5-131-2629 Wireless Adapter Replacement: passo 9, immagine 1 di 1
    • Pull on the wireless adapter to remove it and replace it.

Conclusione

To reassemble your device, follow these instructions in reverse order.

Team

0 Commenti

Aggiungi Commento

Visualizza Statistiche:

Ultime 24 Ore: 0

Ultimi 7 Giorni: 2

Ultimi 30 Giorni: 19

Tutti i Tempi: 689