ASUS VG248 Disassembly
Introduzione
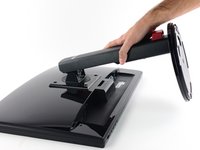
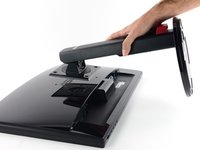
Vai al passo 1Need to access the internals of your ASUS VG248? Here's a guide that shows how to remove the frame and open the display.
Cosa ti serve
-
-
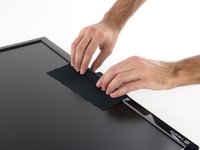
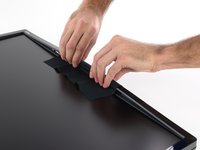
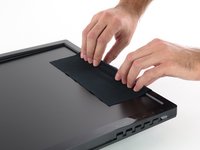
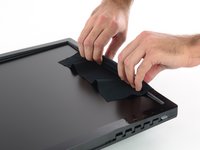
Four rubbery covers hide four screws in the rear of the monitor.
-
Pry out the plastic covers with a stiff pointed tool, like a metal spudger.
-
-
-
Attrezzo utilizzato in questo passaggio:Jimmy$7.95
-
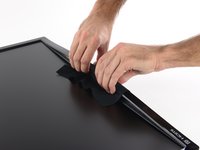
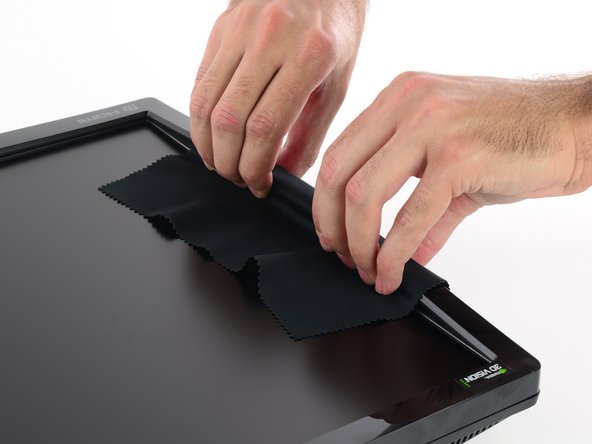
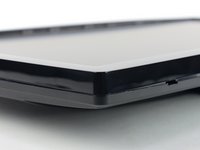
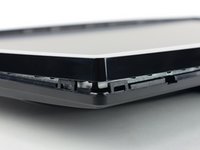
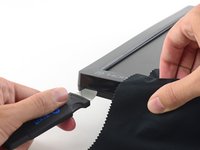
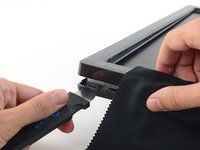
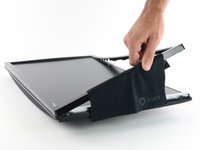
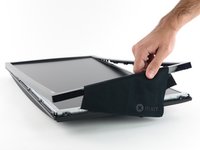
Using a thin stiff prying device, like a Jimmy, press in against the bottom clip in the lower left corner (beneath the HDMI logo).
-
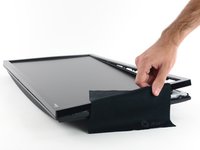
While pressing the clip in, pull up on the lower edge of the bezel. The entire corner should pop free.
-
To reassemble your device, follow these instructions in reverse order.
To reassemble your device, follow these instructions in reverse order.
Annulla: non ho completato questa guida.
Altre 22 persone hanno completato questa guida.
10 Commenti
Hi there, I have a little thunderbug trapped in the LCD is it possible to take the metal casing at the front of to reomve said bug? Thanks
You could yes, but be very careful NOT to introduce dust into the panel!
Hi. A really small bug got stuck within my screen and I accidentally squished it so now it’s dead in there and I want to clean it. How would I remove the top layer of the screen? Because from what I can see it seems like it got squished between the glass and the actual LCD screen itself.
Guide to disassemble vg259qm
What power adapter and power cord is for gaming monitor Asus vg245qg? It was losted during moving.
https://www.youtube.com/watch?v=vV_Lbh2B...
Thanks, just watch this video.
I have the same issue as TJ Grainger. I have a very tiny spider, about 1 CM big spider (I can see by how it moves and it's legs projected from a white background) behind my screen. This is going to be annoying...
Hi, My problem is that I received an old model Asus that was unfortunately stored in a damp place, so there was mold behind the plastic surface -ugly blotches on the screen, but otherwise the monitor is working fine. I would like to clean this. I disassembled as far as the aluminum casing section you show in Step 13. It seems very solidly put together. Has anyone tried further disassembly?, or got any tips on doing this?
hey ya, i tried it, and i couldnt get the &&^&^$^ clips off even tho i was doing it right and lifiing with every ounce of my strength, wouldnt &&^&^$^ budge, and now my monitors ruined due to ur piece of $@$* guide and monitor


