Introduzione
One of the most vital components to any electronic device is of course, the battery. (After all, it wouldn’t run at all without this) which is why it’s important to be able to know what to do when it gets damaged or straight up broken. The following guide will teach you in simple steps what you need to do when you are replacing the battery of your ASUS Q405U. (Proceed with caution using these tools around battery because they could accidentally puncture the battery)
Cosa ti serve
-
-
-
Using the Phillips #1 screwdriver, remove eleven (11) 1.5 mm screws from the back cover.
 Chiedi a FixBot
-
-
-
Pull the back cover off of your laptop. Use a spudger to help pry it off of the device.
-
-
-
-
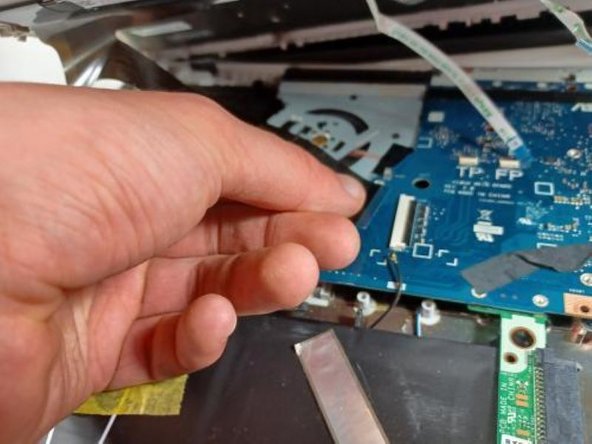
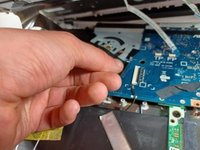
Disconnect the 4 wires attached from the keyboard side of laptop to the screen side of laptop by pulling them out of their sockets on one end (as shown in picture).
-
-
-
OPTIONAL: Additional pictures to demonstrate moving keyboard out of the way without detaching connections.
-
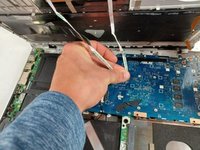
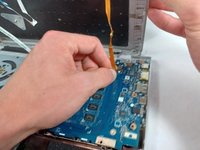
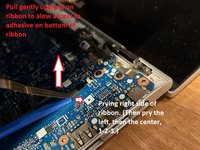
Lift the ribbon cable with gentle pressure, pry the ribbon away from the motherboard on the right side, then the left, then the center, prying away only a little triangle of tape at a time, applying gentle upward pressure to the tape while you loosen and pry.
-
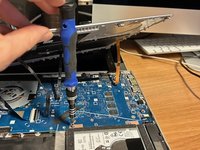
Once you have enough slack in the three ribbons that hold the keyboard down too tightly, lift the front of the keyboard and twist counterclockwise to produce enough room to reach the screws securing the hard drive with your screwdriver.
-
-
-
-
-
Using the Phillips #1 screwdriver, remove the four 1.5 mm screws securing the battery to the device.
-
-
-
Once all screws are removed, lift the battery out from the base of the computer.
-
-


To reassemble your device, follow these instructions in reverse order.
For optimal performance, after completing this guide, calibrate your newly installed battery.
Take your e-waste to an R2 or e-Stewards certified recycler.
Annulla: non ho completato questa guida.
Altre 2 persone hanno completato questa guida.
Team

UMass Dartmouth, Team 2-8, Sinclaire Fall 2021 Membro di UMass Dartmouth, Team 2-8, Sinclaire Fall 2021
UMASSD-SINCLAIRE-F21S2G8
4 Membri
5 guide realizzate
1Commento della guida
I had to remove two other screws from right side where the hard drive is and an extra screw from Step 4 picture. Also I had to remove the wifi card (or the antennas)