
Shark Ultimate Professional Heat Plate Replacement
Introduction
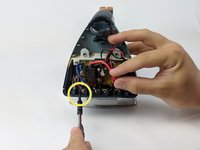
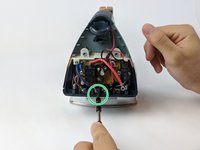
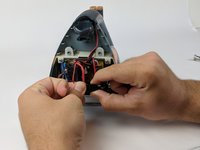
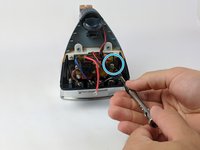
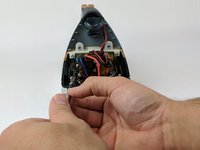
Go to step 1This guide will show you how to replace the heat plate of your Shark Ultimate Professional clothes iron. If your heat plate is damaged or worn out, it may affect the iron's performance and cause problems with your clothes. Some signs of a faulty heat plate are as follows.
-Uneven heating or cold spots
-low steam output or lack of steam
-stains on clothes
-corrosion on heat plate
If any of these signs are occuring, you may need to replace the heat plate with a new one. To do this you will simply need a phillips screwdriver and a new heat plate. Now before starting make sure that the iron is unpluged and cooled down . By following this guide you will be able to fix your Shark Ultimate Professional Clothes Iron.
What you need


To reassemble your device, follow these instructions in reverse order.
To reassemble your device, follow these instructions in reverse order.
Cancel: I did not complete this guide.
3 other people completed this guide.
Gear Up For Future Repairs
Shop all


3 Guide Comments
This is an incomplete guide. Why even put it up. So silly and ridiculous. Not Good at all.
incomplete guide
Where is the part about the heat plate?