Join the Repair Community - Create Account
Logitech Harmony Smart Control Reset Button Replacement

Logitech Harmony Smart Control Reset Button Replacement

Zachary Robinson

Zachary Robinson and 5 other contributors

Last updated on Jun 18, 2016

10 - 20 minutes
Difficult
Better Introduction

Introduction

Go to step 1

This guide requires soldering, for soldering guide click below.

Soldering Guide

What you need

Parts

Tools

Show more…

  1. Logitech Harmony Smart Control Reset Button Replacement, Reset Button: step 1, image 1 of 2 Logitech Harmony Smart Control Reset Button Replacement, Reset Button: step 1, image 2 of 2
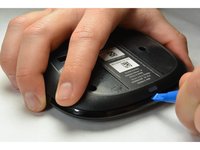
    • Using a plastic opening tool, lift up the rubber pad.

    • From the bottom of the device, with your fingers, pull back the rubber pad. This will expose the screw holes.

    • On the bottom of the hub, repeat the step above for the second rubber pad.

  2. Logitech Harmony Smart Control Reset Button Replacement: step 2, image 1 of 2 Logitech Harmony Smart Control Reset Button Replacement: step 2, image 2 of 2
    • With the PH00 bit, remove the four 6mm Phillips screws.

  3. Logitech Harmony Smart Control Reset Button Replacement: step 3, image 1 of 2 Logitech Harmony Smart Control Reset Button Replacement: step 3, image 2 of 2
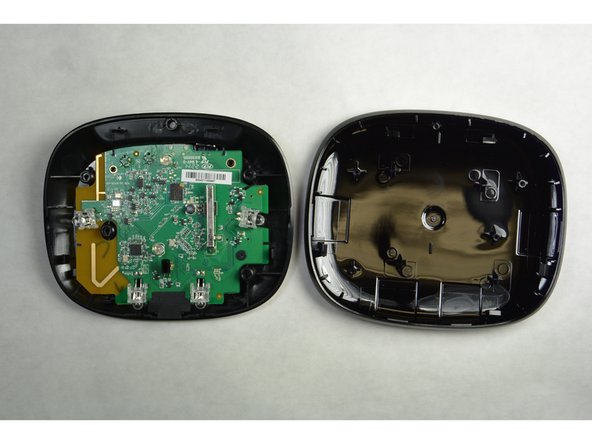
    • With the plastic opening tool, separate the pieces of plastic from each other

  4. Logitech Harmony Smart Control Reset Button Replacement: step 4, image 1 of 2 Logitech Harmony Smart Control Reset Button Replacement: step 4, image 2 of 2
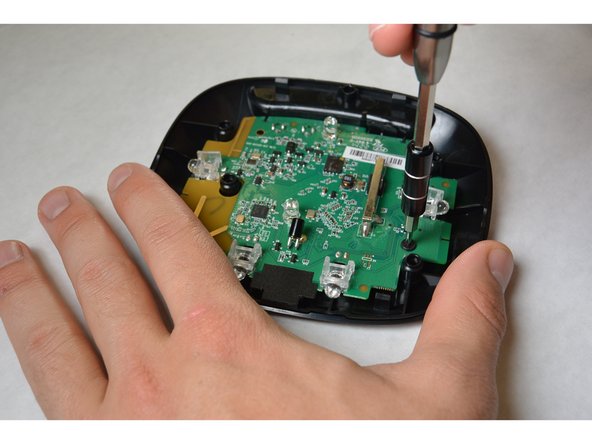
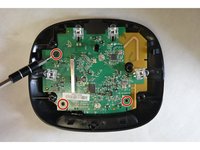
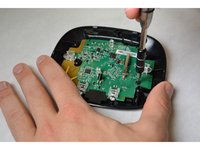
    • With the PH00 bit, remove the three 4mm Phillips screws.

  5. Logitech Harmony Smart Control Reset Button Replacement: step 5, image 1 of 3 Logitech Harmony Smart Control Reset Button Replacement: step 5, image 2 of 3 Logitech Harmony Smart Control Reset Button Replacement: step 5, image 3 of 3
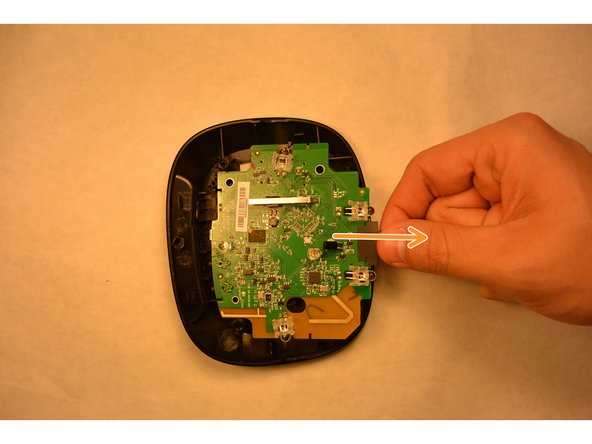
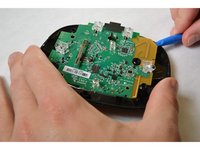
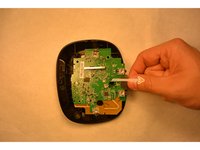
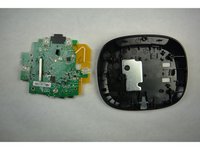
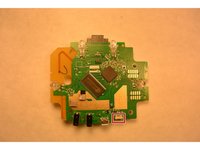
    • From the yellow corner, pry the circuit board from the housing..

  6. Logitech Harmony Smart Control Reset Button Replacement: step 6, image 1 of 3 Logitech Harmony Smart Control Reset Button Replacement: step 6, image 2 of 3 Logitech Harmony Smart Control Reset Button Replacement: step 6, image 3 of 3
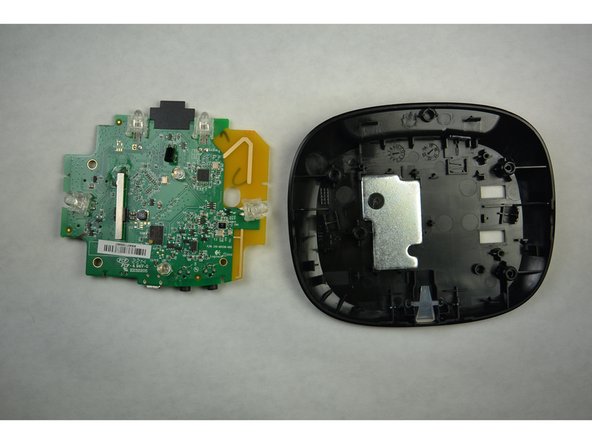
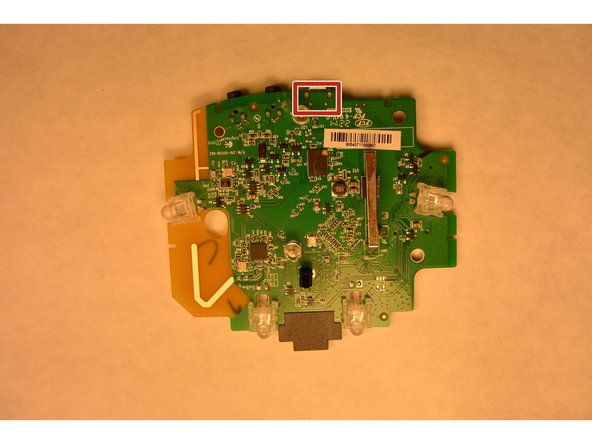
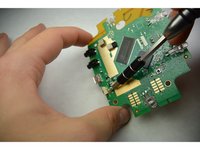
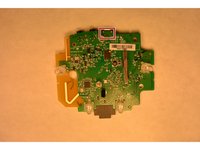
    • Locate the defective reset button.

    • Turn the board around to expose the reset solder.

    • Using soldering iron, remove solder and reset button. Replace reset button and solder.

Conclusion

To reassemble your device, follow these instructions in reverse order.

Gear Up For Future Repairs

Shop all

Zachary Robinson

Member since: 09/17/15

126 Reputation

1 Guide authored

Team

IUPUI, Team 3-2, Harley Fall 2015 Member of IUPUI, Team 3-2, Harley Fall 2015

IUPUI-HARLEY-F15S3G2

4 Members

5 Guides authored

0 Guide Comments

Add Comment

View Statistics:

Past 24 Hours: 0

Past 7 Days: 0

Past 30 Days: 5

All Time: 1,043