Introduzione
Smontaggio di una lampadina a LED standard
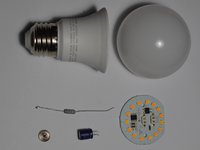
Cosa ti serve
-
-
-
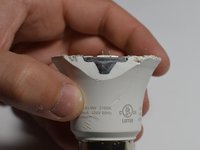
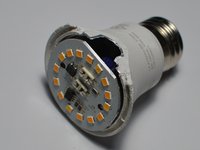
Taglia e fai leva con cura usando delle lamette tra il diffusore e il corpo della lampadina.
-
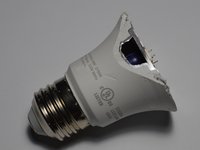
Il diffusore è sigillato al corpo della lampadina.
 Chiedi a FixBot
-
-
-
Limatura sul lato del bulbo.
-
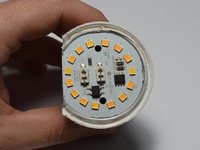
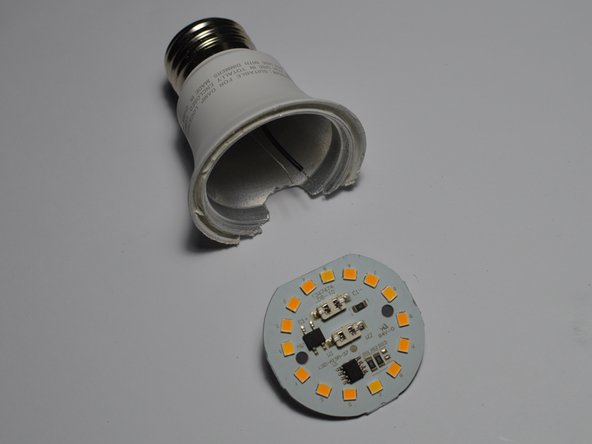
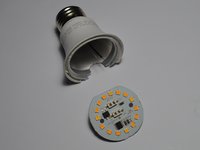
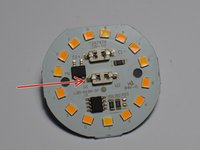
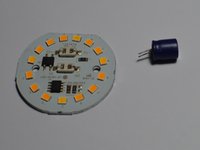
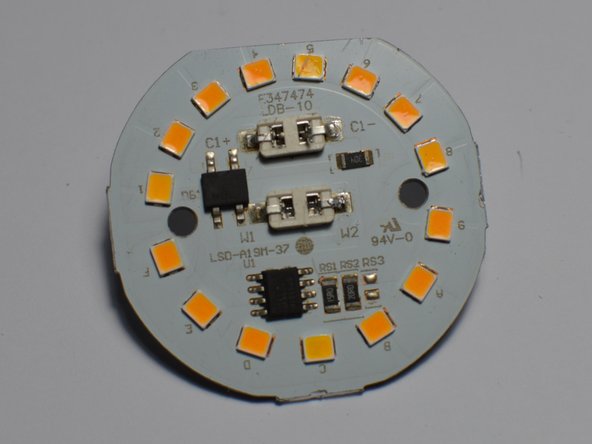
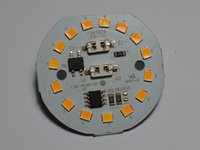
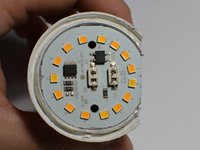
Lo strato superiore è un circuito stampato.
-
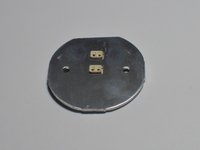
Il metallo a forma di V è un involucro spesso circa 1 mm.
-
-
-
-
Con lo spazio aperto, il circuito stampato può essere rimosso.
-
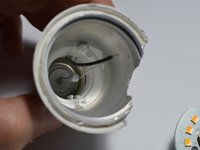
È collegato alla base della lampadina tramite cablaggio e resistore.
-
Sgancia le clip per liberare i fili.
-
-
-
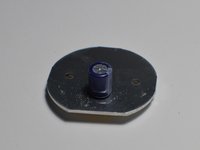
Il condensatore viene rimosso così come i cavi precedenti nel passaggio 4 sono stati rimossi.
-
Il condensatore è da 10 microFarad.
-
-
-
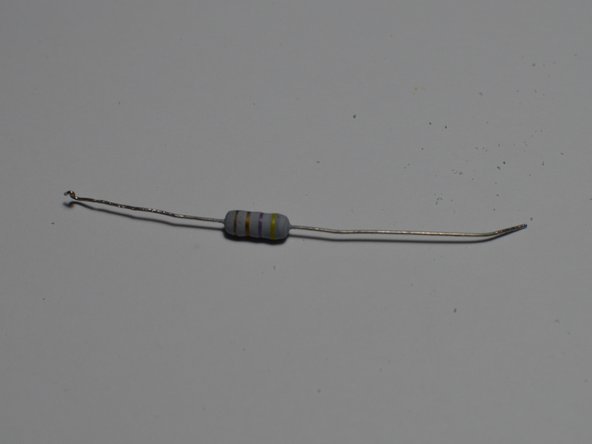
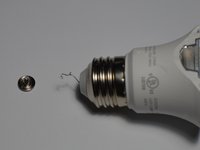
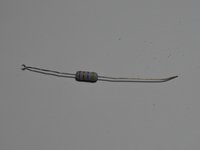
Resistenza rimossa facendo saltare il tappo inferiore.
-
La resistenza è da 4,7 ohm.
-
-











6Commenti sulla guida
I'm curious, if anyone has taken apart enough failed LED light bulbs to discover if there is a trend in what part fails first. This would be interesting if it is a component that can potentially be replaced. A buck or less to get more life out of a $10 bulb seems like a good trade off!
I've wondered the same thing myself. It seems likely that it would be a failing capacitor or possibly one of the LED's in a series circuit, where if one fails they all go off or flash as the failing LED works, heats up, fails, cools down, works again, and repeat) as often failed LED bulbs do.
Diode usually. you can take your meter and on both sides of each diode test each individually when it lights up u know that one is bad. pop bad led off with pick and take lead out of graphite pencil shaving on circuitry and/or. little drop of super glue to allow it to bond and test again light should be fixed.... easier done then explained lol.... god bless.
