Salta al contenuto principale
Unisciti alla Community delle riparazioni - Crea un account

HTC Vive Pro Headphones Replacement

Cosa ti serve

  1. HTC Vive Pro Headphones Replacement, Remove the head strap padding: passo 1, immagine 1 di 3 HTC Vive Pro Headphones Replacement, Remove the head strap padding: passo 1, immagine 2 di 3 HTC Vive Pro Headphones Replacement, Remove the head strap padding: passo 1, immagine 3 di 3
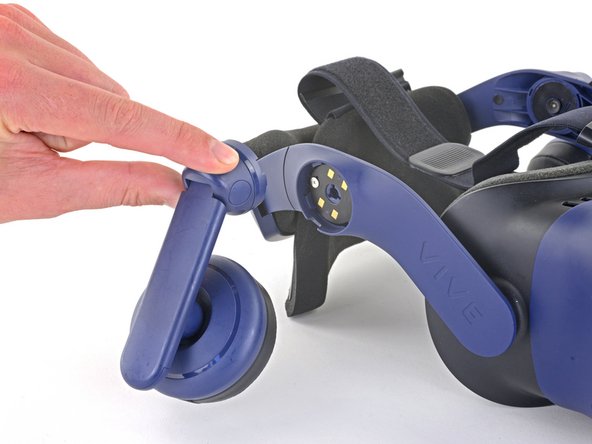
    • Peel off the thin piece of padding covering the headphone screw for each headphone you're replacing.

    Chiedi a FixBot

    Aggiungi Commento

  2. HTC Vive Pro Headphones Replacement, Unscrew the headphones: passo 2, immagine 1 di 2 HTC Vive Pro Headphones Replacement, Unscrew the headphones: passo 2, immagine 2 di 2
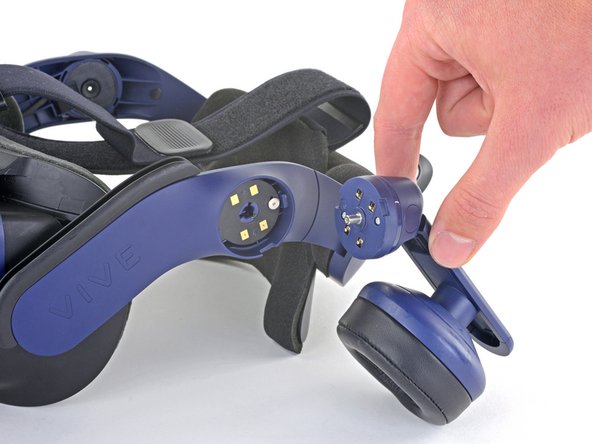
    • Use your Phillips screwdriver to remove the 6.4 mm screw securing each headphone you are replacing.

    Chiedi a FixBot

    Aggiungi Commento

  3. HTC Vive Pro Headphones Replacement, Remove the headphones: passo 3, immagine 1 di 3 HTC Vive Pro Headphones Replacement, Remove the headphones: passo 3, immagine 2 di 3 HTC Vive Pro Headphones Replacement, Remove the headphones: passo 3, immagine 3 di 3
    • Remove the headphones.

    Chiedi a FixBot

    Aggiungi Commento

  4. HTC Vive Pro Headphones Replacement, Remove the headphone pad: passo 4, immagine 1 di 2 HTC Vive Pro Headphones Replacement, Remove the headphone pad: passo 4, immagine 2 di 2
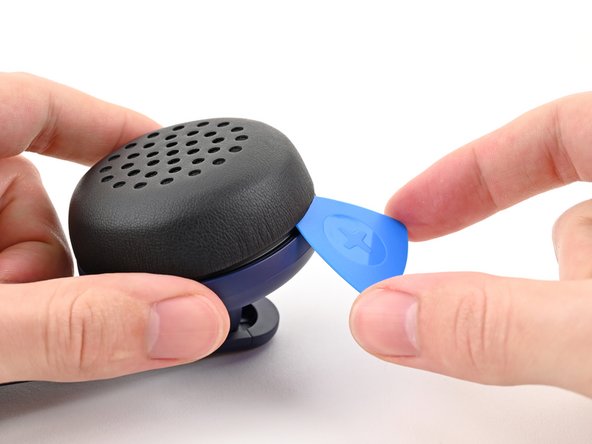
    • Insert an opening pick under the headphone pad and pry up to unclip it from the headphone.

    Chiedi a FixBot

    Aggiungi Commento

  5. HTC Vive Pro Headphones Replacement: passo 5, immagine 1 di 2 HTC Vive Pro Headphones Replacement: passo 5, immagine 2 di 2
    • Pull the headphone pad straight off the headphone to remove it.

    Chiedi a FixBot

    Aggiungi Commento

  6. HTC Vive Pro Headphones Replacement: passo 6, immagine 1 di 1
    • You're now left with the headphone for replacement.

    Chiedi a FixBot

    Aggiungi Commento

Conclusione

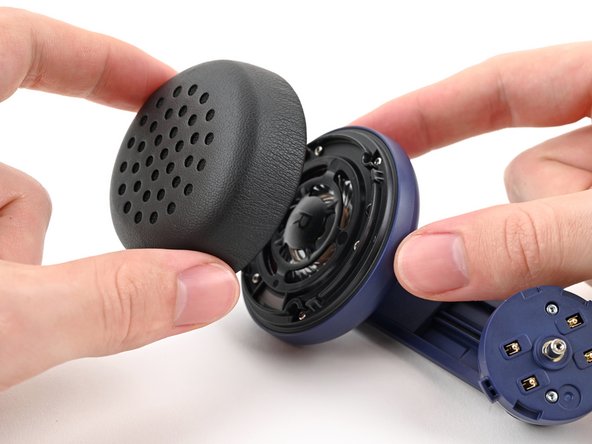
Compare your new replacement part to the original part—you may need to transfer remaining components or remove adhesive backings from the new part before installing.

To reassemble your device, follow the above steps in reverse order.

Take your e-waste to an R2 or e-Stewards certified recycler.

Repair didn’t go as planned? Try some basic troubleshooting, or ask our Answers community for help.

Annulla: non ho completato questa guida.

Un'altra persona ha completato questa guida.

Sam Omiotek

Membro da: 02/25/19

98.796 Reputazione

290 guide realizzate

0Commenti sulla guida

Aggiungi Commento

Visualizza statistiche:

Ultime 24 ore: 3

Ultimi 7 giorni: 23

Ultimi 30 giorni: 95

Tutti i Tempi: 2,883