Introduzione
Follow the steps in this guide to replace the top left antenna in your iPhone 6s Plus.
Cosa ti serve
-
-
Power off your iPhone before beginning disassembly.
-
Remove the two 3.4 mm Pentalobe screws on either side of the Lightning port.
-
-
Attrezzo utilizzato in questo passaggio:Clampy - Anti-Clamp$24.95
-
Pull the blue handle backwards to unlock the Anti-Clamp's arms.
-
Slide the arms over either the left or right edge of your iPhone.
-
Position the suction cups near the bottom edge of the iPhone just above the home button—one on the front, and one on the back.
-
Squeeze the cups together to apply suction to the desired area.
-
-
Attrezzo utilizzato in questo passaggio:Clampy - Anti-Clamp$24.95
-
If you don't have an Anti-Clamp, follow the next three steps to use a suction handle.
-
Apply mild heat to the lower edge of the iPhone using an iOpener or hair dryer for about a minute.
-
-
-
-
Gently grasp the display assembly and lift it up to open the phone, using the clips at the top of the front panel as a hinge.
-
Open the display to about a 90º angle, and lean it against something to keep it propped up while you're working on the phone.
-
Add a rubber band to keep the display securely in place while you work. This prevents undue strain on the display cables.
-
-
Attrezzo utilizzato in questo passaggio:Magnetic Project Mat$19.95
-
Remove two Phillips screws securing the battery connector bracket to the logic board, of the following lengths:
-
One 2.9 mm screw
-
One 2.3 mm screw
-
-
-
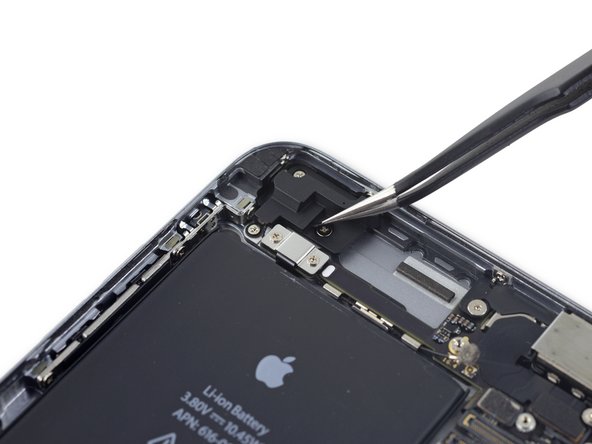
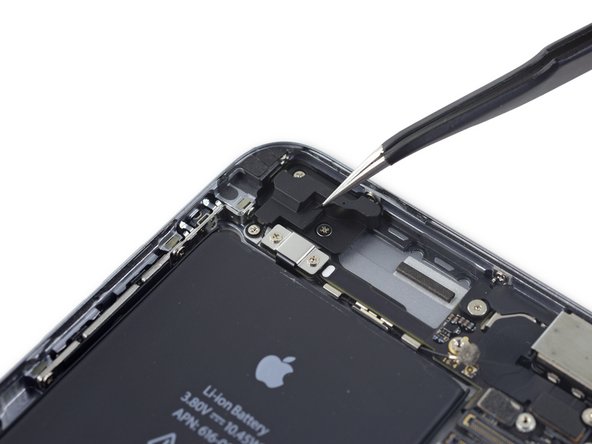
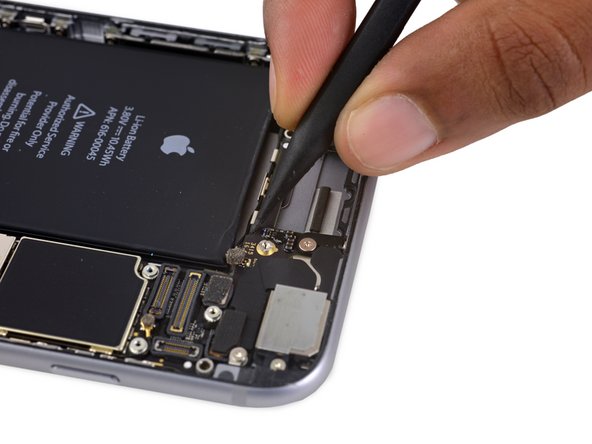
Remove the following Phillips screws:
-
Three 1.3 mm screws
-
One 1.6 mm screw
-
One 3.0 mm screw
-
-
-
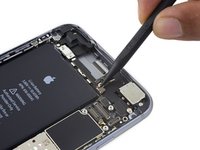
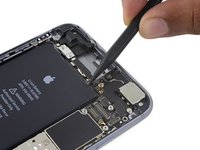
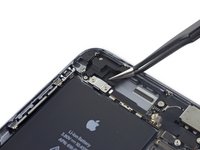
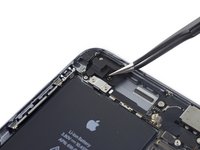
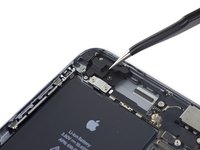
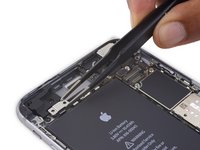
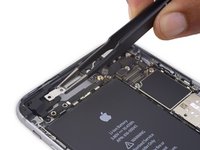
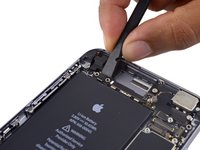
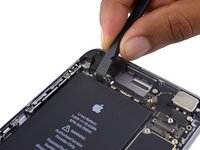
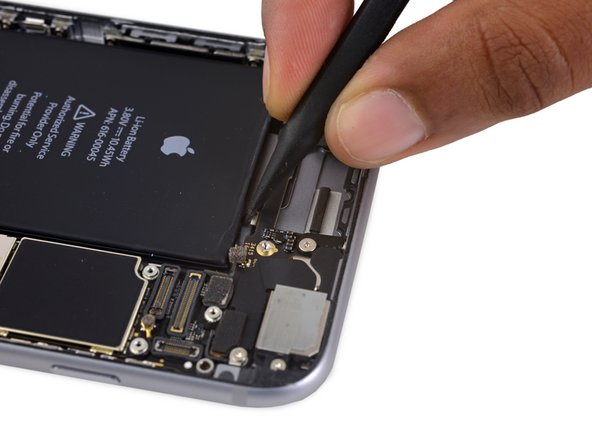
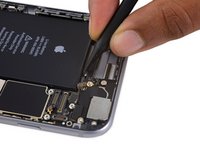
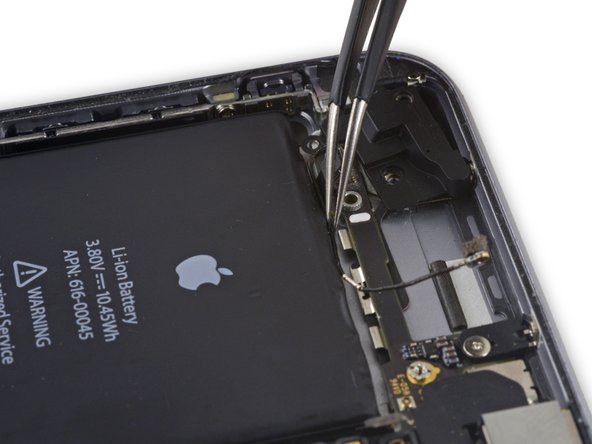
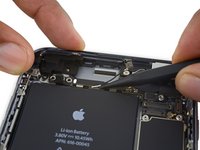
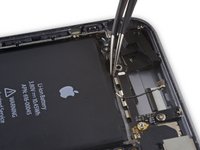
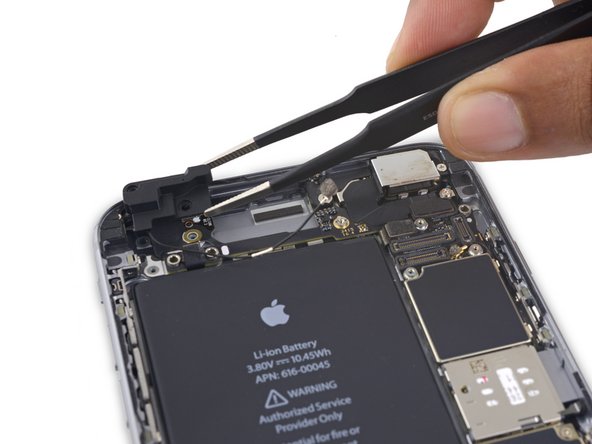
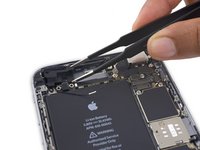
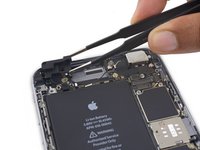
Use the pointed end of a spudger to disconnect the top left antenna cable from the logic board.
-


To reassemble your device, follow these instructions in reverse order.
To reassemble your device, follow these instructions in reverse order.
Annulla: non ho completato questa guida.
Altre 24 persone hanno completato questa guida.

2 Commenti
If I have a GPS problem, can I replace this cable?