Salta al contenuto principale
Unisciti alla Community delle riparazioni - Crea un account

VTech Little Apps Tablet Screen Replacement

Cosa ti serve

  1. VTech Little Apps Tablet Screen Replacement, Battery: passo 1, immagine 1 di 1
    • Remove the 9.9 mm screw covering the batteries with a PH1 driver head.

    Chiedi a FixBot
  2. VTech Little Apps Tablet Screen Replacement: passo 2, immagine 1 di 1
    • Use a plastic opening tool to pry the batteries out of their holding.

    • If replacing your batteries with new ones, be careful to insert them as indicated on the device.

    Chiedi a FixBot
  3. VTech Little Apps Tablet Screen Replacement, Back Cover: passo 3, immagine 1 di 2 VTech Little Apps Tablet Screen Replacement, Back Cover: passo 3, immagine 2 di 2
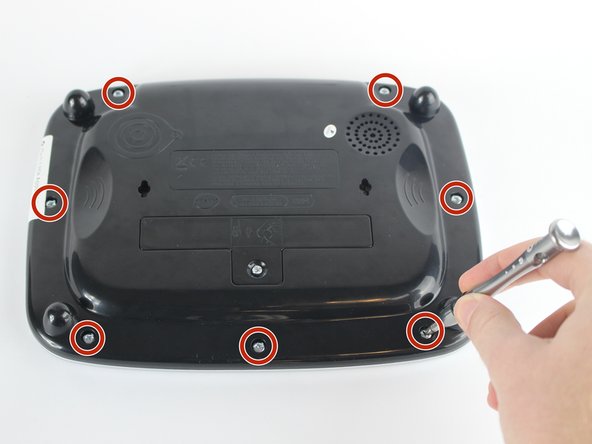
    • Position the VTech Little Apps Tablet face-down on a flat surface so that you can clearly see the back of the device.

    • Remove all seven 9.6 mm screws located around the perimeter of the back cover with a PH1 driver head.

    Chiedi a FixBot
  4. VTech Little Apps Tablet Screen Replacement: passo 4, immagine 1 di 2 VTech Little Apps Tablet Screen Replacement: passo 4, immagine 2 di 2
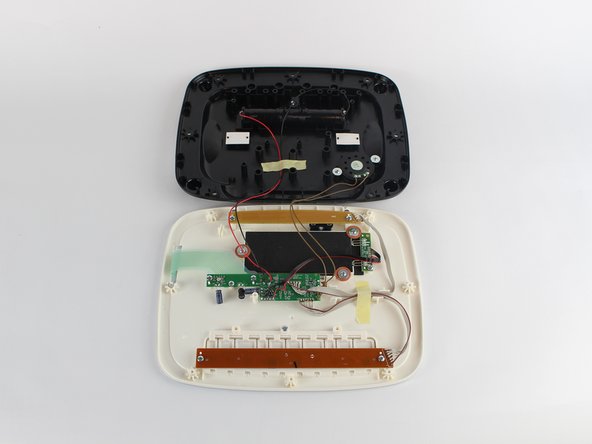
    • Gently remove the back cover then flip it 180 degrees so that the back cover of the device is now face-down.

    • Proceed with caution as there are wires attaching the back cover to the front cover of the device that could be easily detached.

    Chiedi a FixBot
  5. VTech Little Apps Tablet Screen Replacement, LED: passo 5, immagine 1 di 1
    • Unscrew the two 7.3 mm screws using a PH0 driver head.

    • Gently lift the beige circuit board and set aside.

    • Be sure to not damage the wires connecting the circuit board to the motherboard, you are only creating space to work in.

    Chiedi a FixBot
  6. VTech Little Apps Tablet Screen Replacement: passo 6, immagine 1 di 2 VTech Little Apps Tablet Screen Replacement: passo 6, immagine 2 di 2
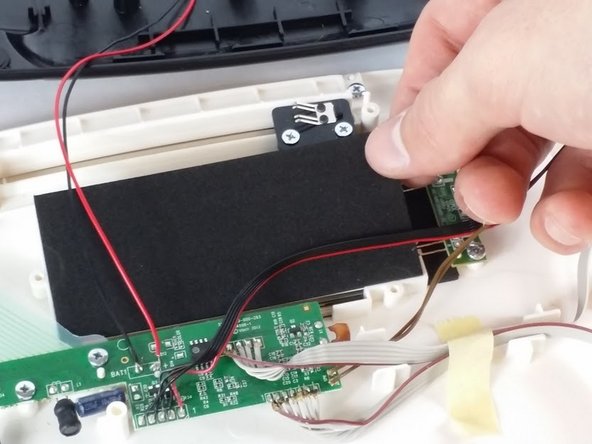
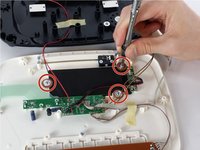
    • Unscrew three 7.3 mm panhead screws with the PH0 driver.

    • Remove the red-brown washer after removing the screws.

    • Remove the black foam insert and set aside.

    Chiedi a FixBot
  7. VTech Little Apps Tablet Screen Replacement: passo 7, immagine 1 di 1
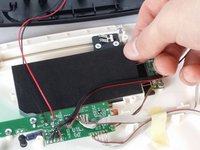
    • Unscrew the 7.3 mm screw fastening the LED circuit board to the device shell with a PH0 driver head.

    • Be careful when rescrewing circuit boards. Too much pressure or too tight of screws could damage them.

    Chiedi a FixBot
  8. VTech Little Apps Tablet Screen Replacement: passo 8, immagine 1 di 2 VTech Little Apps Tablet Screen Replacement: passo 8, immagine 2 di 2
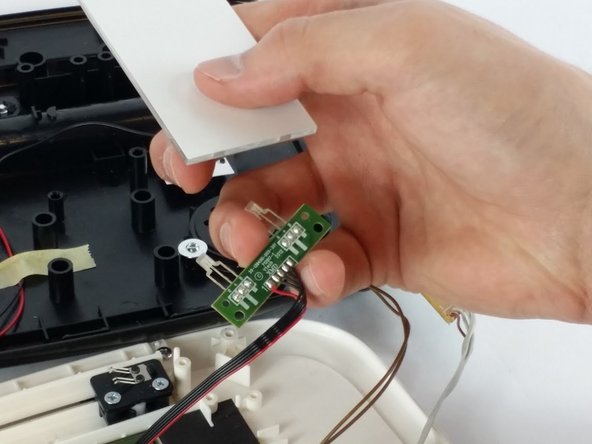
    • Gently lift both LED circuit board and the white glass light refractor panel away from the device.

    • Separate the LED circuit board and light refractor panel by gently pulling apart. Place the light panel to the side.

    • Skip the next step if you are proceeding with this guide as a part of the Screen Replacement.

    Chiedi a FixBot
  9. VTech Little Apps Tablet Screen Replacement: passo 9, immagine 1 di 1
    • Carefully desolder the LED leads (labeled "R", "+" and "B" on the circuit board) to disconnect the LED from the circuit board.

    • Replace the LED and solder the new connection to the LED circuit board.

    • Refer to the iFixit Soldering Guide for assistance.

    Chiedi a FixBot
  10. VTech Little Apps Tablet Screen Replacement, Screen: passo 10, immagine 1 di 1
    • Remove the three 7.3mm screws securing motherboard to the device shell.

    • When resecuring the motherboard, avoid over-tightening the screws. Too much pressure could damage the motherboard.

    • Pay attention to the setup of the light-blue ribbon cable located under the motherboard, and use this information for reassembly.

    Chiedi a FixBot
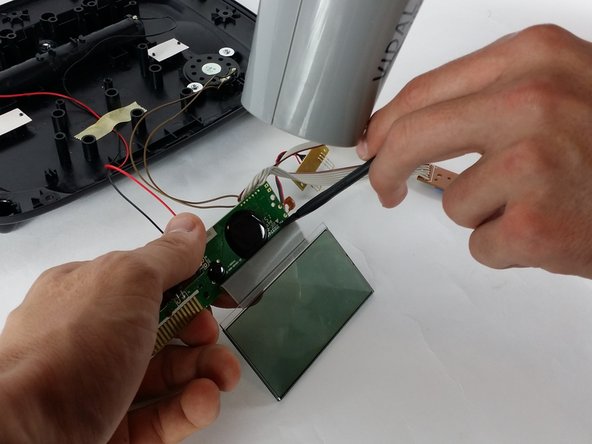
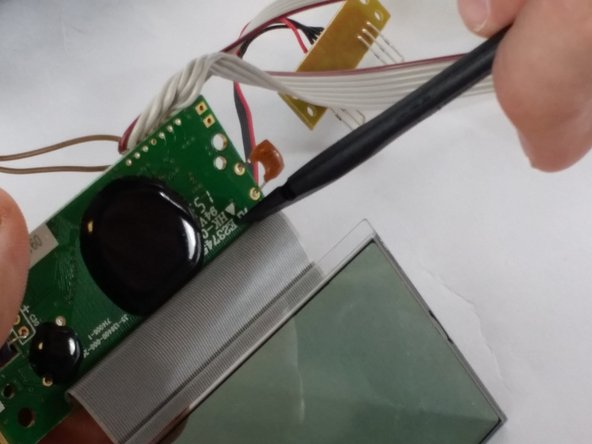
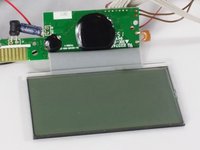
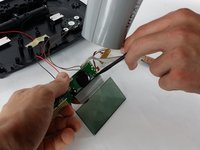
  11. VTech Little Apps Tablet Screen Replacement: passo 11, immagine 1 di 3 VTech Little Apps Tablet Screen Replacement: passo 11, immagine 2 di 3 VTech Little Apps Tablet Screen Replacement: passo 11, immagine 3 di 3
    • Carefully lift both the screen and motherboard, to access to the ribbon cable underneath.

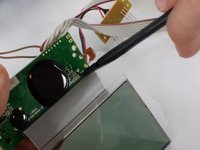
    • Use a heat gun (or hair dryer) to apply low heat to the ribbon cable attachment on the motherboard.

    • Avoid overheating the ribbon cable and motherboard or they may melt.

    • Carefully use a nylon spudger to separate the ribbon cable from the motherboard and remove the screen.

    • This step may require two sets of hands; having a friend always helps!

    Chiedi a FixBot
Conclusione

To reassemble your device, follow these instructions in reverse order.

Team

USF Tampa, Team 2-6, Sullivan Spring 2016 Membro di USF Tampa, Team 2-6, Sullivan Spring 2016

USFT-SULLIVAN-S16S2G6

3 Membri

12 guide realizzate

1Commento della guida

Where do you get a replacement LCD?

Timothy Miller - Rispondi Condividi

Aggiungi Commento

Visualizza Statistiche:

Ultime 24 Ore: 3

Ultimi 7 Giorni: 10

Ultimi 30 Giorni: 57

Tutti i Tempi: 1,272