Questa traduzione potrebbe non riflettere gli aggiornamenti più recenti dalla guida originale. Aiuta ad aggiornare la traduzione o visualizza la guida d'origine.
Introduzione
Seguire questa guida richiede smontare l'Xbox 360 E e risulta in qualche modo più complesso che sostituire altre parti dell'Xbox.
Cosa ti serve
-
-
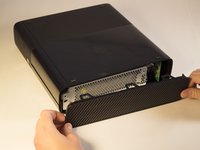
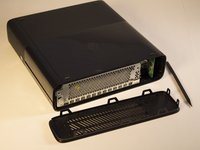
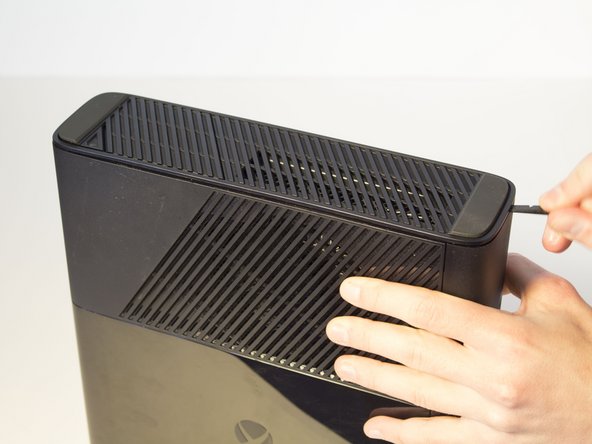
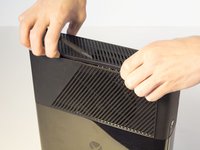
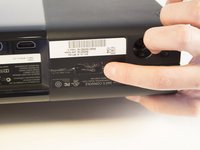
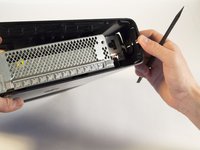
Spingi lo Spudger nella fessura presente tra il pannello superiore della Xbox e la parte inferiore che ha i piedini in gomma.
-
Abbassa lo spudger per fare leva, tenendolo premuto all'interno della fessura.
-
-
-
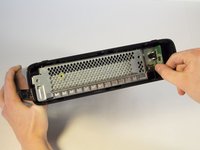
Rimuovi la vite sulla sinistra da 11 mm sulla scheda verde del wi-fi con un cacciavite Torx T9.
-
-
-
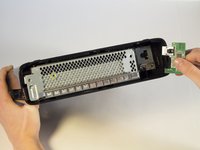
Afferra la scheda verde del Wi-Fi e estraila dalla Xbox.
On that wifi card there is a little port that you can plug and old router antena into. Any idea what its called?
-
-
-
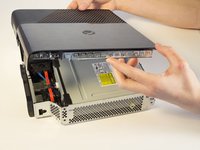
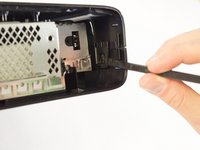
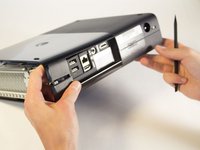
Spingi lo spudger nella fessura tra la griglia destra e la parte superiore della Xbox. È più facile partire dalla parte opposta della presa d'aria.
-
Abbassa lo spudger per fare da leva, tenendolo premuto nella fessura.
-
-
-
-
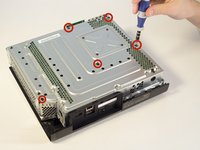
Rimuovi le cinque viti lunghe nere da 55 mm etichettate C2-5 e C7 con un cacciavite T9 Torx.
-
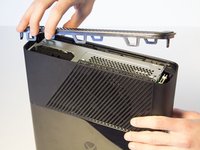
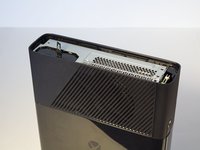
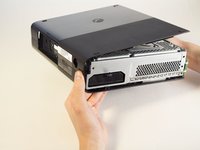
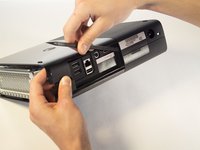
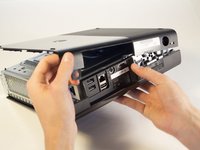
Facendo attenzione, gira sottosopra il dispositivo e rimuovi la copertura alzando la sezione in metallo che è attaccata alla parte esteriore in plastica.
Missing some steps here…. Where are the clips holding the sides together? To go straight from “Remove bottom cover” to “Device is apart” is a bit… lacking.
Yes, Aksel Barnes is correct. There are missing pictures and steps showing the removal of the plastic exterior from the metal section.
another "manual" missing the hardest steps
-
-
-
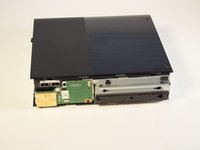
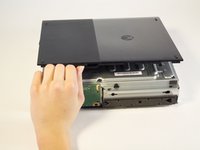
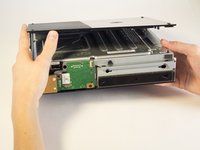
Orienta la Xbox in modo tale che la parte inferiore sia rivolta verso l'alto. Assicurati di vedere i piedini in gomma per essere sicuri che sia orientata nella direzione corretta.
-
Alza il pannello inferiore leggermente di 45 gradi dalla posizione iniziale.
-
-
-
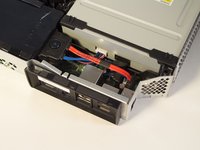
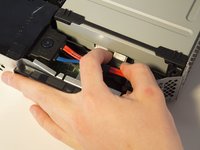
Usa le dita per scollegare il cavo a nastro blu dal lettore dischi.
Note: The ribbon cable connected to the CD drive can be in the color red (as it was on my board). Just make sure the other end is connected to the motherboard to be sure.
Como destrava a gaveta do cd
-
-
-
Solleva la parte frontale del lettore dischi e tiralo fuori.
Just note that you will have to swap the PCB inside the disc drive. If you do not go through with this the game will not start.
You do also require some soldering skills as the wires for the motor and sensor for the disc tray are soldered to the PSB.
-
Per riassemblare il tuo dispositivo, segui le istruzioni in ordine inverso.
Per riassemblare il tuo dispositivo, segui le istruzioni in ordine inverso.
Annulla: non ho completato questa guida.
Altre 25 persone hanno completato questa guida.
Un ringraziamento speciale a questi traduttori:
85%
Questi traduttori ci stanno aiutando ad aggiustare il mondo! Vuoi partecipare?
Inizia a tradurre ›
11 Commenti
screws are actually C1- C5 one is incorrectly labelled - C7 = C1 also in step 8.5 there are 3 clips holding back edge of bottom cover to top one. one on each end and one just to right of I/O area. can get 2 of them with a spudger (ends) and the middle one with a isesamo.
Several steps missing between 8 and 9
Like remove wifi adaptor.
There is some consistency errors in this guide. Step 9 seems to blast ahead beyond where we should be at this point of the guide.
Yeah, most definitely it jumps from removing the side grills to have completely disassembled the entire console case...
All the videos I watch tell me to take the drive apart and use the old motherboard on the new drive, so it's the same old motherboard. But mine is broke so can I just use the same motherboard from the new drive?
No must change the board over or it will not work.Gregory Lansberry.
Did you not mention the fact that the drives won’t work unless programmed?
I have had the need to replace the cd assembly on a few 360 e-models. The problem I run into occasionally is the new cd assembly will sometimes only play music discs. I'm not sure if there is a software lock on the assembly or not as installing a 2nd new drive fixes the problem. Are some 360 drive assemblies not compatible with certain mobo revisions? Also, once you get the sides off, a very long screwdriver does the trick on the clips to get it open.


