Introduzione
A straight stitch is the bread and butter of sewing. This basic stitch will sew two pieces of material together, and can be used in many repairs.
The trick is to take small, even stitches. With a little practice, you can master this basic stitch and repair your textiles.
Cosa ti serve
-
-
-
Thread your needle and tie a knot in the end of the thread.
-
Drive the needle through the back of the bottom material.
-
Pull the thread taut.
 Chiedi a FixBot
-
-
-
Drive the needle through the back side of the top material.
-
Pull the thread taut.
-
Align the two materials in their final position.
-
-
-
-
Drive the needle down through both layers of material, coming out on the back side of the bottom material. Push the needle out of the material.
-
Pull the thread taut.
-
-
-
Ensure the two layers are correctly aligned.
-
Drive the needle through both layers of fabric from the back side of the bottom material, coming up on the top side of the top material.
-
Pull the thread taut.
-
-
-
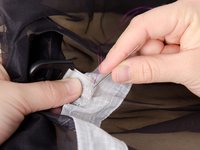
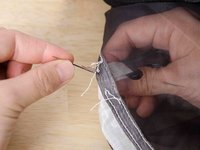
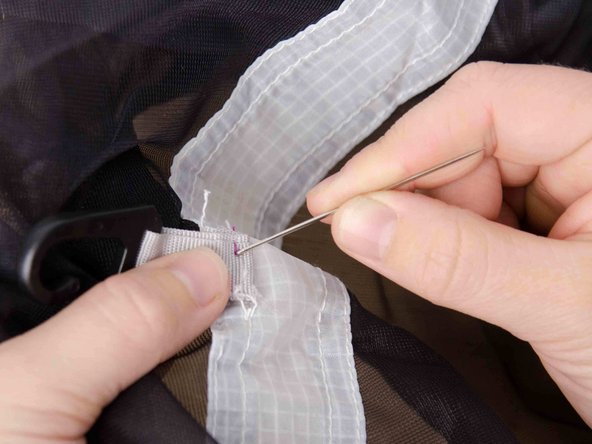
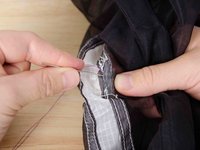
Continue sewing through both layers, going down from the top and up from the bottom, as described in steps 3 and 4 of this guide.
-
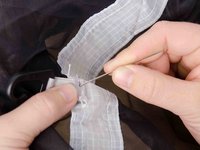
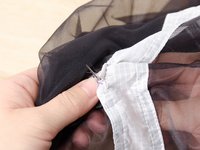
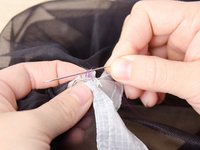
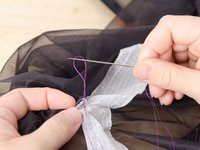
When you come to the end of your material, draw the needle in between the two layers of material, under the thread of the closest stitch.
-
Slowly start to pull the thread taut. As you pull a loop will form.
-
Draw the needle through the loop and pull the thread taut.
-
Repeat the process of drawing the needle between the layers, creating a loop, and drawing the needle through the loop as described in this step.
-
-
-
Pull the thread taut.
-
Cut any remaining thread and admire your work.
-
-






Annulla: non ho completato questa guida.
Altre 5 persone hanno completato questa guida.

