Introduzione
This guide outlines a procedure for completely removing and replacing a non-functioning USB port on the motherboard of the Samsung SmartThings Hub.
Cosa ti serve
-
-
-
To open your device, gently slide the grey bottom cover in the direction of the arrow as shown.
 Chiedi a FixBot
-
-
-
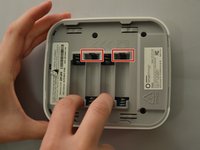
Using your Phillips #1 screwdriver, remove the four visible 12.5mm screws.
-
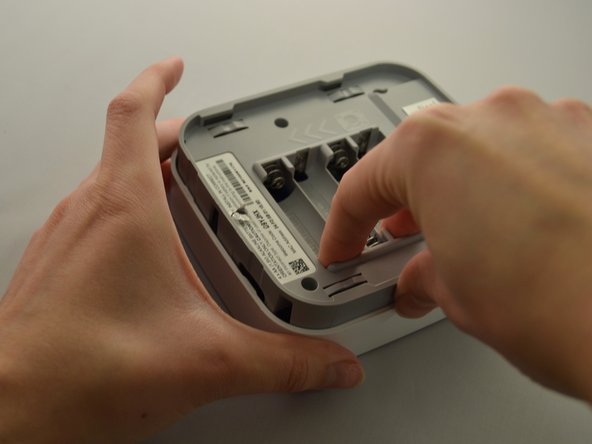
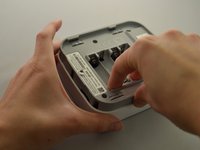
Next, either peel up the longer of the two stickers or punch a hole with the tip of your screwdriver to access the fifth 12.5mm screw.
-
-
-
-
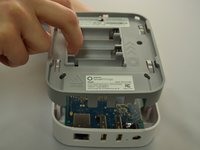
Once all five screws are removed, split the casing apart by applying gentle upwards pressure against the positive terminals in the battery compartment.
-
-
-
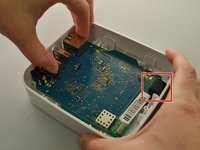
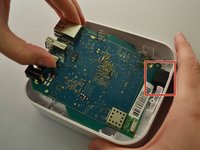
To remove the motherboard, grip the USB port and the Ethernet port. Lift up, then slide towards the front of the device to release the motherboard from the black retaining clip shown on the right.
-
-
-
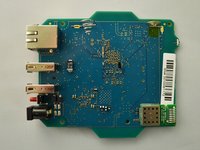
Place the motherboard on a clean, flat surface.
-
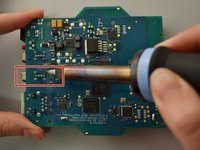
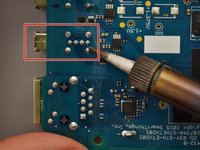
Preheat your soldering iron. Each USB port has eight points of connection to the motherboard (pictured above). Using your soldering iron, apply heat to each solder joint in turn while pulling the USB port away from the board.
-
-







To reassemble your device, follow these instructions in reverse order.
Annulla: non ho completato questa guida.
Altre 2 persone hanno completato questa guida.

Team

Eastern Washington University, Team S2-G4, Crane Fall 2017 Membro di Eastern Washington University, Team S2-G4, Crane Fall 2017
EWU-CRANE-F17S2G4
4 Membri
26 guide realizzate
