Introduzione
Screen replacement may need to be done when the screen is damaged, such as lines on the screen and not showing anything. Refer to the Troubleshooting page to see more information about this. This guide will display the steps needed to replace a damaged screen on Samsung RC512.
Cosa ti serve
-
-
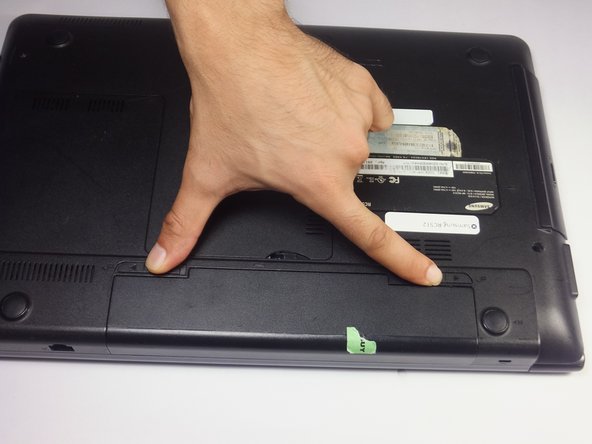
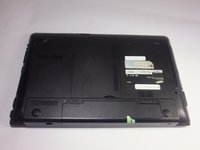
Locate two notches above the battery.
-
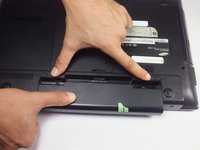
Slide both battery locking notches to either side to remove the battery.
-
Pull the battery out.
-
-
-
Slide both battery locking notches to either side to remove the battery.
-
Pull the battery out.
-
-
-
Strumento utilizzato in questo passaggio:Tweezers$4.99
-
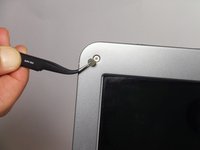
Remove the gray covers with tweezers to expose the 4mm screws.
-
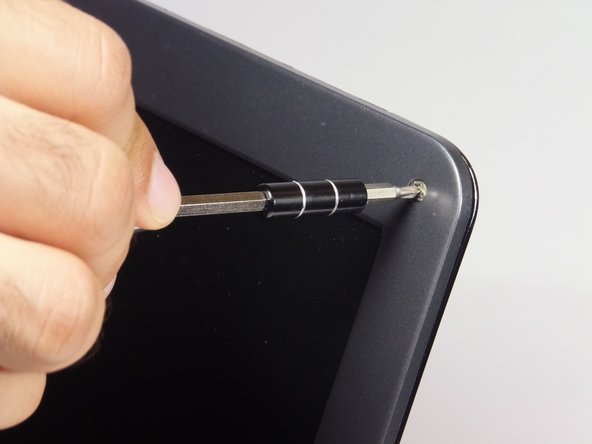
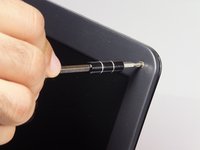
Using a Phillips #0 screwdriver, remove the four 4 mm Phillips #0 screws.
-
-
-
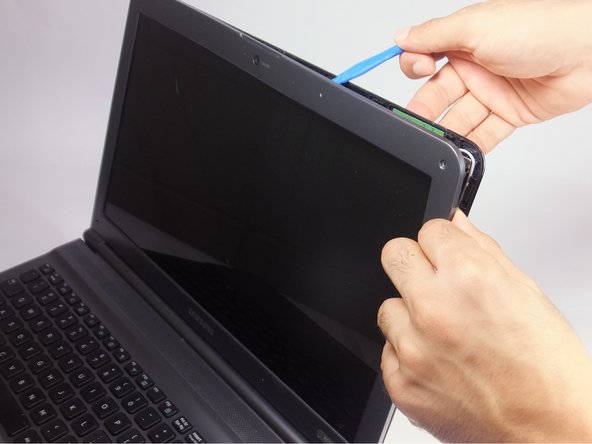
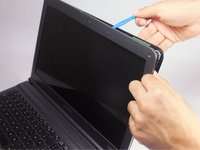
Insert the blue plastic opening tool into the bezel and rear housing of the screen.
-
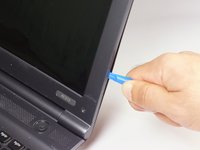
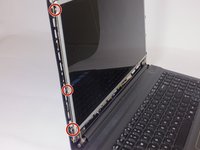
Use the plastic opening tool to pop open the claps that hold the casing on the screen.
-
Work your way around the sides carefully and continue this to the bottom.
-
-
-
With the Phillips #0 screwdriver remove the six 3 mm screws, which mount the screen onto the base of the laptop.
-
-
-
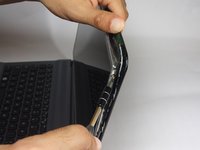
Gently lay the LCD onto the keyboard.
-
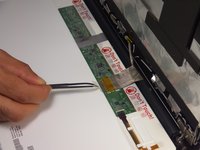
Remove the tape that secures the video connector to the LCD screen with tweezers.
-
Grasp the video connector at its base and pull it away from the LCD screen.
-


To reassemble your device, follow these instructions in reverse order.
Annulla: non ho completato questa guida.
Un'altra persona ha completato questa guida.
Team

USF Tampa, Team 18-2, Blackwell Fall 2016 Membro di USF Tampa, Team 18-2, Blackwell Fall 2016
USFT-BLACKWELL-F16S18G2
4 Membri
8 guide realizzate