Introduzione
Use this guide to replace the I/O daughterboard in your Samsung Galaxy S8. Components that would warrant replacement of the daughterboard include a damaged USB-C connector or microphone.
This guide involves removing the rear glass cover, you will need replacement adhesive to reattach the back cover to the phone.
The motherboard and daughterboard will differ slightly depending on whether you have the North American Snapdragon (G950U) or international Exynos (G950F) version of the phone. This guide uses the North American version. The motherboard and daughterboard are not interchangeable between the two versions.
Before disassembling your phone, discharge the battery below 25%. The battery can catch fire and/or explode if accidentally punctured, but the chances of that happening are much lower if discharged.
Cosa ti serve
Panoramica Video
-
-
Fill a pot or pan with enough water to fully submerge an iOpener.
-
Heat the water to a boil. Turn off the heat.
-
Place an iOpener into the hot water for 2-3 minutes. Make sure the iOpener is fully submerged in the water.
-
Use tongs to extract the heated iOpener from the hot water.
-
Thoroughly dry the iOpener with a towel.
-
Your iOpener is ready for use! If you need to reheat the iOpener, heat the water to a boil, turn off the heat, and place the iOpener in the water for 2-3 minutes.
-
-
-
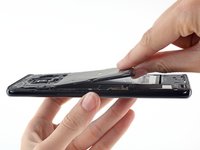
Heat an iOpener and apply it to a long edge of the S8 for about 2 minutes.
-
-
-
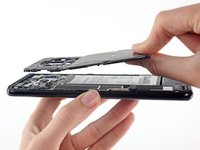
In the following steps you will be cutting through the adhesive around the edge of the rear glass panel.
-
The adhesive on the rear case is laid out as seen in the first image.
-
The prying pattern as seen from the outside of the phone is as follows:
-
Thick portions of adhesive
-
Thin areas of adhesive
-
Avoid prying here, to protect the fingerprint sensor.
-
-
Attrezzo utilizzato in questo passaggio:Tweezers$4.99
-
Use tweezers to peel away any remaining adhesive from the phone's chassis. Then clean the adhesion areas with high concentration isopropyl alcohol (at least 90%) and a lint-free cloth to prep the surface for the new adhesive.
-
Peel the adhesive backing off of the new rear glass, carefully line up one edge of the glass against the phone chassis, and firmly press the glass onto the phone.
-
-
-
-
Remove eleven 3.7 mm screws using a Phillips #000 screwdriver.
-
-
-
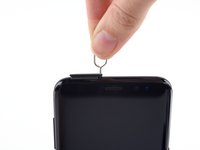
Insert a SIM card opening tool into the small hole on the left side of the top edge of the phone.
-
Press to eject the tray.
-
Remove the SIM card tray from the phone.
-
-
-
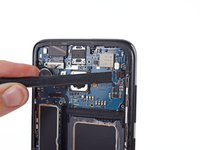
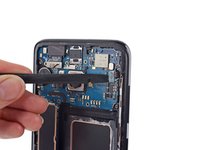
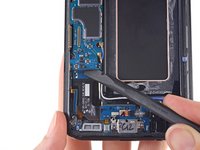
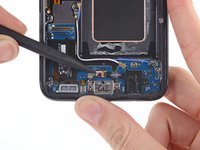
Use the flat end of a spudger to disconnect the battery connector.
-
-
-
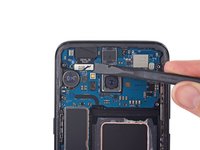
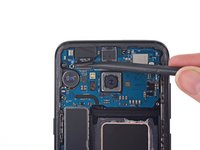
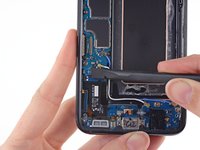
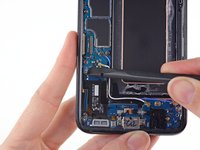
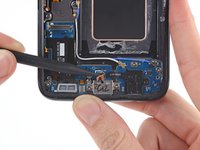
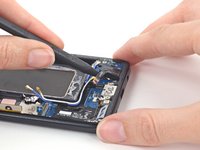
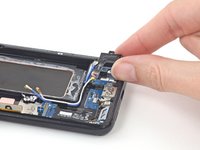
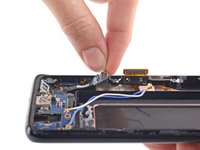
Use the flat end of a spudger to disconnect the sensor array connector.
-
-
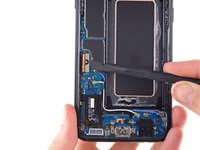
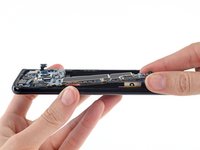
Attrezzo utilizzato in questo passaggio:Tweezers$4.99
-
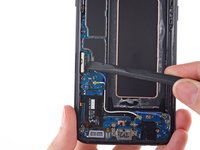
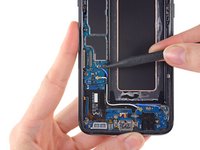
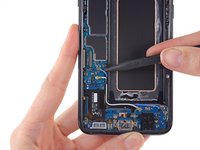
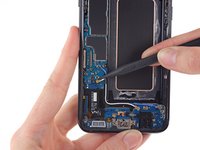
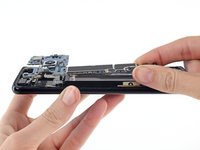
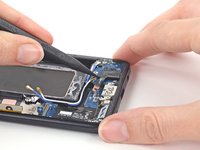
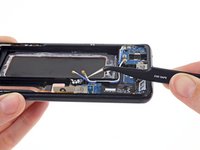
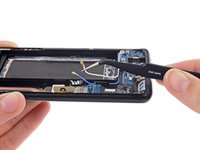
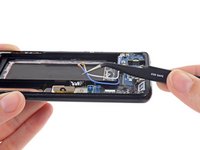
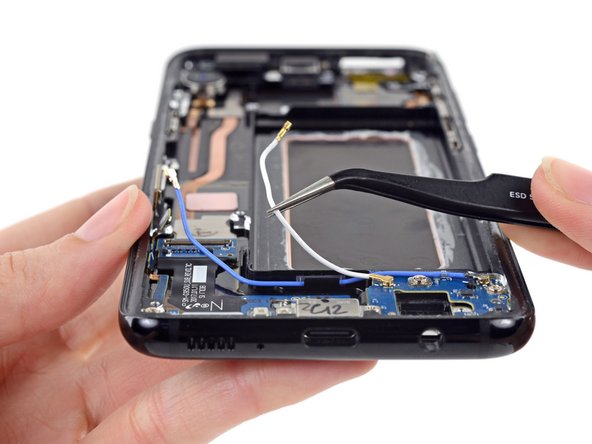
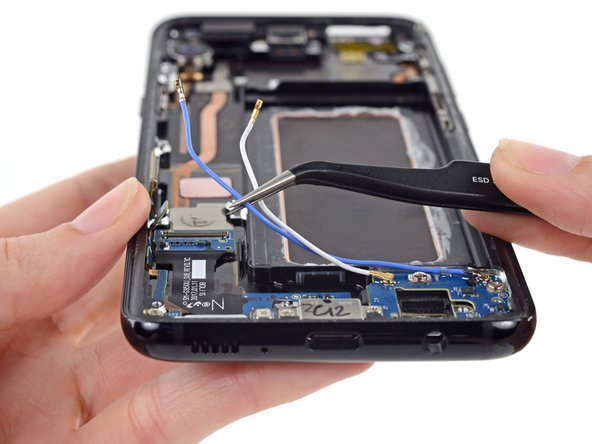
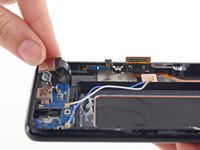
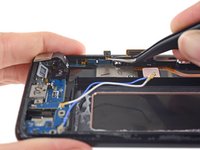
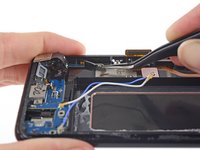
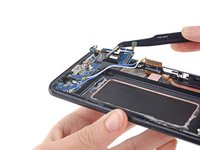
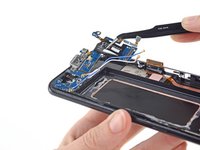
Use tweezers to pull the two antenna cables out of their slot next to the battery compartment.
-


After reapplying adhesive, follow these instructions in reverse order to reassemble your device.
After you've completed the repair, follow this guide to test your repair.
After reapplying adhesive, follow these instructions in reverse order to reassemble your device.
After you've completed the repair, follow this guide to test your repair.
Annulla: non ho completato questa guida.
Altre 52 persone hanno completato questa guida.

9 Commenti
Something you should add is that the battery temperature sensor is actually on the wireless charging coil. Unless you screw that part on, adding a new daughter board and plugging it in will result in the phone thinking the battery temperature is too low and thus it won't charge
Hi i just change the motherboard and the battery is new the display show ( ! ) is not working. Can you help me to solve the problem. Thank you
Step 22 does not apply to the Samsung galaxy s8 SM-G950F, the daughterboard is different and does not have that connector for anyone trying to source one !
sm-g930F, daughter board does not have the 3mm screws .it seems to use an elastic at each en to hold in place. has anyone successfully replaced this daughterboard?
Andrew Murray28/09/2020
That battery temperature thing really confused me while testing as I put things back together. Makes sense it worked fine when I put back together after I'd had enough.
I found the finger print reader easier to put on after removing it from the case. My finger print reader didn't work after I put it back together. But started working the next day.
I found it easier to connect the motherboard to the daughter board when the daughter board is fixed in, then you just hold the motherboard vertically, click them together and tilt the motherboard back into place while using something to poke the flap connectors out the way.
Those two wires/ arieals? They loop under the motherboard for when the speaker goes back on.
As you're testing as you put things back together, the volume buttons only work when everything is screwed back in. I've come across this before on other samsung phones, killed me the first time trying to figure it out!!