Introduzione
This guide will show you how to replace the lens of the camera. This guide comes in handy if the "camera" part of your Android camera is malfunctioning. Anything from the glass lens being cracked to the zoom not extending can be fixed by replacing the lens mechanism. Make sure to remove the battery before attempting any repairs!
Cosa ti serve
-
-
-
While holding the camera, take note of each screw holding the screen to the main chassis of the camera.
-
Hold the camera upright and lens facing towards you. There area total of six 4mm PH00 screws to undo - two on the left, one screw on the right, and three along the bottom. Two of them are hidden behind the battery compartment door.
 Chiedi a FixBot
-
-
-
Use the screwdriver to remove screws listed in step 2. There are a total of six 4mm screws.
-
-
-
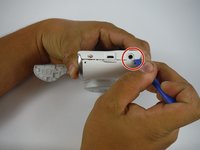
With the screws removed, use the plastic opening tool to gently pry the screen away from the main camera chassis. The ideal spot to start is at the corner with the headphone jack, as indicated in the picture.
-
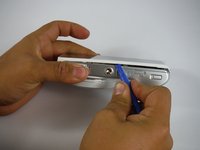
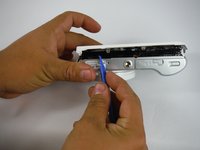
Once this side is free, gently work your way along the edge, all the way around the camera body.
-
-
-
-
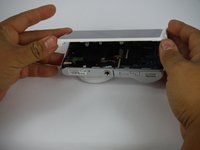
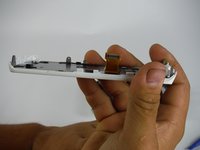
With the screen freed, gently lay the camera on its face, so that the battery compartment faces up. Use both hands to lift the screen up and away.
-
-
-
With the screen separated from the main chassis, use the plastic opening tool to gently pry the edge of the ribbon cable connector from the motherboard.
-
-
-
-
-
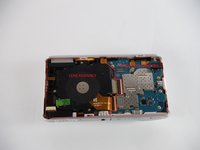
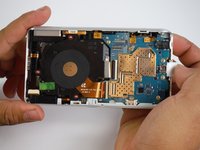
After removing the screen and battery to access to the inside of the camera, take note of the two main assemblies inside-- the lens apparatus and the main motherboard. The lens assembly is on the left hand side.
-
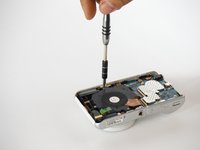
There are three small silver screws (4mm PH00) to remove.
-
-
Strumento utilizzato in questo passaggio:Tweezers$4.99
-
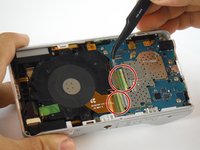
With the three screws removed, take note of the two ribbon cables connecting the lens assembly to the main motherboard.
-
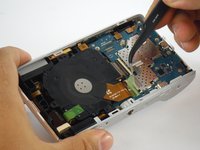
Use the tweezers to remove the two green strips of tape protecting the connectors.
-
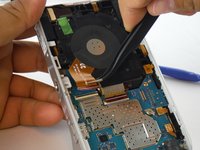
Use the plastic opening tool to release the black clips locking in the ribbon cables, then use the tweezers to gently pull the ribbon cables away from the main motherboard.
-
-
-
Now that the screws and ribbon cables have been removed, gently pull the lens assembly up from the the camera and remove it.
-
-




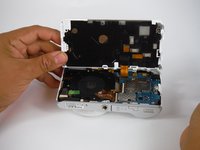
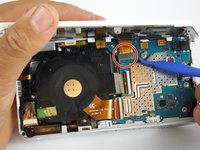


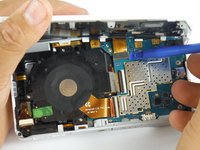
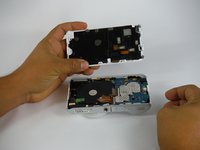






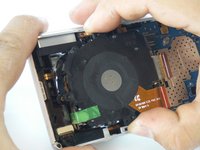
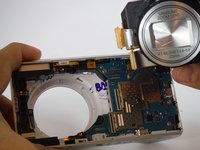
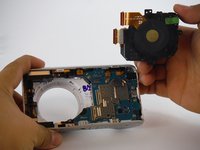
To reassemble your device, follow these instructions in reverse order.
Annulla: non ho completato questa guida.
Altre 11 persone hanno completato questa guida.

Team

USF Tampa, Team 14-5, Lacy Spring 2016 Membro di USF Tampa, Team 14-5, Lacy Spring 2016
USFT-LACY-S16S14G5
3 Membri
13 guide realizzate
7Commenti sulla guida
The instructions are fine, as far as they go, which isn't nearly far enough. A much more thorough tutorial - with several key steps that are missing from these instructions, can be found at https://www.youtube.com/watch?v=qpExoJua.... I wouldn't have been able to complete the installation correctly without this helpful video.
