Introduzione
The trigger is a multi-speed switch and requires replacing the whole assembly. Soldering is necessary for this guide. Please familiarize yourself with the iFixit guide on Soldering before starting.
Cosa ti serve
-
-
Use the flat side of a metal spudger to peel the black rubber cover off of the casing.
-
Rotate the casing until it fits onto the housing with no gaps between it and the clear cover.
 Chiedi a FixBot
-
-
-
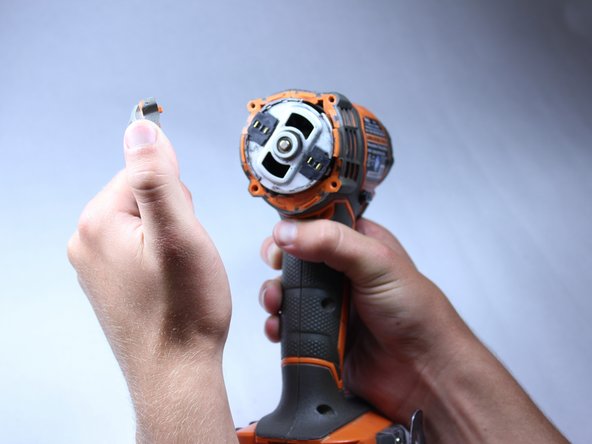
Remove the plastic cover with your hands. It should come off fairly easily.
-
-
-
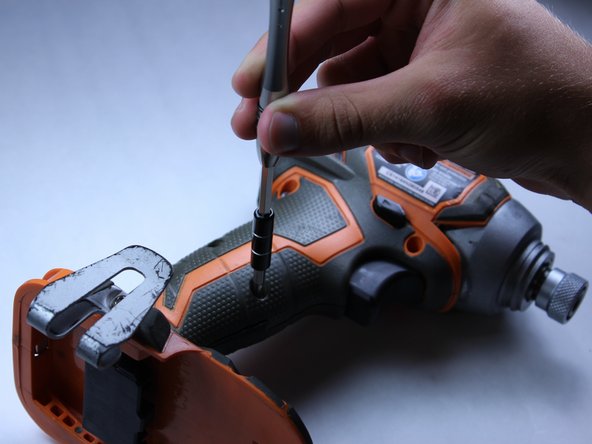
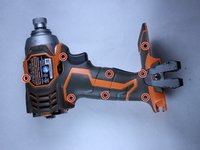
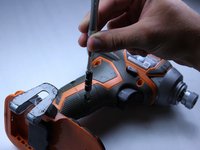
Unscrew the four 16 mm long screws from the back panel with a T10 Torx Screwdriver.
-
Use a firm grip to peel off the back panel. It is sealed tight and requires a good amount of force to remove.
-
-
-
-
Pry apart the two halves of the housing at the back side of the driver using the metal spudger. The housing is easier to remove if you pry from both sides.
-
-
-
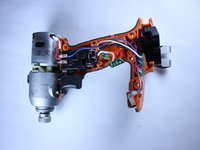
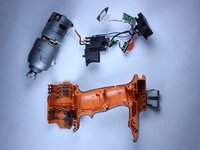
Pull out all electrical components from housing by hand. The components should require little force to lift out.
-
Lift out the motor.
-
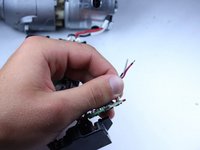
Follow the wires.
-
-
-
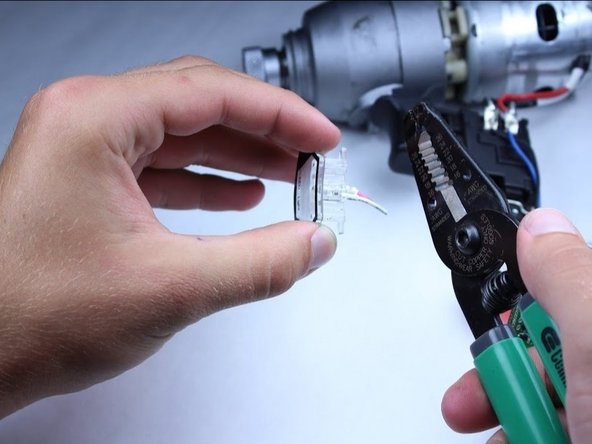
Identify the LED light. The LED light is the component with clear casing and has two wires attached, located toward the bottom of the driver.
-
-
-
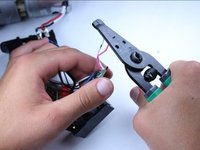
Cut the pink and white wires attached to the LED at a point that is a little more than 1/4 inch from the LED.
-
-
-
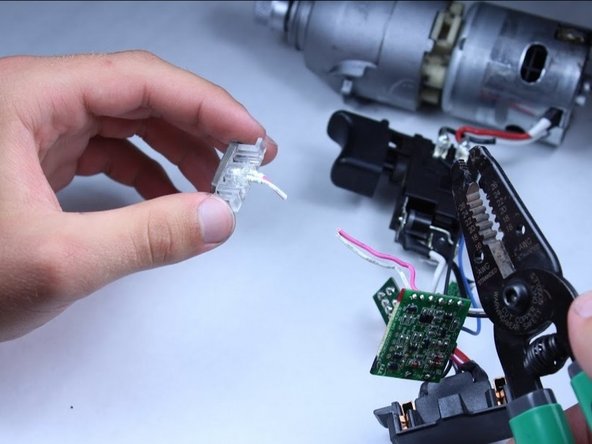
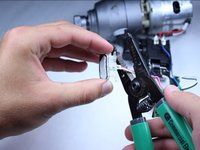
Strip the wires that were connected to the LED on the circuit board to approximately 1/4 inch.
-
-
-
Solder the new LED striped wires to the wire attached to the circuit board.
-
Wrap the soldered connection with electrical tape, to ensure that the circuit isn't shorted.
-


To reassemble your device, follow these instructions in reverse order.
Team

Cal Poly, Team 15-5, Amido Spring 2015 Membro di Cal Poly, Team 15-5, Amido Spring 2015
CPSU-AMIDO-S15S15G5
4 Membri
12 guide realizzate