Introduzione
If the video from your device's front/rear camera is not displaying on the screen or your device is not displaying anything, the device's screen could be damaged or faulty. This guide will show you how to remove and replace the LCD screen of your Rexing V1P Plus dashcam.
This replacement requires the removal of the device's battery. The battery on the Rexing V1P Plus does not hold a charge for long without being connected to a power source. To ensure the battery is safe to remove, leave the device unplugged for a short period to drain the battery of any charge it may have.
This replacement requires the use of a soldering iron. If you have no prior experience using a soldering iron, it is recommended to do some additional research to gain familiarity with using this tool.
Cosa ti serve
-
-
-
Begin by orienting the device with the LCD screen facing down.
-
Remove the four 6 mm screws, located on the backside of the device, using the Phillips #00 screwdriver.
 Chiedi a FixBot
-
-
-
Remove the back cover of the device and place it to the side.
-
Rotate the device 180 degrees to where the camera is facing you.
-
-
-
Remove the two 5 mm screws next to the lens using the Phillips #00 screwdriver.
-
-
-
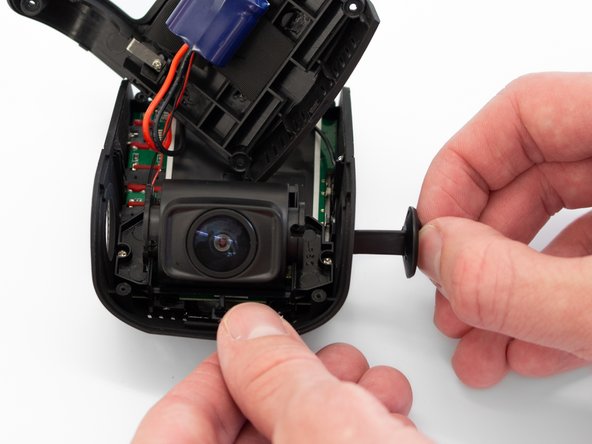
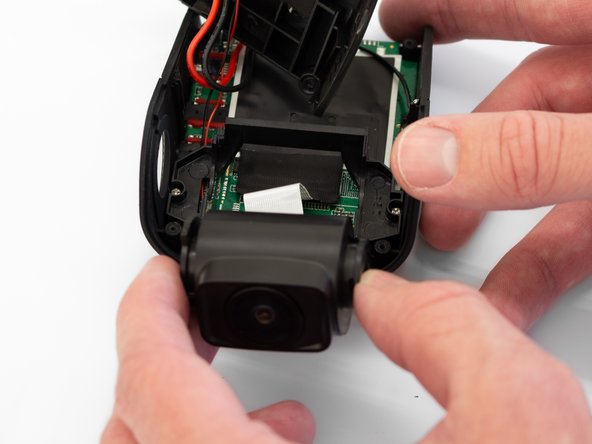
Remove the two camera angle adjusters from the side of the device and carefully pull out the lens.
-
-
-
Remove the two 5mm screws securing the camera support bracket using the Phillips #00 screwdriver.
-
-
-
-
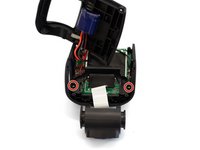
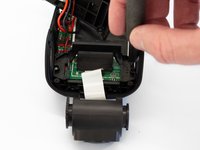
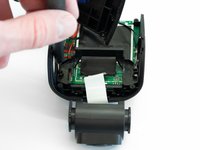
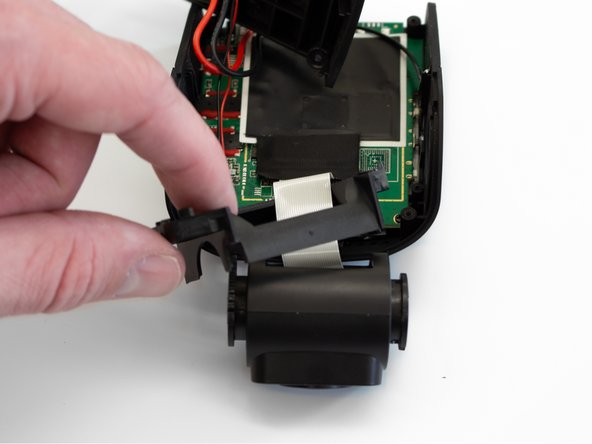
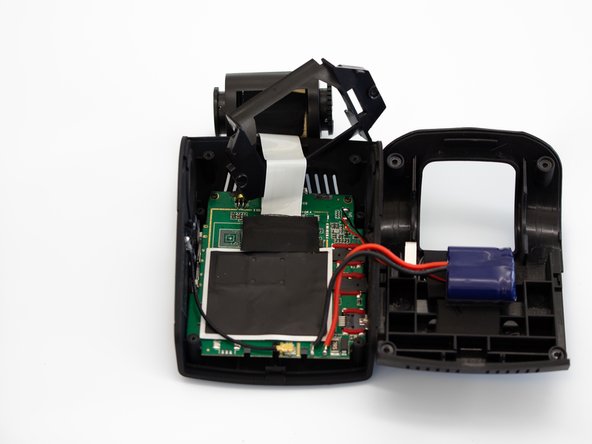
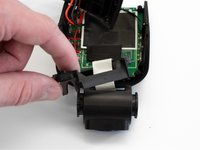
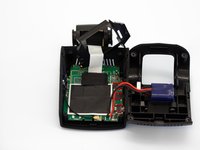
Carefully remove the plastic frame piece from its previously secured position on the motherboard.
-
Rotate the device 180 degrees to where the camera is facing away from you.
-
-
-
Carefully peel back the adhesive material covering the ribbon cable connection.
-
-
-
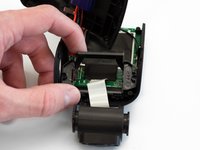
Using the Flathead 1.5mm screwdriver, or another pry tool, gently flip up the black ZIF connector locking flap to free the ribbon cable.
-
Once the connector is open, slide the ribbon cable out to remove it.
-
-
-
-
-
Using a soldering iron, disconnect the four wires connected to the motherboard.
-
-
-
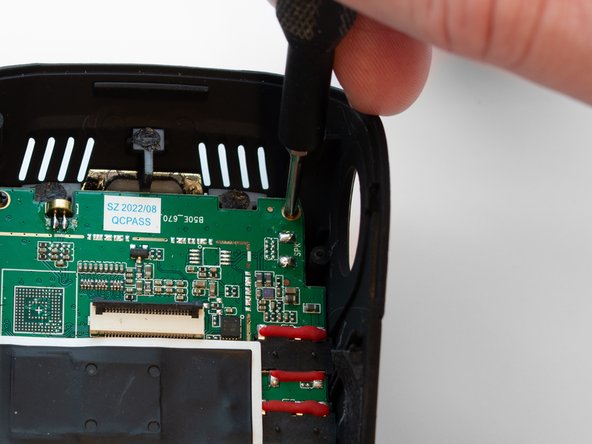
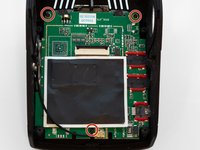
Using the Phillips #00 screwdriver, remove the three 3.5 mm screws securing the motherboard to the case.
-
-
-
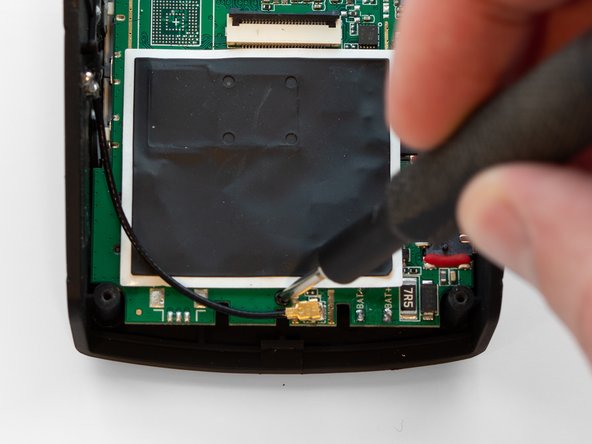
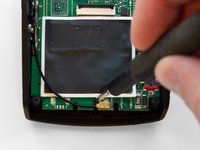
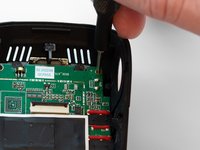
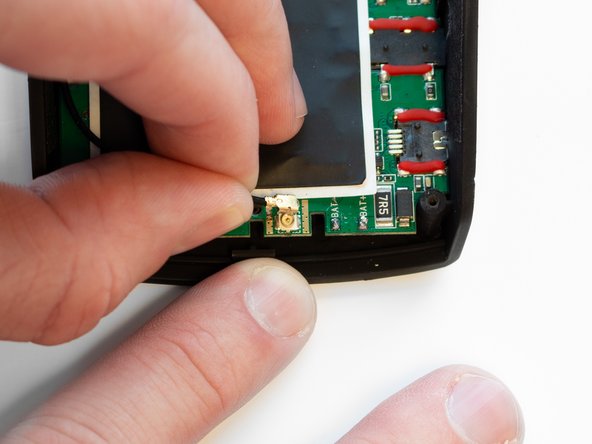
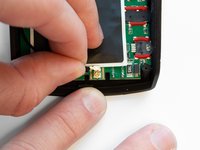
Pull the black antenna wire with the gold cap straight up to disconnect it from the motherboard.
-
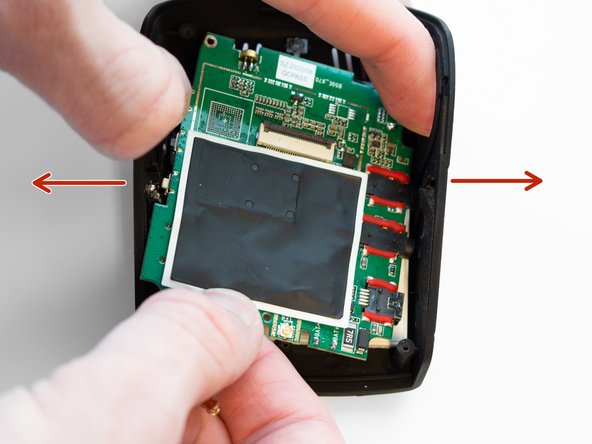
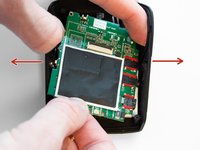
Using your fingers, spread the case apart to provide space for the motherboard to be removed.
-
-
-
-
-
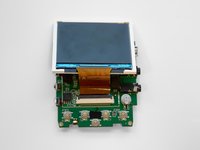
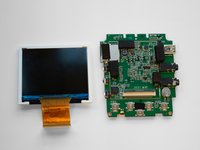
Once separated from the case, flip the motherboard over so the screen faces upward.
-
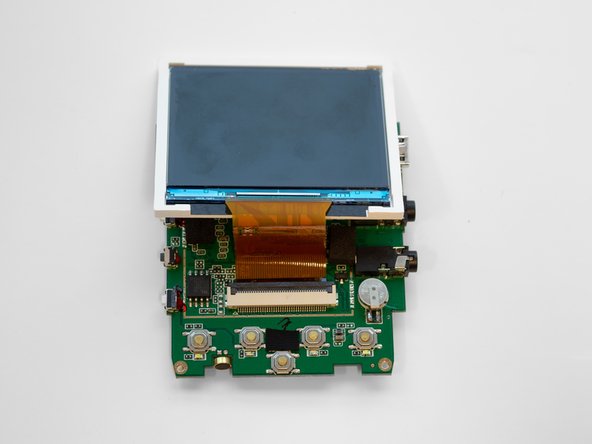
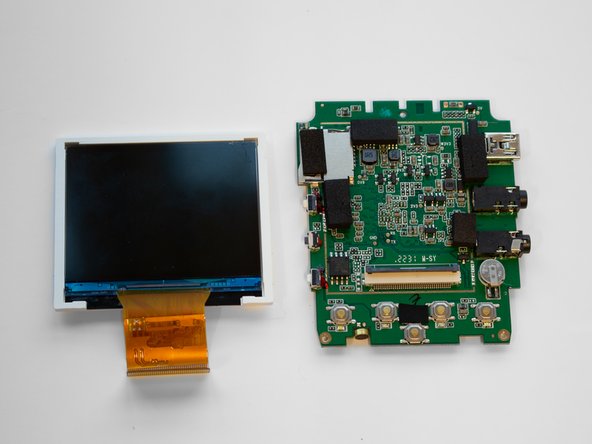
Rotate the motherboard so that the screen hangs over the top of the motherboard, as seen in the second image.
-
-
-
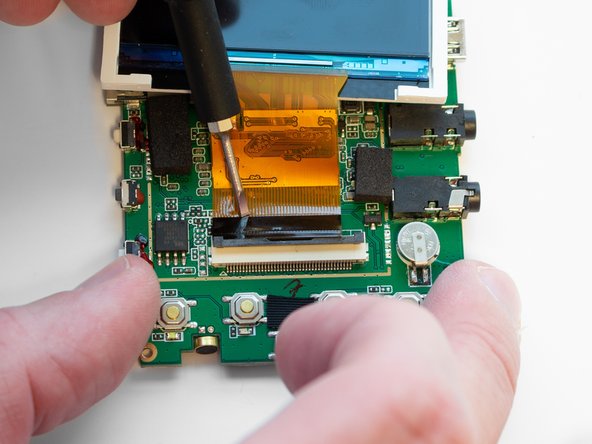
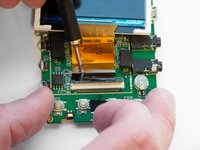
Using the Flathead 1.5mm screwdriver, flip up the black ZIF connector locking flap to free the ribbon cable.
-
Slide the ribbon cable out to remove it.
-
-


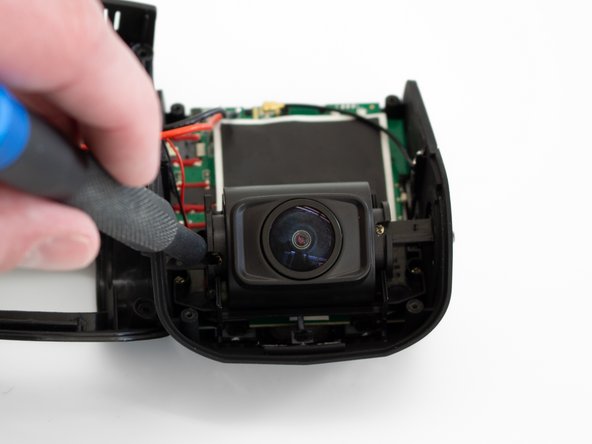
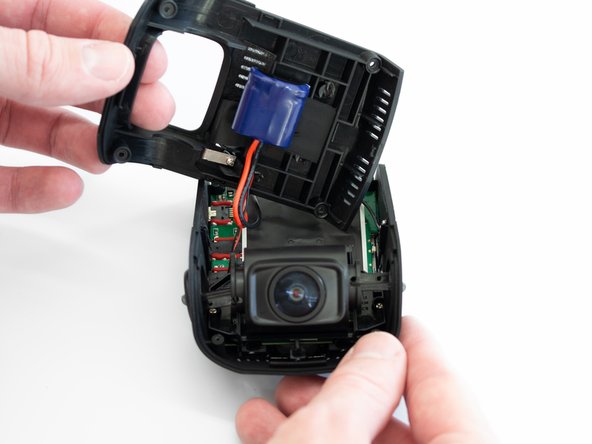

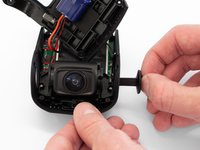
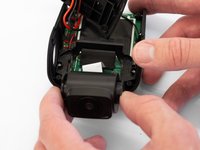

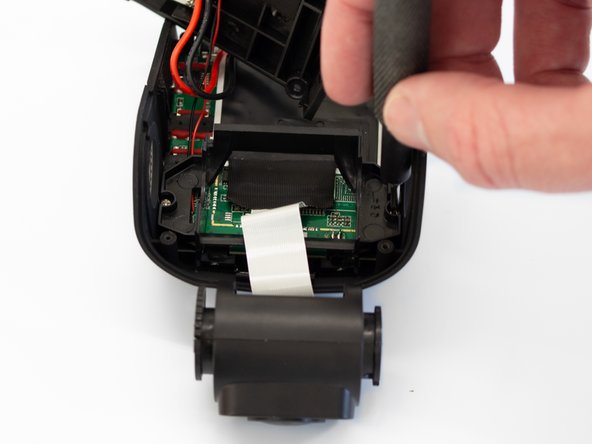
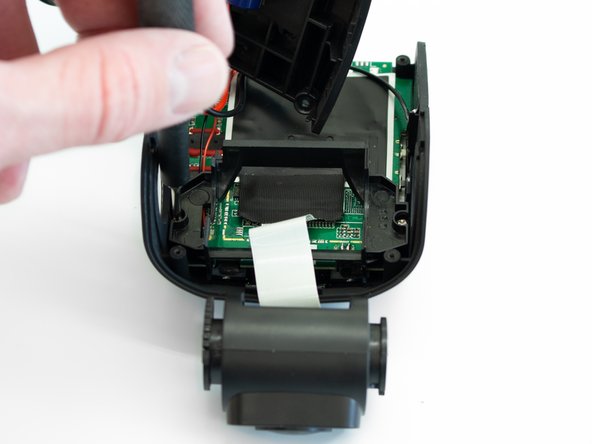


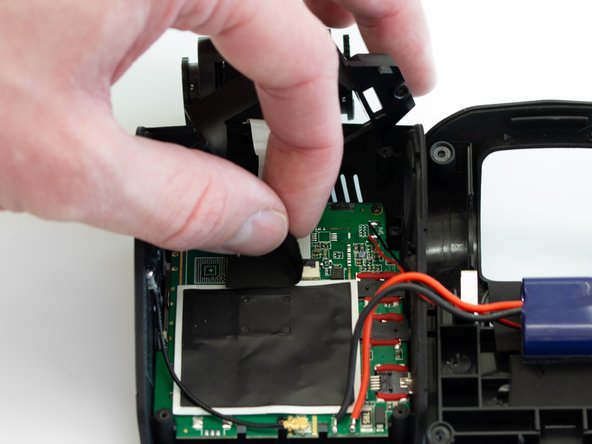
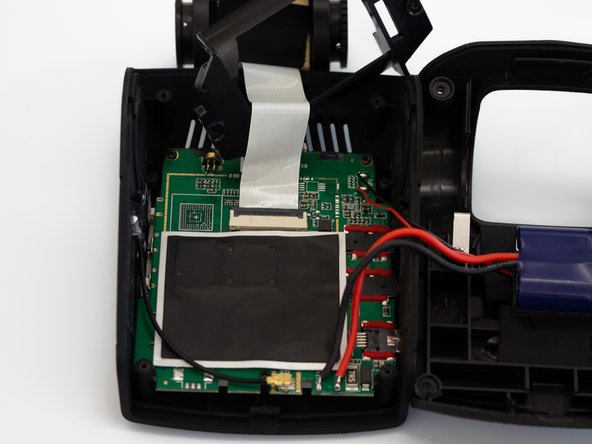
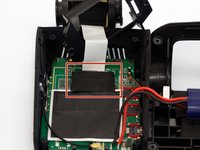
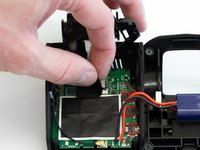
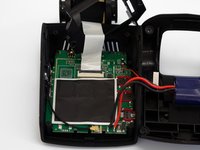
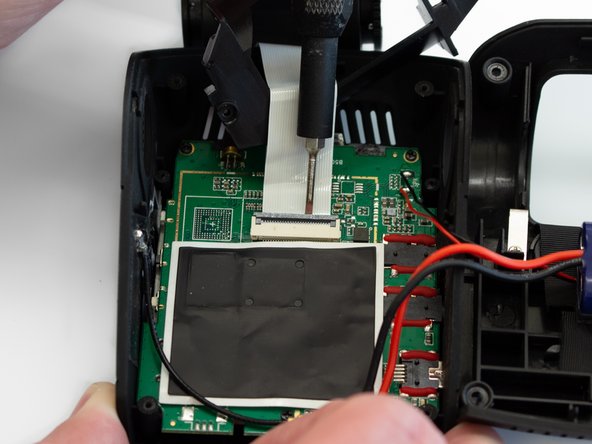
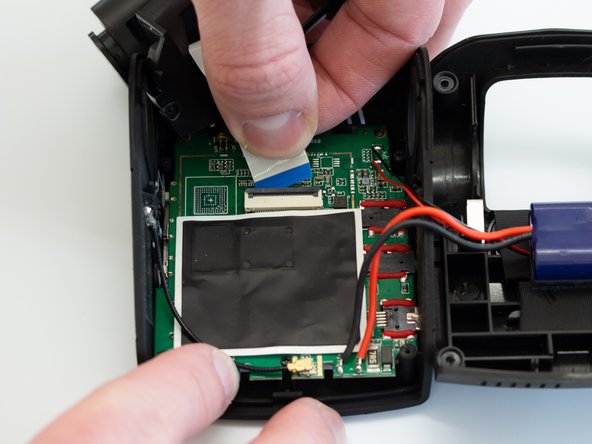
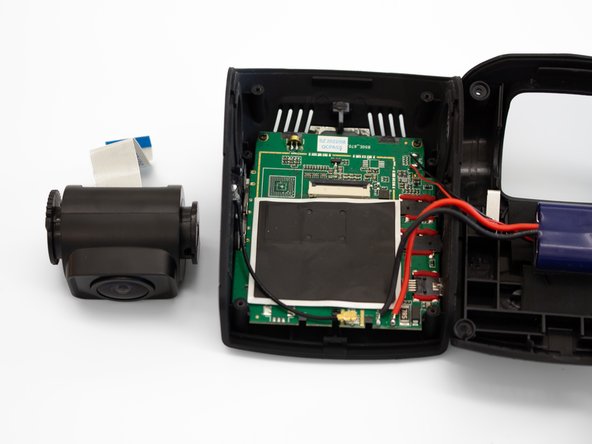
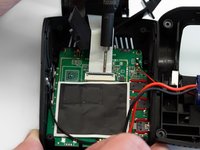
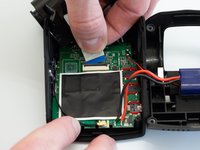
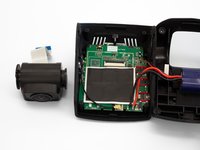

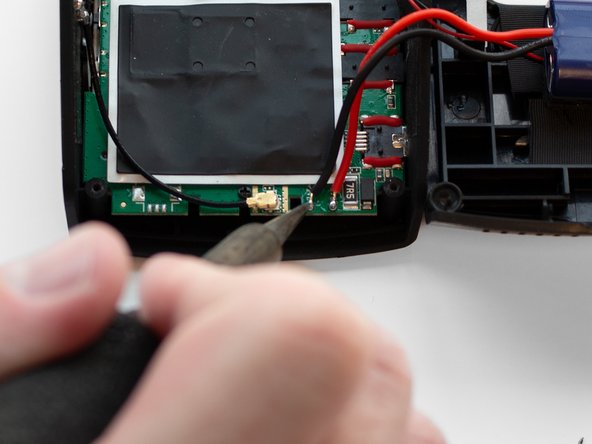
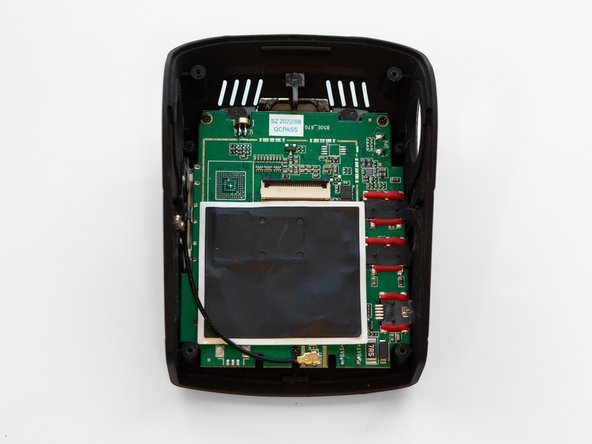
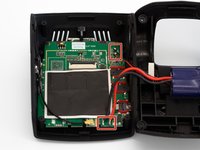
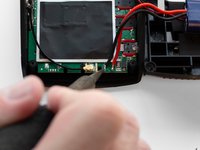
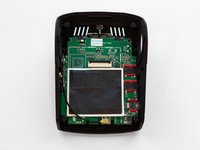



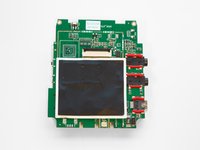

To reassemble your device, follow these instructions in reverse order.
Annulla: non ho completato questa guida.
Un'altra persona ha completato questa guida.

Team

Western Carolina University, Team 1-1, Virtue Spring 2023 Membro di Western Carolina University, Team 1-1, Virtue Spring 2023
WCU-VIRTUE-S23S1G1
4 Membri
5 guide realizzate
