Salta al contenuto principale
Unisciti alla Community delle riparazioni - Crea un account

Repairing Quasar Microwave Fan

Cosa ti serve

    1. Repairing Quasar Microwave Fan, Disassembling Quasar Microwave Outer Cover: passo 1, immagine 1 di 1
      • Disconnect the power supply cord from the outlet.

      Chiedi a FixBot

      Aggiungi Commento

    2. Repairing Quasar Microwave Fan: passo 2, immagine 1 di 2 Repairing Quasar Microwave Fan: passo 2, immagine 2 di 2
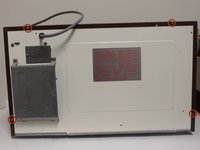
      • Remove the eight screws holding the wood-patterned cover to the microwave frame.

      • The first four screws are located on either side of the microwave front.

      Chiedi a FixBot

      Aggiungi Commento

    3. Repairing Quasar Microwave Fan: passo 3, immagine 1 di 2 Repairing Quasar Microwave Fan: passo 3, immagine 2 di 2
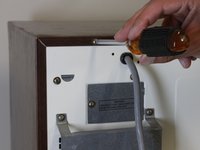
      • Remove the additional four screws securing the wood-paneled case to the microwave frame.

      Chiedi a FixBot

      Aggiungi Commento

    4. Repairing Quasar Microwave Fan: passo 4, immagine 1 di 3 Repairing Quasar Microwave Fan: passo 4, immagine 2 di 3 Repairing Quasar Microwave Fan: passo 4, immagine 3 di 3
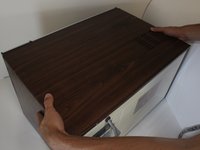
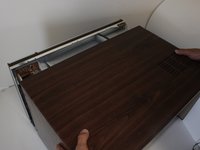
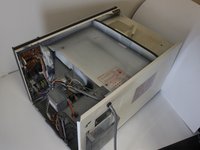
      • Placing your hands on either side of the case, slide the case back gently until you feel it completely separate from the microwave frame.

      • Lift the case upward slowly until the case is free of the microwave.

      Chiedi a FixBot

      Aggiungi Commento

    1. Repairing Quasar Microwave Fan, Repairing Quasar Microwave Fan: passo 5, immagine 1 di 2 Repairing Quasar Microwave Fan, Repairing Quasar Microwave Fan: passo 5, immagine 2 di 2
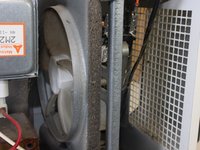
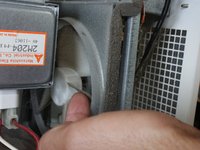
      • Locate the fan in the newly exposed interior.

      • Try spinning the fan with your finger. If it spins freely, the fan is not jammed.

      • If the fan does not spin freely, locate what is jamming the fan and remove it.

      Chiedi a FixBot

      Aggiungi Commento

    2. Repairing Quasar Microwave Fan: passo 6, immagine 1 di 1
      • If the fan is not jammed yet still does not work, check that there are no disconnected wires, especially to the fan.

      • In order to work properly, there should be two wires going in and out of the fan. If you are missing either of these wires, locate the loose wire/s and connect them.

      Chiedi a FixBot

      Aggiungi Commento

Conclusione

To reassemble your device, follow these instructions in reverse order.

Annulla: non ho completato questa guida.

Un'altra persona ha completato questa guida.

Melanie

Membro da: 09/26/12

107 Reputazione

2 guide realizzate

Team

Cal Poly, Team 2-12, Propen Fall 2012 Membro di Cal Poly, Team 2-12, Propen Fall 2012

CPSU-PROPEN-F12S2G12

3 Membri

18 guide realizzate

0Commenti sulla guida

Aggiungi Commento

Visualizza statistiche:

Ultime 24 ore: 3

Ultimi 7 giorni: 6

Ultimi 30 giorni: 29

Tutti i Tempi: 2,055