Cosa ti serve
-
-
Assicurati che il tuo dispositivo Palm Pre sia spento prima di smontare il cellulare.
-
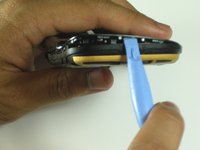
Stacca il pannello posteriore per rivelare la batteria.
-
-
-
-
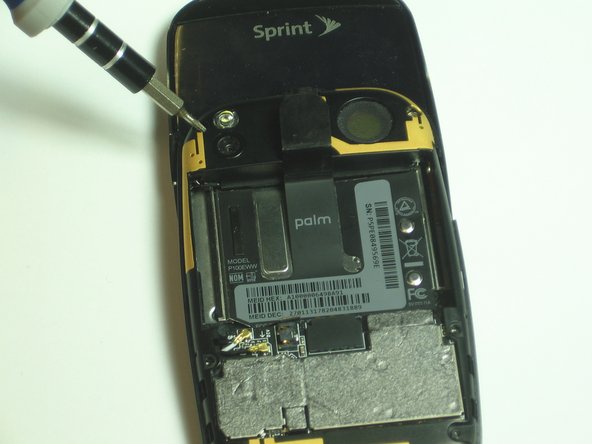
Usa il Cacciavite T5 Torx per rimuovere le sei viti che reggono al suo posto il telaio di supporto.
-
-
Attrezzo utilizzato in questo passaggio:Tweezers$4.99
-
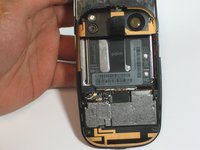
Individua la cerniera che copre le antenne GPS e DIV in bianco e nero (la cerniera si trova nel riquadro rosso come mostrato nell'immagine.)
-
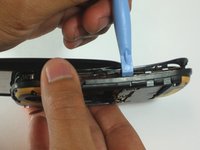
Usa uno spudger per fare leva e aprire la cerniera.
-
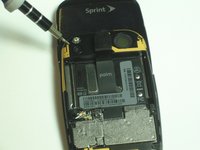
Usa delle pinzette per scollegare le antenne della scheda di controllo della tastiera.
-


Per rimontare il tuo dispositivo, segui queste istruzioni nell'ordine inverso.
Un ringraziamento speciale a questi traduttori:
100%

Questi traduttori ci stanno aiutando ad aggiustare il mondo! Vuoi partecipare?
Inizia a tradurre ›
Team

Cal Poly, Team 7-31, Maness Spring 2012 Membro di Cal Poly, Team 7-31, Maness Spring 2012
CPSU-MANESS-S12S7G31
3 Membri
28 guide realizzate