Introduzione
Excessive use sometimes causes certain ports, such as the AV Port, to cease normal function. This guide explains how to remove the main board from a Nikon D80 camera. For safety purposes, please remove the battery before working with any electronic components.
Please note that this guide requires soldering. For more information on how to solder and desolder connections, please visit this guide.
Cosa ti serve
-
-
-
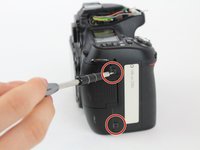
Using a Phillips #00 screwdriver, remove the four 6.2 mm screws from the left and right sides of the outer cover.
 Chiedi a FixBot
-
-
Strumento utilizzato in questo passaggio:Tweezers$4.99
-
Use tweezers to gently flip the small locking flap of the zero force insertion connector up.
-
Pull the orange connector cable out of the zero force insertion connector using the tweezers.
-
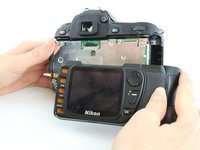
Remove the back cover.
-
-
-
-
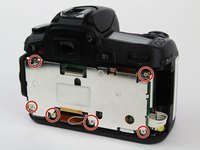
Use a Phillips #00 screwdriver to remove the six 3.7 mm screws.
-
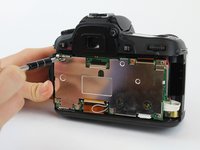
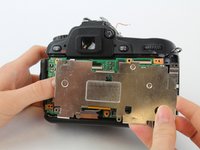
Remove the back plate that covers the main board.
-
-
-
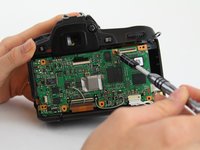
Use tweezers to gently flip the small locking flaps of the zero force insertion connectors up.
-
Pull the bottom orange connector cable out of the zero force insertion connector using the tweezers.
-
Pull the top orange connector cable out of the zero force insertion connector using the tweezers.
-
Remove the ribbon cables by gently pulling them away from the no-fuss ribbon cable connectors.
-
Remove the ribbon cables by gently pulling them away from the no-fuss ribbon cable connectors.
-
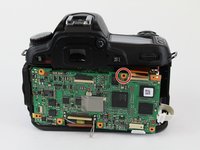
Disconnect the main board from the two ports on the left by pulling the main board to the right.
-
-
-
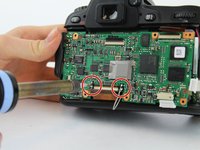
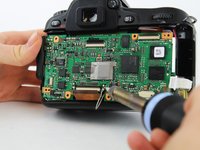
Using the soldering iron, disconnect the four wires soldered to the main board.
-
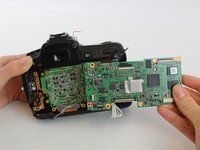
Remove the main board.
-
-










To reassemble your device, follow these instructions in reverse order.
Annulla: non ho completato questa guida.
Altre 3 persone hanno completato questa guida.

Team

USF Tampa, Team S1-G1, Leahy Fall 2017 Membro di USF Tampa, Team S1-G1, Leahy Fall 2017
USFT-LEAHY-F17S1G1
4 Membri
16 guide realizzate
