Salta al contenuto principale
Unisciti alla Community delle riparazioni - Crea un account

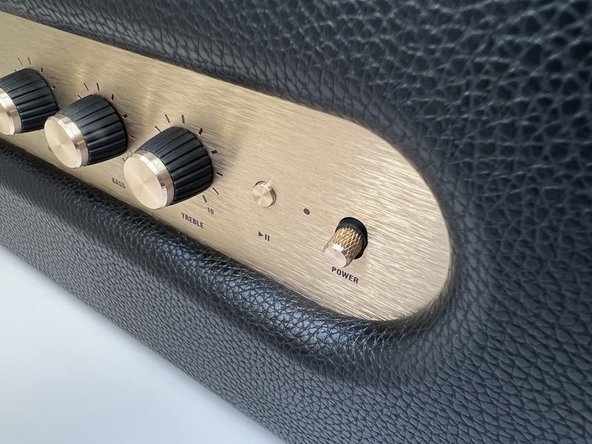
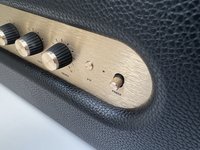
Marshall Stanmore II Power Switch Replacement

Cosa ti serve

    1. Marshall Stanmore II Power Switch Replacement, Rear Panel: passo 1, immagine 1 di 2 Marshall Stanmore II Power Switch Replacement, Rear Panel: passo 1, immagine 2 di 2
      • Turn off the device and unplug the cable from the wall and the speaker.

      • Lay the speaker with the back panel facing up on a flat, stable work surface.

      Chiedi a FixBot

      Aggiungi Commento

    2. Marshall Stanmore II Power Switch Replacement: passo 2, immagine 1 di 2 Marshall Stanmore II Power Switch Replacement: passo 2, immagine 2 di 2
      • Use a Phillips #2 screwdriver to remove the ten 20.5 mm screws that secure the rear panel to the chassis.

      Chiedi a FixBot

      Aggiungi Commento

    3. Marshall Stanmore II Power Switch Replacement: passo 3, immagine 1 di 2 Marshall Stanmore II Power Switch Replacement: passo 3, immagine 2 di 2
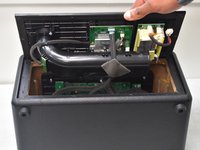
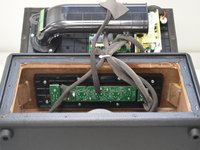
      • Carefully lift the rear panel and let it rest on an object, like a stack of books, to avoid straining the cables.

      • Do not attempt to fully remove the panel, as this will damage the connections inside.

      Chiedi a FixBot

      Aggiungi Commento

    1. Marshall Stanmore II Power Switch Replacement, Power Switch: passo 4, immagine 1 di 3 Marshall Stanmore II Power Switch Replacement, Power Switch: passo 4, immagine 2 di 3 Marshall Stanmore II Power Switch Replacement, Power Switch: passo 4, immagine 3 di 3
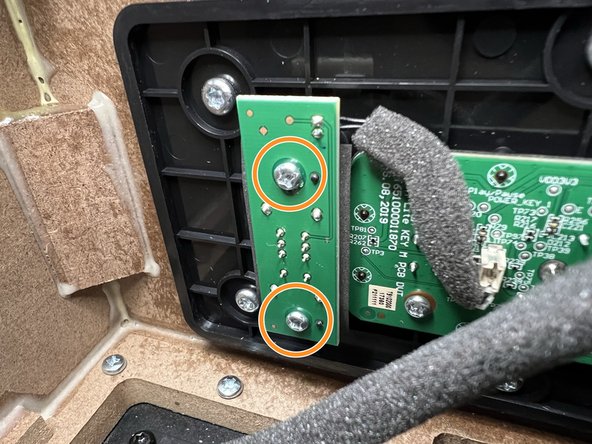
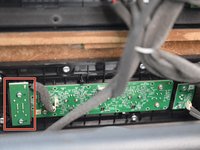
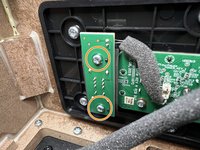
      • Locate the Power Switch PCB on the left-hand side above the subwoofer.

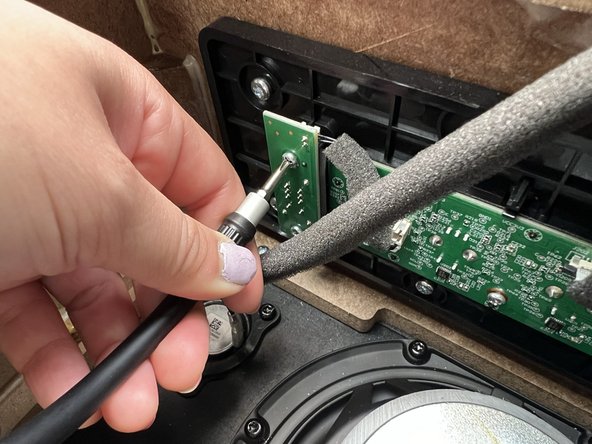
      • Use a Phillips #2 screwdriver to remove the two 10 mm screws that secure the PCB.

      • Because the space inside is somewhat cramped, consider using the iFixit 150 mm Flex Extension included in the iFixit Pro Tech Toolkit.

      Chiedi a FixBot

      Aggiungi Commento

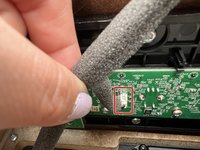
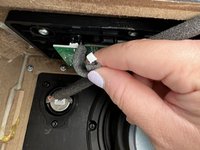
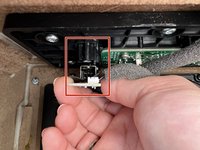
    2. Marshall Stanmore II Power Switch Replacement: passo 5, immagine 1 di 2 Marshall Stanmore II Power Switch Replacement: passo 5, immagine 2 di 2
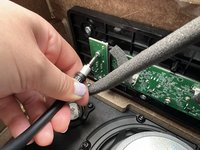
      • Locate the PCB's black wire connector and gently disconnect it.

      • Do not pull on the wires.

      Chiedi a FixBot

      Aggiungi Commento

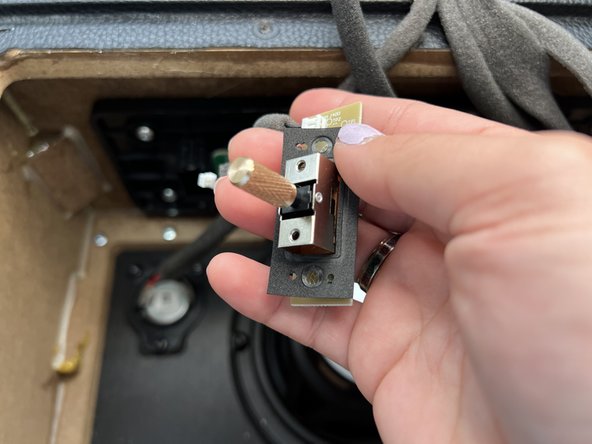
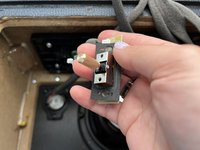
    3. Marshall Stanmore II Power Switch Replacement: passo 6, immagine 1 di 3 Marshall Stanmore II Power Switch Replacement: passo 6, immagine 2 di 3 Marshall Stanmore II Power Switch Replacement: passo 6, immagine 3 di 3
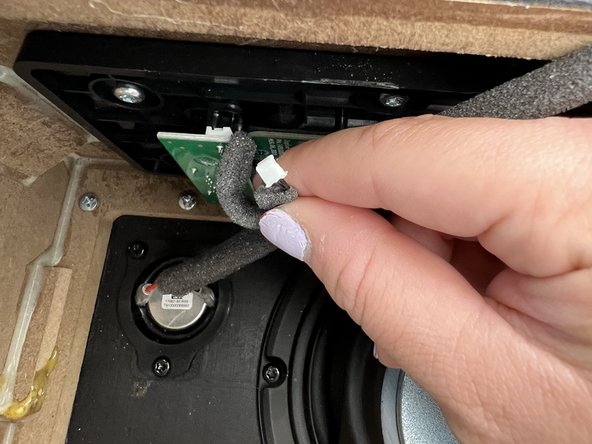
      • Pull the PCB out of the mount.

      • Take care not to damage the rubber seal surrounding the switch base as depicted in picture two.

      • Rocking the PCB back and forth while pulling may help remove the module.

      Chiedi a FixBot

      Aggiungi Commento

Conclusione

To reassemble your device, follow these instructions in reverse order.

Annulla: non ho completato questa guida.

Altre 3 persone hanno completato questa guida.

3Commenti sulla guida

Hellooooo very good but were did you fint the eplace the power switch ?

Fred - Rispondi Condividi

Where can buy on /off switch ?

Choi Kee - Rispondi Condividi

On/off switch bar is broken

Choi Kee - Rispondi Condividi

Aggiungi Commento

Visualizza statistiche:

Ultime 24 ore: 1

Ultimi 7 giorni: 26

Ultimi 30 giorni: 132

Tutti i Tempi: 2,986