Introduzione
It is recommended that you have the iFixit ProTech toolkit and have already taken out the motherboard and taken apart the case.
Cosa ti serve
-
-
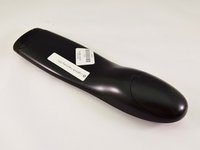
Remove the battery cover by applying pressure to the indented area and pushing the cover toward the rear of the device.
 Chiedi a FixBot
-
-
-
Using a J000 Philips head screwdriver remove the four 5mm screws around the rim of the battery chamber.
-
-
Strumento utilizzato in questo passaggio:Flathead 3/32" or 2.5 mm Screwdriver$5.49
-
Remove the small plastic cover beneath the plastic LED housing by using a 3.0 flathead screwdriver and a spudger to pry it off. It is glued to the case. If you are having trouble removing it try applying some heat to loosen the glue.
-
-
-
Remove the two 5mm screws located underneath the cover using a J000 Philips screwdriver bit.
-
-
-
-
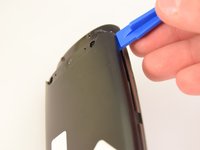
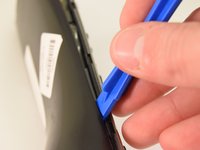
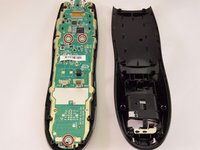
Using a plastic opening tool, pry the case off starting from the top of the device (nearest the transmitter). There are 3 tabs along the side of the case and one at the back.
-
The top led protector plastic cover will also be freed once back is removed.
-
-
-
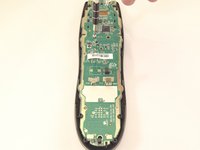
Using a J0 screwdriver remove the three 5mm screws holding the motherboard to the front face. Two are located just below the processor in the middle of the device and the third is located at the very bottom.
-
-
-
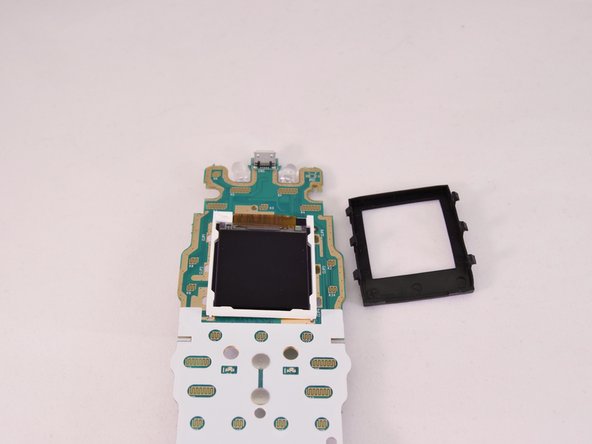
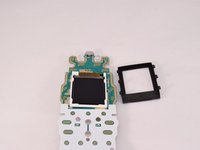
Remove the black rubber gasket that surrounds the screen from the top face of the motherboard.
-
The gasket has 3 tabs along each side. The thick side of the gasket faces the top.
-
-
-
Use a soldering iron to loosen the solder that connects the screen strip to the back of the motherboard. If it does not loosen easily then try using a soldering remover wick.
-
-
-
Use a metal spudger to cut the strip from the motherboard along the solder line.
-
-
-
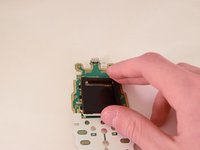
Use a spudger or your hand to remove the screen from the motherboard. It is glued down.
-










To reassemble your device, follow these instructions in reverse order.
Annulla: non ho completato questa guida.
Altre 4 persone hanno completato questa guida.

Team

Eastern Washington University, Team 1-2, Rowley Winter 2016 Membro di Eastern Washington University, Team 1-2, Rowley Winter 2016
EWU-ROWLEY-W16S1G2
4 Membri
5 guide realizzate
2Commenti sulla guida
Hey will beat buy honor a warrenty
so where can i buy the screen!!!!
