Salta al contenuto principale
Unisciti alla Community delle riparazioni - Crea un account

Logitech G915 Wireless (Clicky) Battery Replacement

Cosa ti serve

  1. Logitech G915 Wireless (Clicky) Battery Replacement, Prepare your keyboard for disassembly: passo 1, immagine 1 di 3 Logitech G915 Wireless (Clicky) Battery Replacement, Prepare your keyboard for disassembly: passo 1, immagine 2 di 3 Logitech G915 Wireless (Clicky) Battery Replacement, Prepare your keyboard for disassembly: passo 1, immagine 3 di 3
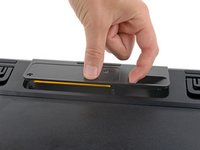
    • Slide the power switch on the top edge of the keyboard to the OFF (left) position.

    • A red indicator should be visible beneath the switch.

    • Unplug all cables from the keyboard.

    • Lay the keyboard down with the feet facing up on a clean work surface.

    • If your work surface might scratch the keyboard, place a soft towel under it.

    Chiedi a FixBot
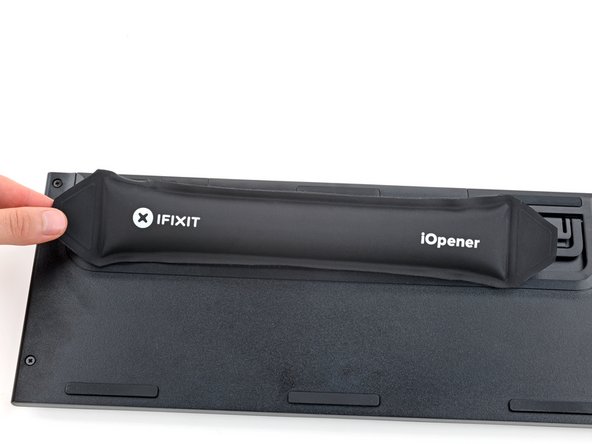
  2. Logitech G915 Wireless (Clicky) Battery Replacement, Remove the sticker: passo 2, immagine 1 di 2 Logitech G915 Wireless (Clicky) Battery Replacement, Remove the sticker: passo 2, immagine 2 di 2
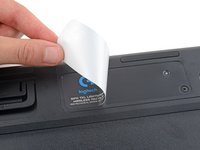
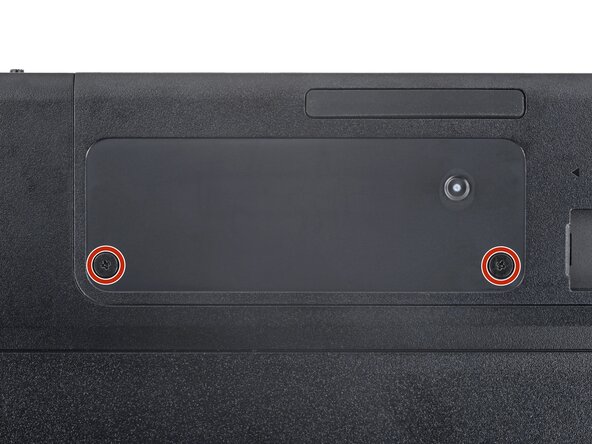
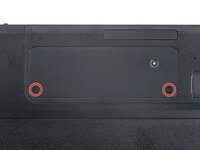
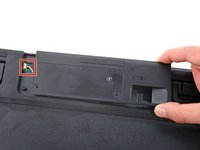
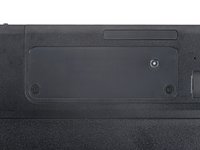
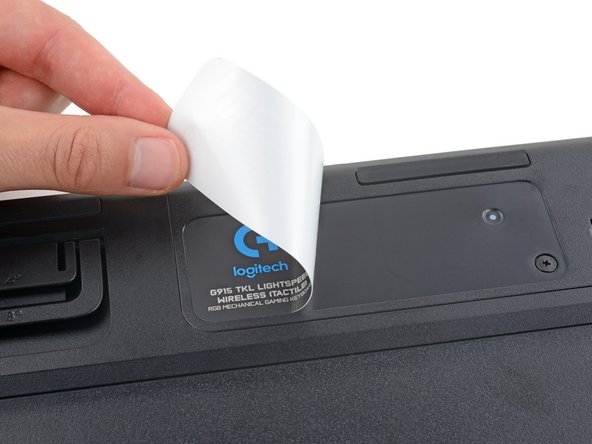
    • The Logitech sticker hides two battery cover screws.

    • Heat an iOpener and lay it on the Logitech sticker for one minute.

    • Alternatively, you can use a hair dryer to heat the sticker. Make sure it's on the Low setting to avoid warping the plastic.

    Chiedi a FixBot
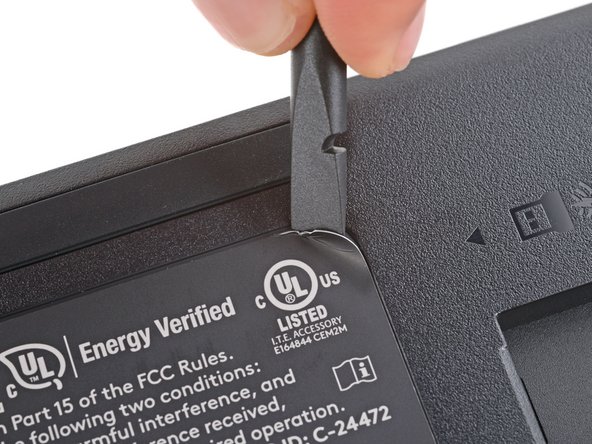
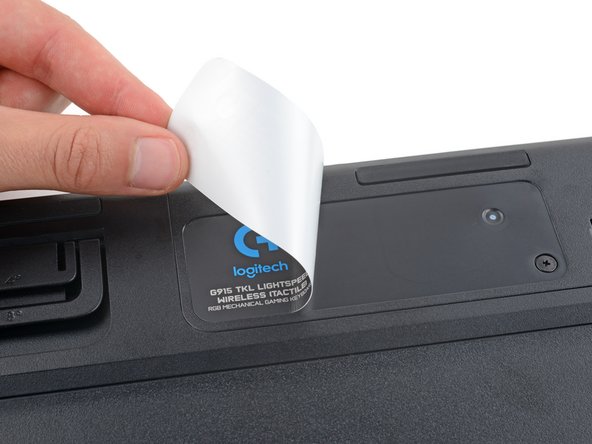
  3. Logitech G915 Wireless (Clicky) Battery Replacement: passo 3, immagine 1 di 3 Logitech G915 Wireless (Clicky) Battery Replacement: passo 3, immagine 2 di 3 Logitech G915 Wireless (Clicky) Battery Replacement: passo 3, immagine 3 di 3
    • If you don't want to remove the whole sticker, you can just peel up the bottom left and right corners until you can access the screws.

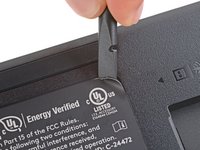
    • Use a spudger or your fingernail to peel up a corner of the sticker until you can grip it with your fingers.

    • Peel up the sticker with your fingers and remove it.

    Chiedi a FixBot
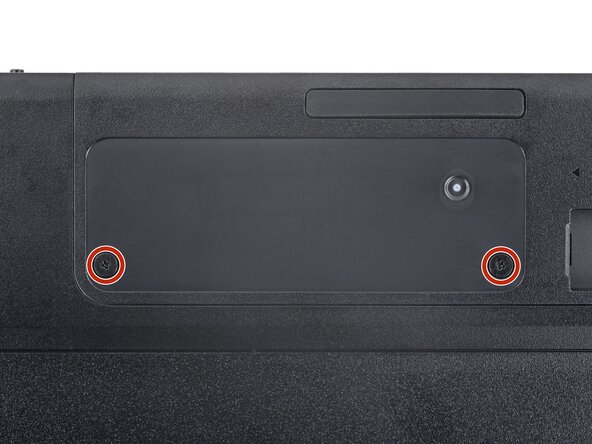
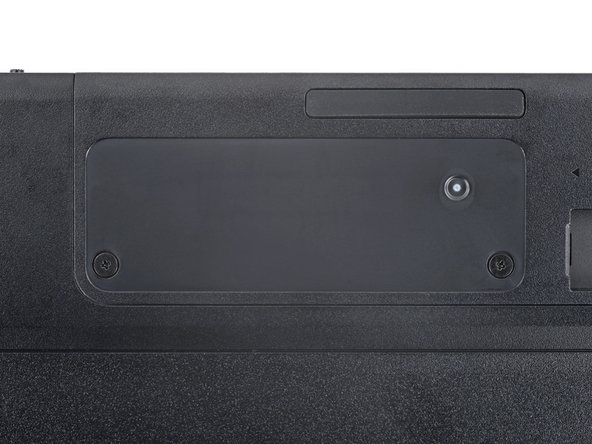
  4. Logitech G915 Wireless (Clicky) Battery Replacement, Remove the battery cover screws: passo 4, immagine 1 di 2 Logitech G915 Wireless (Clicky) Battery Replacement, Remove the battery cover screws: passo 4, immagine 2 di 2
    • Use a Phillips screwdriver to remove the two 4 mm‑long screws securing the battery cover.

    Chiedi a FixBot
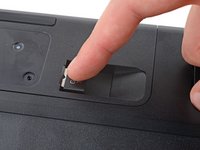
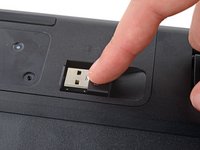
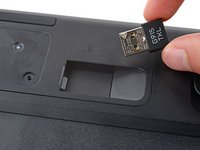
  5. Logitech G915 Wireless (Clicky) Battery Replacement, Remove the USB receiver: passo 5, immagine 1 di 3 Logitech G915 Wireless (Clicky) Battery Replacement, Remove the USB receiver: passo 5, immagine 2 di 3 Logitech G915 Wireless (Clicky) Battery Replacement, Remove the USB receiver: passo 5, immagine 3 di 3
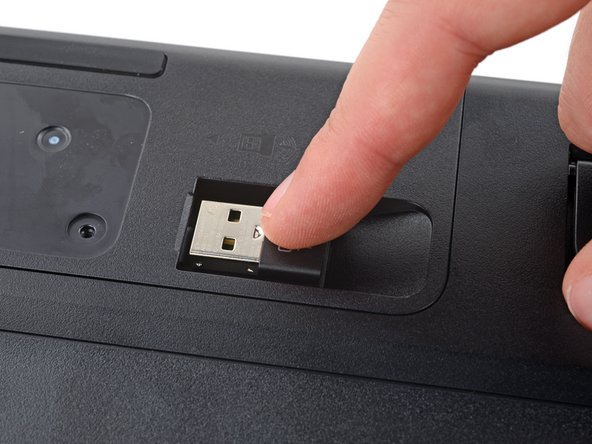
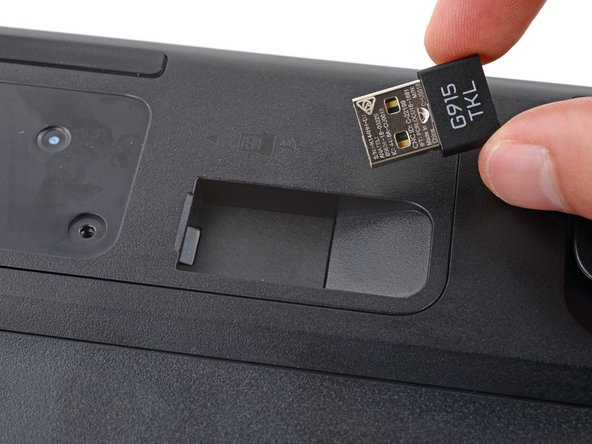
    • If you have a USB receiver stored in the battery cover compartment, use your finger to slide it out and remove it.

    Chiedi a FixBot
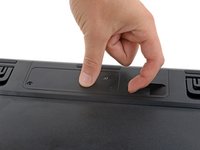
  6. Logitech G915 Wireless (Clicky) Battery Replacement, Reposition the battery cover: passo 6, immagine 1 di 3 Logitech G915 Wireless (Clicky) Battery Replacement, Reposition the battery cover: passo 6, immagine 2 di 3 Logitech G915 Wireless (Clicky) Battery Replacement, Reposition the battery cover: passo 6, immagine 3 di 3
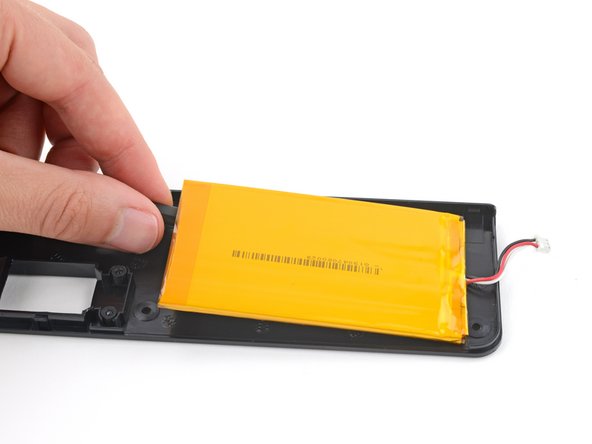
    • Plastic clips secure the edges of the battery cover.

    • Insert your finger into the USB receiver compartment on the battery cover.

    • Pull up the bottom edge of the cover to release the clips.

    • Don't try to fully remove the cover yet, as it's still connected by the battery cable.

    • Gently pull the cover to the right so you can access the battery connector on the left side of the recess.

    Chiedi a FixBot
  7. Logitech G915 Wireless (Clicky) Battery Replacement, Disconnect the battery: passo 7, immagine 1 di 2 Logitech G915 Wireless (Clicky) Battery Replacement, Disconnect the battery: passo 7, immagine 2 di 2
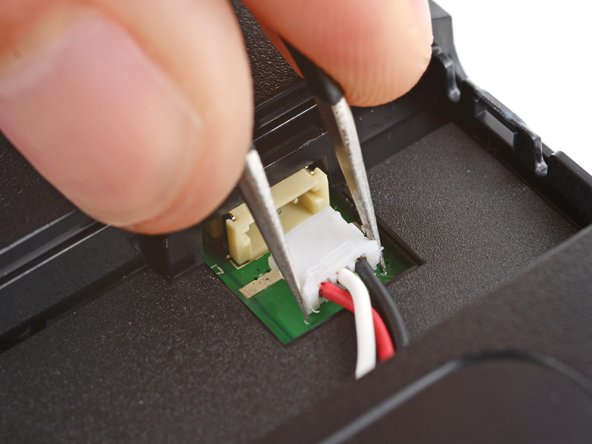
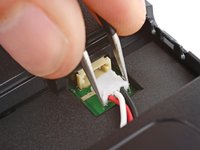
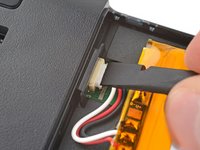
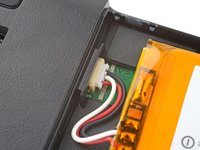
    • Use a pair of angled tweezers to firmly grip the battery connector.

    • Hold the tweezers with your fingers as close to the connector as possible to get a firm grip.

    • Slide the connector straight out of its socket.

    • If you're having trouble, gently rock the connector side-to-side to help loosen it.

    Chiedi a FixBot
  8. Logitech G915 Wireless (Clicky) Battery Replacement, Remove the battery cover: passo 8, immagine 1 di 1
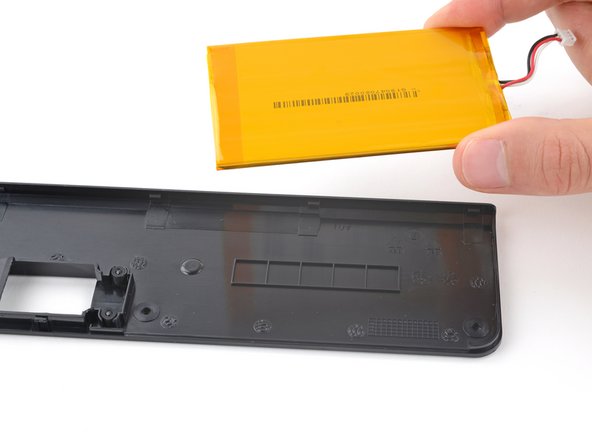
    • Remove the battery cover.

    • Congratulations on completing disassembly! The remaining steps will show you how to install your replacement battery and reassemble your device.

    Chiedi a FixBot
  9. Logitech G915 Wireless (Clicky) Battery Replacement, Install the new battery: passo 9, immagine 1 di 3 Logitech G915 Wireless (Clicky) Battery Replacement, Install the new battery: passo 9, immagine 2 di 3 Logitech G915 Wireless (Clicky) Battery Replacement, Install the new battery: passo 9, immagine 3 di 3
    • If your replacement battery comes attached to a new battery cover, skip the next three steps. Otherwise, follow the next three steps to remove the old battery from the cover and install your new one.

    • Light adhesive secures the battery to its cover.

    • Gently slide the flat end of a spudger under one of the short edges of the battery and lift to separate the adhesive.

    • Be very careful not to puncture the battery, as it can leak dangerous chemicals or catch fire.

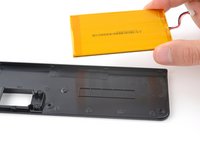
    • Remove the battery from its cover.

    Chiedi a FixBot
  10. Logitech G915 Wireless (Clicky) Battery Replacement: passo 10, immagine 1 di 3 Logitech G915 Wireless (Clicky) Battery Replacement: passo 10, immagine 2 di 3 Logitech G915 Wireless (Clicky) Battery Replacement: passo 10, immagine 3 di 3
    Strumento utilizzato in questo passaggio:
    Tesa 61395 Tape
    $8.95
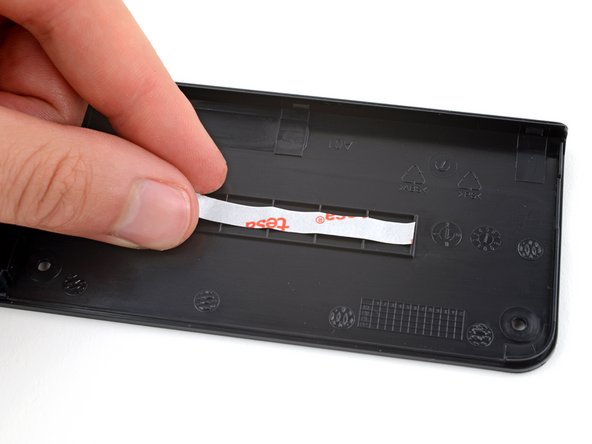
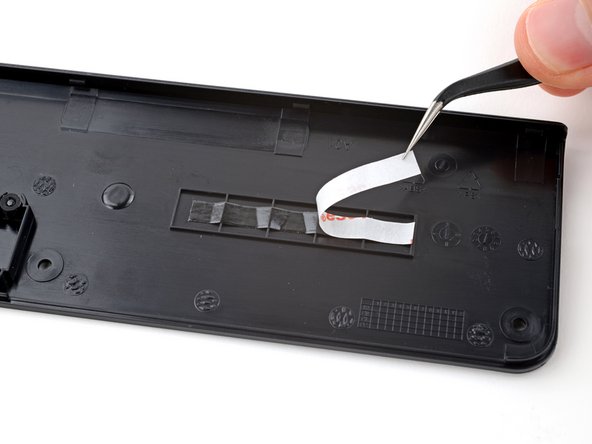
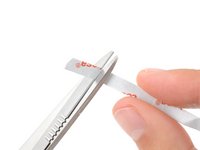
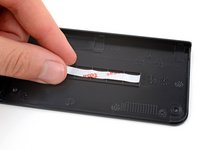
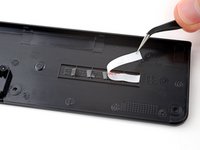
    • Cut a piece of double-sided tape so it fits on the line of squares on the inside of the battery cover.

    • Press the tape firmly into place on the squares and remove the liner.

    Chiedi a FixBot
  11. Logitech G915 Wireless (Clicky) Battery Replacement: passo 11, immagine 1 di 1
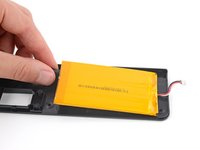
    • Lay your new battery into its recess in the keyboard so the cable is on the left edge, near the battery connector.

    Chiedi a FixBot
  12. Logitech G915 Wireless (Clicky) Battery Replacement, Reconnect the battery: passo 12, immagine 1 di 2 Logitech G915 Wireless (Clicky) Battery Replacement, Reconnect the battery: passo 12, immagine 2 di 2
    • Insert the new battery's connector into its socket so the side with exposed pins is on the bottom.

    • Use a spudger to push the battery connector fully into its socket.

    Chiedi a FixBot
  13. Logitech G915 Wireless (Clicky) Battery Replacement, Install the battery cover: passo 13, immagine 1 di 1
    • Set the battery cover into place and firmly press down around its edges to engage all the clips.

    • You should feel and hear "clicks" as the clips engage.

    Chiedi a FixBot
  14. Logitech G915 Wireless (Clicky) Battery Replacement, Install the battery cover screws: passo 14, immagine 1 di 2 Logitech G915 Wireless (Clicky) Battery Replacement, Install the battery cover screws: passo 14, immagine 2 di 2
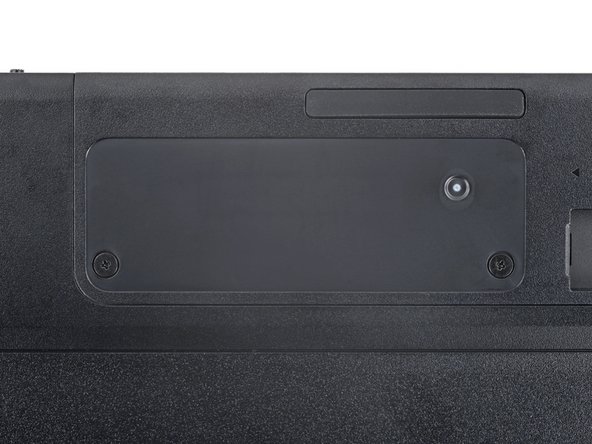
    • Use a Phillips screwdriver to install the two 4 mm‑long screws securing the battery cover.

    Chiedi a FixBot
  15. Logitech G915 Wireless (Clicky) Battery Replacement, Apply the battery cover sticker: passo 15, immagine 1 di 1
    • Use your fingers to apply the sticker to the battery cover.

    • To help the sticker adhere better, you can apply some heat with an iOpener or hair dryer.

    Chiedi a FixBot
Conclusione

To reassemble your device, follow these instructions in reverse order.

Take your e-waste to an R2 or e-Stewards certified recycler.

Repair didn’t go as planned? Try some basic troubleshooting, or ask our Answers community for help.

Un'altra persona ha completato questa guida.

Spencer Day

Membro da: 09/14/22

187.810 Reputazione

1.187 guide realizzate

Team

iFixit Membro di iFixit

Staff

123 Membri

25.699 guide realizzate

0Commenti sulla guida

Aggiungi Commento

Visualizza Statistiche:

Ultime 24 Ore: 2

Ultimi 7 Giorni: 15

Ultimi 30 Giorni: 63

Tutti i Tempi: 1,985