Introduzione
Today you are going to learn how to efficiently take the Samsung DV180F apart in order to replace the lens. In order to get to the lens you will have to remove the outer casing, metal button casing, ribbons and rear display screen.
Cosa ti serve
-
-
-
Flip the small blue switch up to release the battery. Remove the battery.
-
Remove two Philips #000 screws. Place the screws on a magnetic pad or somewhere safe.
-
Insert a plastic opening tool in the corner by the Micro USB plug. This area will allow leverage in order to take off the outer case.
 Chiedi a FixBot
-
-
-
Use the opening tool and your fingers to pry apart the outer case. Hold back camera as well as menu navigation buttons while you remove the case.
-
Unscrew two small Phillips screws holding the outer case to the motherboard. Use the opening tool to unhook the case from the plate covering the motherboard.
-
The second screw (top left) is under the control PCB. The PCB is mounted to a metal plate that is retained by some adhesive tape underneath and two prongs (bottom-left). You need to pry the plate from the top-right until the tape is broken, then slide the plate upwards (relative to photo). Take care not to pull or tear the ribbon cable.
-
-
-
-
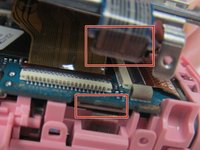
Disconnect the button casing ribbon cable from the motherboard.
-
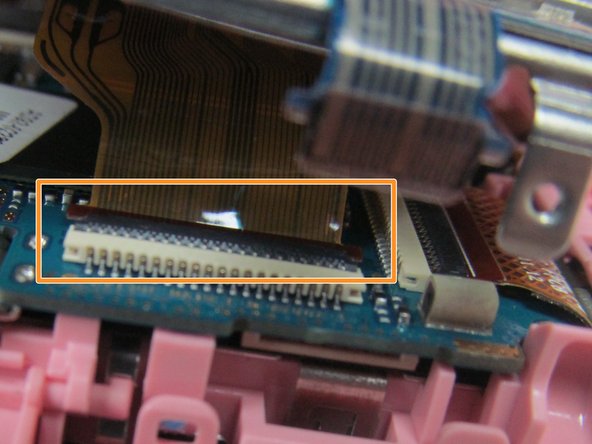
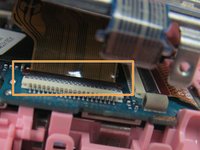
Lift up the metal casing with one hand and use the other hand to snap the ZIF connector back, in order to remove the display ribbon cable.
-
-
-
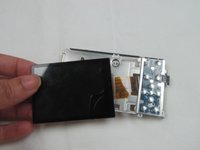
Remove the display and buttons.
-
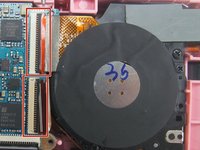
Release the clamp on the two ribbon cables connected to the camera lens.
-
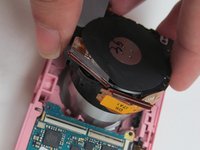
Pull the lens out of the camera base.
-
-




To reassemble your device, follow these instructions in reverse order.
Annulla: non ho completato questa guida.
Un'altra persona ha completato questa guida.

Team

USF Tampa, Team 14-4, Eyestone Fall 2016 Membro di USF Tampa, Team 14-4, Eyestone Fall 2016
USFT-EYESTONE-F16S14G4
4 Membri
8 guide realizzate
