Introduzione
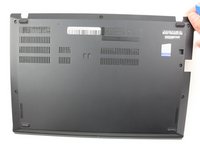
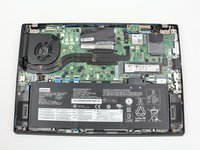
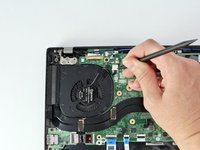
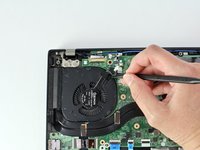
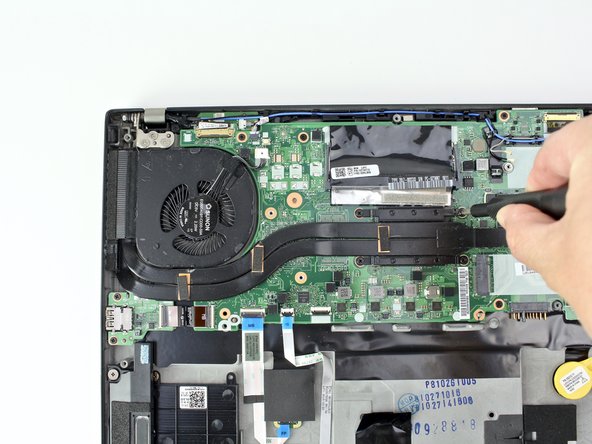
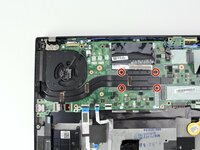
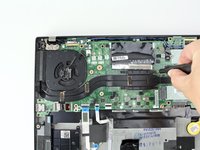
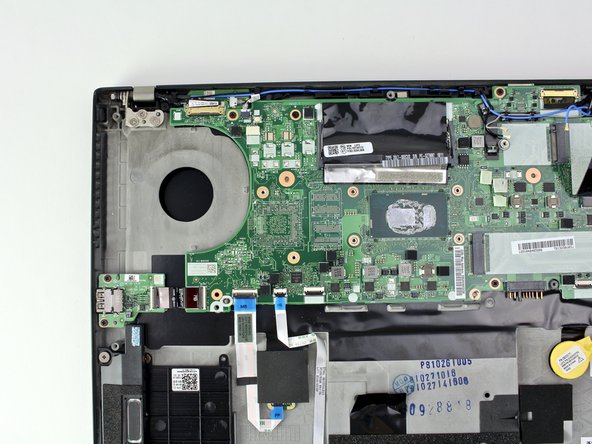
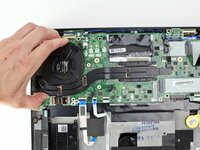
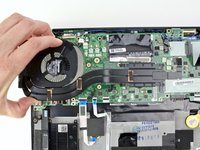
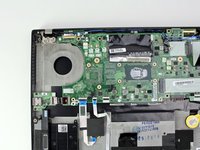
Follow these instructions to remove and replace the fan and heatsink assembly in your Lenovo ThinkPad T480s laptop.
The heatsink (or heat sink) is a passive heat exchanger that transfers heat in a device. The heat sink transfers heat from the laptop’s CPU to the fan, which redirects the heat away from the laptop’s internal components. The fan and heat sink work together to prevent the laptop from overheating, which can cause damage to the device.
If you find that your laptop is experiencing the following symptoms, it may be time to replace the fan and heatsink assembly:
- Easily overheats
- Running at higher temperatures than normal
- Loud whirring noises
- Laptop is getting louder
Don’t forget to follow our thermal paste application guide after you have removed your heat sink and are ready to reassemble your device.
Make sure to disable the internal battery, power down your device, and disconnect from any external power sources before you begin. You should also let it cool for 20 minutes before proceeding with the guide if you’ve been using the laptop extensively.
Cosa ti serve
To reassemble your device, follow these instructions in reverse order.
Take your e-waste to an R2 or e-Stewards certified recycler.
Repair didn’t go as planned? Try some basic troubleshooting, or ask our Answers community for help.
Annulla: non ho completato questa guida.
Altre 4 persone hanno completato questa guida.
2Commenti sulla guida
Danke. Perfekte Anweisung.
Thank you, @hansrteterra! I'm glad you found it helpful.


