Introduzione
Utilizza questa guida per aggiornare o sostituire l'unità a stato solido (SSD) M.2 sul lato sinistro in un laptop da gioco Lenovo Legion 5 15ACH6H. Questo laptop è compatibile solo con SSD NVME e pertanto non è compatibile con SSD SATA.
Prima di eseguire questa riparazione, esegui il backup del tuo SSD esistente, se possibile. Se stai sostituendo l'SSD su cui è installato il tuo sistema operativo, acquisisci familiarità con uno strumento di clonazione del disco così sarai pronto a migrare i tuoi dati sul nuovo SSD.
Infine, assicurati di spegnere completamente e scollegare il tuo laptop. Assicurati che il laptop non sia in modalità standby, sospensione o ibernazione.
Cosa ti serve
-
-
Utilizza un cacciavite a croce Phillips per rimuovere le seguenti dieci viti che fissano la cover posteriore al telaio:
-
Sei viti PH1 da 12,5 mm
-
Quattro viti PH1 da 4,7 mm
-
-
-
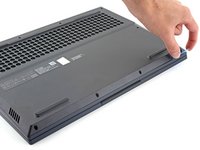
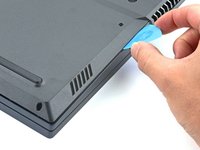
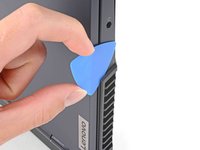
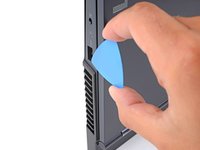
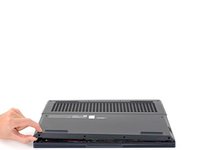
Inserisci il bordo arrotondato di un plettro di apertura tra la cover posteriore e il telaio nell'angolo in basso a destra.
-
-
-
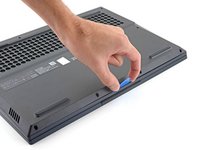
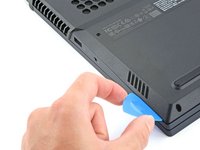
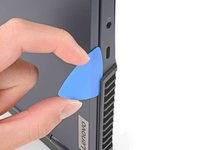
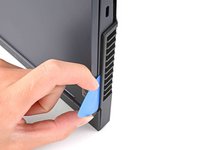
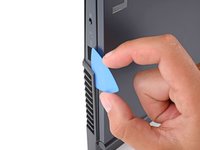
Inserisci il bordo di un plettro di apertura tra la cover posteriore e il telaio sul bordo destro.
-
Inclina il plettro a circa 30˚ e fai scorrere verso il basso il bordo sinistro per rilasciare le clip.
-
-
-
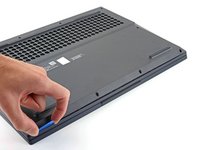
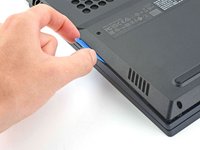
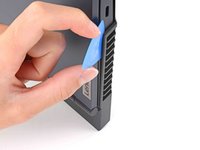
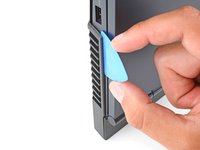
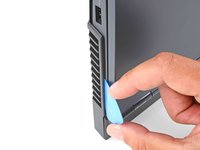
Ripeti la stessa procedura sul bordo sinistro per rilasciare le clip.
-
-
-
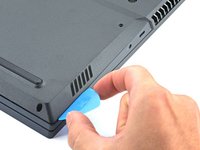
Posiziona il laptop verticalmente in modo da poter accedere facilmente alle prese d'aria in plastica.
-
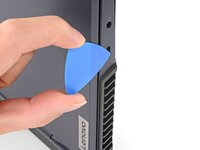
Fai scorrere il bordo arrotondato di un plettro di apertura tra il telaio e le prese d'aria in plastica sul lato sinistro, vicino alla porta USB-C.
-
Ruota il plettro in modo che sia posizionato sopra le prese d'aria in plastica.
-
-
-
-
Fai scorrere il plettro di apertura tra il telaio e le prese d'aria in plastica sul lato destro, vicino alla porta USB-A.
-
Ruota il plettro in modo che sia posizionato sopra le prese d'aria in plastica.
-
-
-
Utilizza l'estremità appuntita di uno spudger per spingere ogni lato del connettore della batteria per allentarlo.
-
-
-
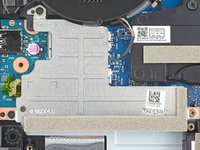
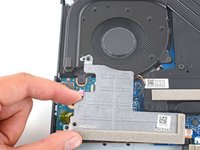
Utilizza un cacciavite a croce Phillips per rimuovere le tre viti PH00 da 5,1 mm che fissano la protezione dell'SSD sinistro alla scheda madre.
-
-
-
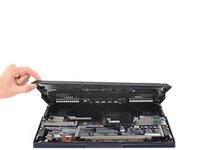
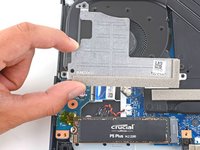
Afferra la protezione dell'SSD e sollevala per rimuoverla.
-
-
-
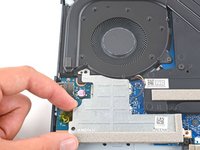
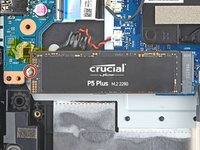
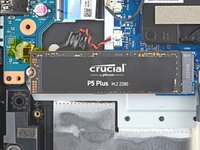
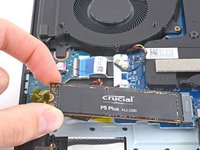
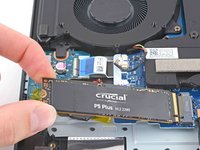
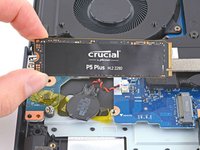
Afferra i bordi dell'SSD vicino alla rientranza della vite.
-
Tira delicatamente per rimuovere l'SSD.
-


Per rimontare il dispositivo, segui queste istruzioni in ordine inverso.
Porta i tuoi rifiuti elettronici a un riciclatore certificato R2 o e-Stewards.
La riparazione non è andata come previsto? Prova delle soluzioni ai problemi di base o rivolgiti alla nostra comunità Risposte Lenovo Legion per trovare aiuto.
Annulla: non ho completato questa guida.
Altre 7 persone hanno completato questa guida.
Un ringraziamento speciale a questi traduttori:
100%


Questi traduttori ci stanno aiutando ad aggiustare il mondo! Vuoi partecipare?
Inizia a tradurre ›

Team

Un commento
sorry guys, I'm new to all this and I don't understand, exactly the same heatsink on the right side of the laptop what is it, is this really the second connector for the m2 PCI 3.0 x 4 ssd connector.
Pls help me