Salta al contenuto principale
Unisciti alla Community delle riparazioni - Crea un account

LeapFrog LeapPad2 Explorer Front Camera Replacement

Cosa ti serve

  1. LeapFrog LeapPad2 Explorer Front Camera Replacement, Battery: passo 1, immagine 1 di 2 LeapFrog LeapPad2 Explorer Front Camera Replacement, Battery: passo 1, immagine 2 di 2
    • Before disassembling your LeapPad, ensure your device is shut off.

    • Push outward on the plastic side panels to remove and reveal battery.

    • The panels should detach fully from the main device.

    Chiedi a FixBot
  2. LeapFrog LeapPad2 Explorer Front Camera Replacement: passo 2, immagine 1 di 3 LeapFrog LeapPad2 Explorer Front Camera Replacement: passo 2, immagine 2 di 3 LeapFrog LeapPad2 Explorer Front Camera Replacement: passo 2, immagine 3 di 3
    • Push down from the positive end of the battery towards the negative end to pry the battery up out of its dispenser.

    • Remove all four AA alkaline batteries from the device.

    Chiedi a FixBot
  3. LeapFrog LeapPad2 Explorer Front Camera Replacement, Back Cover: passo 3, immagine 1 di 2 LeapFrog LeapPad2 Explorer Front Camera Replacement, Back Cover: passo 3, immagine 2 di 2
    • This step will void your device warranty.

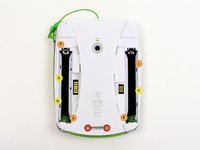
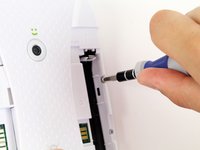
    • Remove the following screws securing the back cover to the main device:

    • Two 10.0 mm Phillips screws

    • Four 4.0 mm Phillips screws

    • Three 3.0 mm Phillips screws

    Chiedi a FixBot
  4. LeapFrog LeapPad2 Explorer Front Camera Replacement: passo 4, immagine 1 di 3 LeapFrog LeapPad2 Explorer Front Camera Replacement: passo 4, immagine 2 di 3 LeapFrog LeapPad2 Explorer Front Camera Replacement: passo 4, immagine 3 di 3
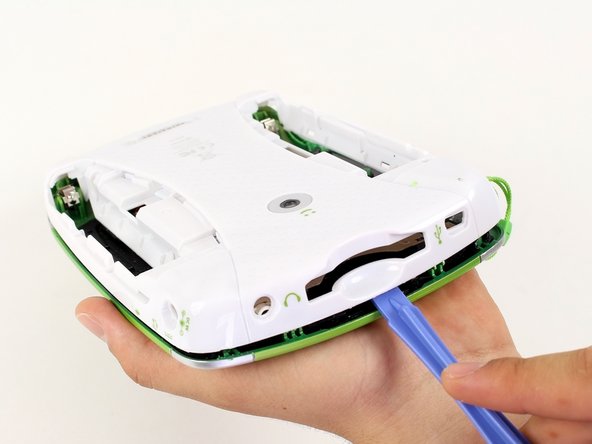
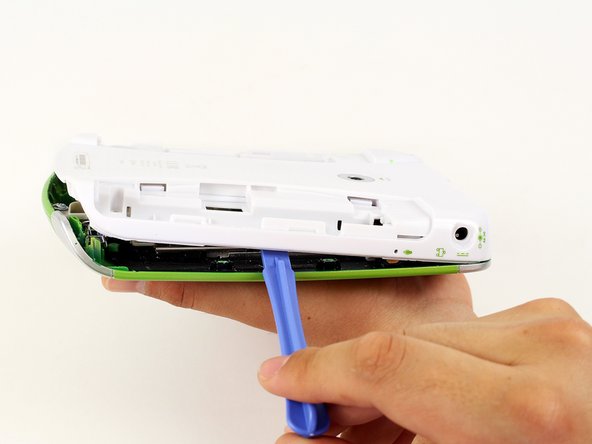
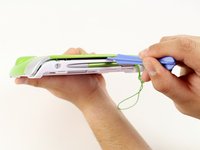
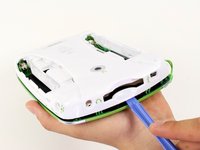
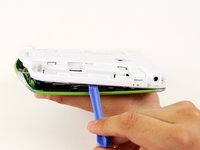
    • Insert a plastic opening tool into the seam between the front and rear covers to detach the back cover from the rest of the device.

    • Move the plastic opening tool around the perimeter of the LeapPad2.

    • Lift up and remove the rear case from the tablet.

    • A butter knife can help when prying the device.

    Chiedi a FixBot
  5. LeapFrog LeapPad2 Explorer Front Camera Replacement, Front Cover: passo 5, immagine 1 di 2 LeapFrog LeapPad2 Explorer Front Camera Replacement, Front Cover: passo 5, immagine 2 di 2
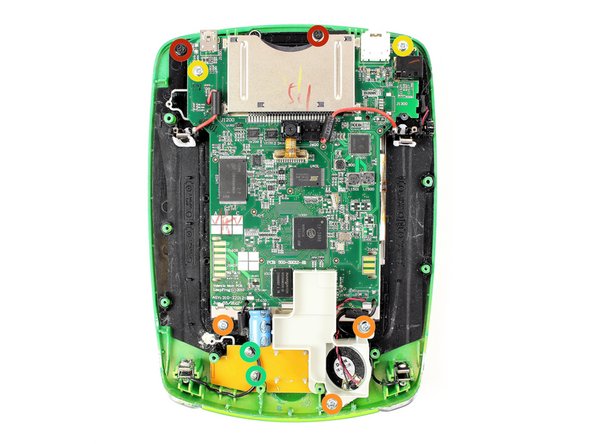
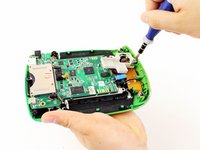
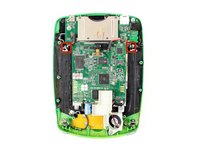
    • Remove the following screws securing the front cover to the main device:

    • Three 6.0 mm Phillips screws

    • Three 7.0 mm Phillips screws

    • Two 10.0 mm Phillips screws

    • Three 7.0 mm Phillips screws (bulkier screw head than other 7.0 mm Phillips screws)

    • The white plastic component holding the speaker must be removed to reach the third 7.0 mm Phillips screw. Refer to Step 2.

    Chiedi a FixBot
  6. LeapFrog LeapPad2 Explorer Front Camera Replacement: passo 6, immagine 1 di 2 LeapFrog LeapPad2 Explorer Front Camera Replacement: passo 6, immagine 2 di 2
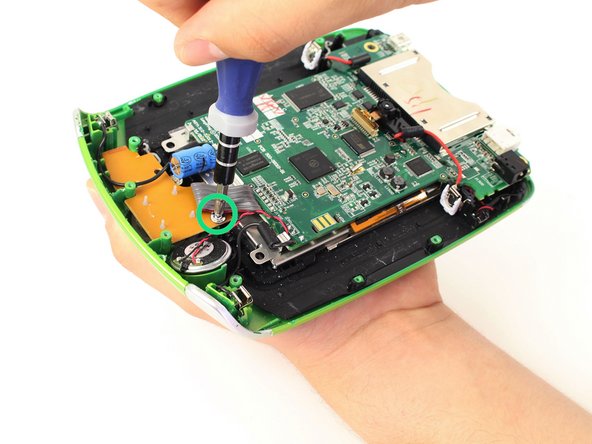
    • Unscrew the white plastic piece to expose the third 7.0 mm Phillips screw mentioned.

    Chiedi a FixBot
  7. LeapFrog LeapPad2 Explorer Front Camera Replacement: passo 7, immagine 1 di 2 LeapFrog LeapPad2 Explorer Front Camera Replacement: passo 7, immagine 2 di 2
    Strumento utilizzato in questo passaggio:
    Tweezers
    $4.99
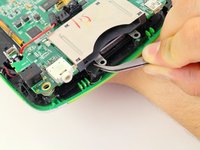
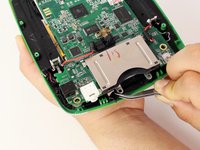
    • When unscrewing the game cartridge screws, you will find a loose black plastic component underneath the game cartridge.

    • Use tweezers to remove the piece.

    • In case the piece falls out unexpectedly, refer to this step to make sure you put this piece back in place during the reassembly of your device.

    Chiedi a FixBot
  8. LeapFrog LeapPad2 Explorer Front Camera Replacement: passo 8, immagine 1 di 2 LeapFrog LeapPad2 Explorer Front Camera Replacement: passo 8, immagine 2 di 2
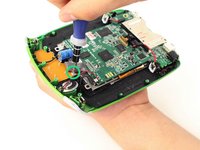
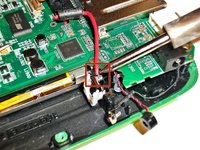
    • Desolder the through hole-components in power plugs on both sides of the device where the batteries were once connected.

    • Do not refer to the pictures in this step for correct soldering and de-soldering techniques. They are solely for illustration purposes.

    • For proper soldering and desoldering techniques reference Come saldare e dissaldare componenti elettrici.

    • Soldering requires the iron to be at hot temperatures and can cause burns. Wear safety glasses as needed.

    • Be extremely careful with the cables in this step as they could melt, burn, or break.

    Chiedi a FixBot
  9. LeapFrog LeapPad2 Explorer Front Camera Replacement: passo 9, immagine 1 di 2 LeapFrog LeapPad2 Explorer Front Camera Replacement: passo 9, immagine 2 di 2
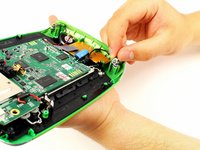
    • Pry the power cables from the device using your fingers or tweezers.

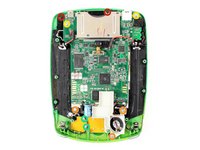
    • Now you should be able to lift up the front cover, leaving you with the motherboard and screen.

    Chiedi a FixBot
  10. LeapFrog LeapPad2 Explorer Front Camera Replacement, Front Camera: passo 10, immagine 1 di 3 LeapFrog LeapPad2 Explorer Front Camera Replacement, Front Camera: passo 10, immagine 2 di 3 LeapFrog LeapPad2 Explorer Front Camera Replacement, Front Camera: passo 10, immagine 3 di 3
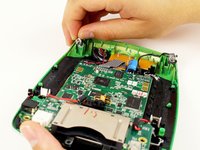
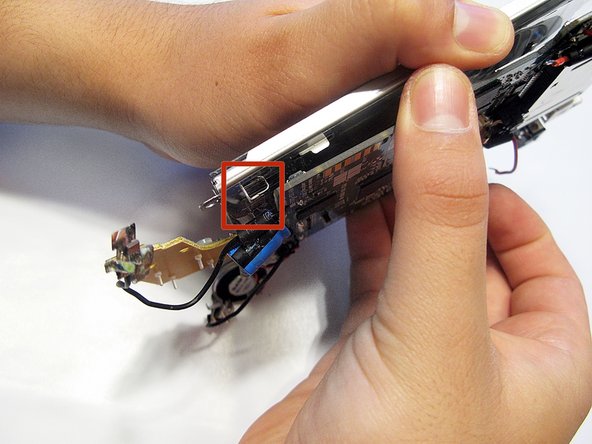
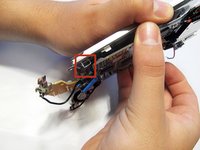
    • Lift the screen from the motherboard by pulling the board out from the three metal tabs.

    • Do not be too aggressive when separating the components, as the parts are still connected.

    Chiedi a FixBot
  11. LeapFrog LeapPad2 Explorer Front Camera Replacement: passo 11, immagine 1 di 1
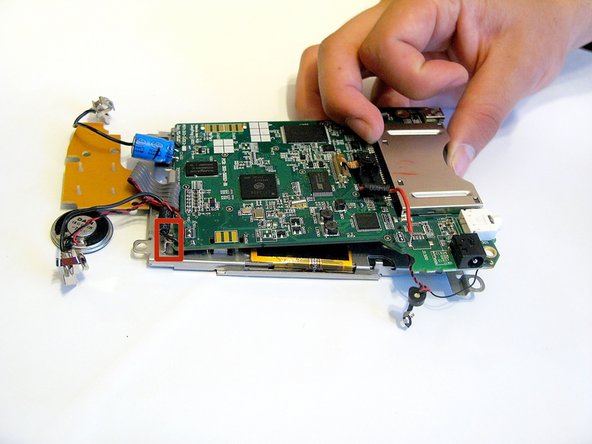
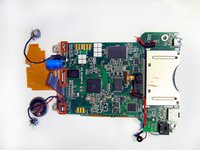
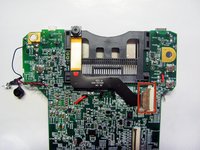
    • Separate the screen from the motherboard and lay the device's components flat open like a book.

    • Do not be too aggressive when separating the components, as the parts are still connected.

    Chiedi a FixBot
  12. LeapFrog LeapPad2 Explorer Front Camera Replacement: passo 12, immagine 1 di 2 LeapFrog LeapPad2 Explorer Front Camera Replacement: passo 12, immagine 2 di 2
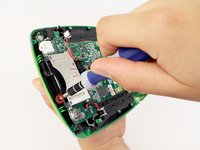
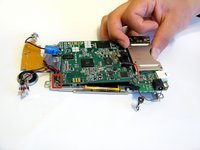
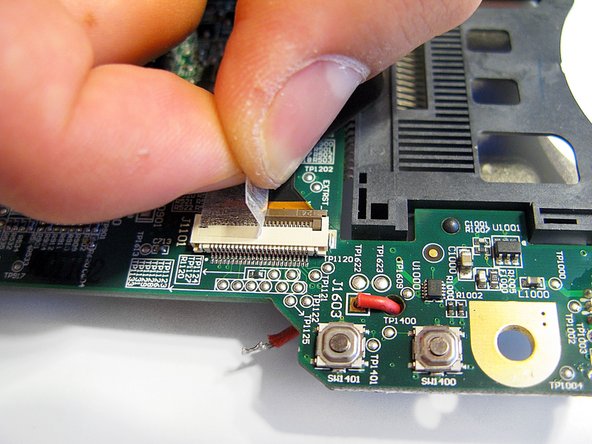
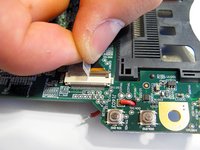
    • Peel off tape covering the camera's connection ribbon to the circuit.

    Chiedi a FixBot
  13. LeapFrog LeapPad2 Explorer Front Camera Replacement: passo 13, immagine 1 di 1
    • To safely remove the ribbon cable, you must first pull up the retaining flap.

    • Failing to do this step could result in damage to the cable and/or connector.

    Chiedi a FixBot
  14. LeapFrog LeapPad2 Explorer Front Camera Replacement: passo 14, immagine 1 di 1
    • Gently pull outward, to remove the ribbon from the socket on the circuit board.

    • If the flap is up as shown in the picture, no force should be required to remove the ribbon cable.

    Chiedi a FixBot
Conclusione

To reassemble your device, follow these instructions in reverse order.

Nupur Garg

Membro da: 04/12/14

867 Reputazione

7 guide realizzate

Team

Cal Poly, Team 8-10, Regan Spring 2014 Membro di Cal Poly, Team 8-10, Regan Spring 2014

CPSU-REGAN-S14S8G10

4 Membri

16 guide realizzate

0Commenti sulla guida

Aggiungi Commento

Visualizza Statistiche:

Ultime 24 Ore: 0

Ultimi 7 Giorni: 9

Ultimi 30 Giorni: 64

Tutti i Tempi: 767