Salta al contenuto principale

LG Refrigerator Compressor Run Capacitor Replacement

Cosa ti serve

  1. LG Refrigerator Compressor Run Capacitor Replacement, Unplug your refrigerator: passo 1, immagine 1 di 1
    • Unplug your refrigerator before you begin your repair.

    • If you are testing or repairing the following items, you may also need to shut off and disconnect the water supply:

    • Condenser fan motor

    • Compressor motor and thermal overload device

    • Water supply valve assembly

  2. LG Refrigerator Compressor Run Capacitor Replacement, Unfasten the control board cover: passo 2, immagine 1 di 1
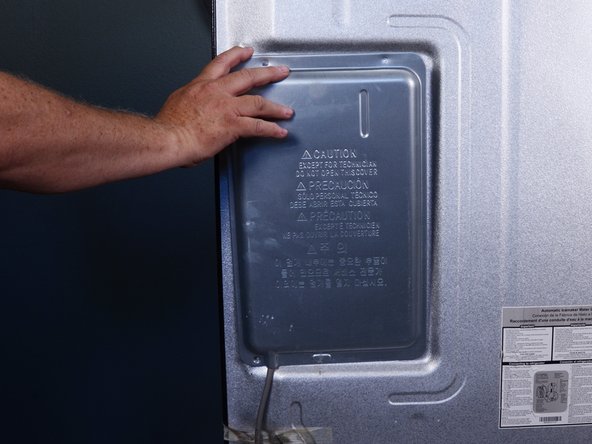
    • Use a Phillips screwdriver to remove the screws securing the control board cover.

  3. LG Refrigerator Compressor Run Capacitor Replacement, Remove the control board cover: passo 3, immagine 1 di 3 LG Refrigerator Compressor Run Capacitor Replacement, Remove the control board cover: passo 3, immagine 2 di 3 LG Refrigerator Compressor Run Capacitor Replacement, Remove the control board cover: passo 3, immagine 3 di 3
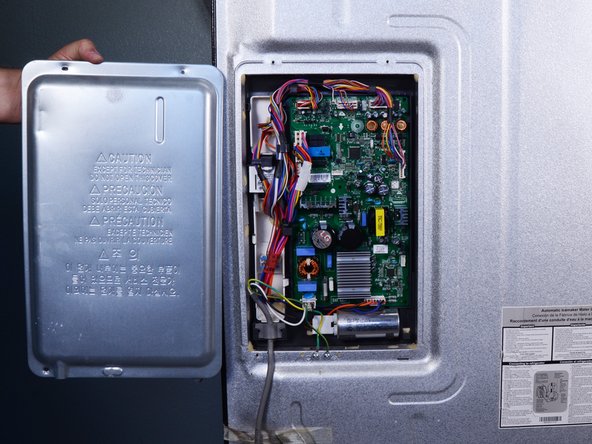
    • Tilt the top edge of the cover toward you and lift it off.

  4. LG Refrigerator Compressor Run Capacitor Replacement, Unclip the capacitor: passo 4, immagine 1 di 3 LG Refrigerator Compressor Run Capacitor Replacement, Unclip the capacitor: passo 4, immagine 2 di 3 LG Refrigerator Compressor Run Capacitor Replacement, Unclip the capacitor: passo 4, immagine 3 di 3
    • Pull the left edge of the capacitor toward you to unclip it.

    • Handle the capacitor carefully as it may still be charged, and can give a dangerous and painful electrical shock. Avoid touching the terminals with your fingers or hands.

    • For information on capacitor safety, click here.

  5. LG Refrigerator Compressor Run Capacitor Replacement, Disconnect the capacitor: passo 5, immagine 1 di 3 LG Refrigerator Compressor Run Capacitor Replacement, Disconnect the capacitor: passo 5, immagine 2 di 3 LG Refrigerator Compressor Run Capacitor Replacement, Disconnect the capacitor: passo 5, immagine 3 di 3
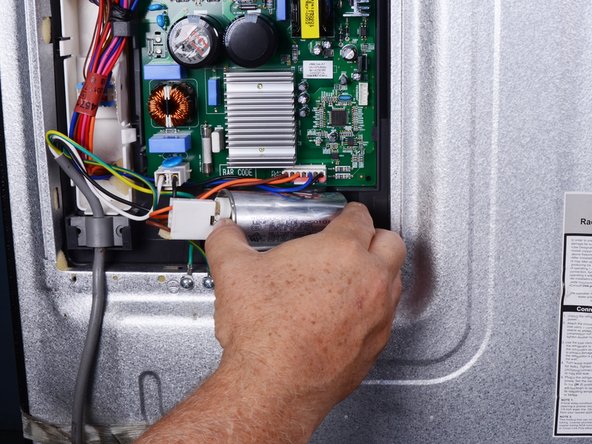
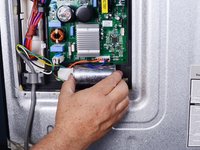
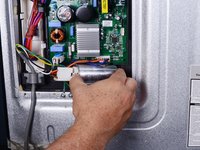
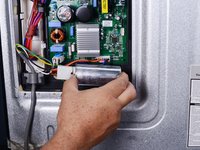
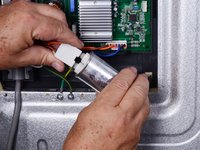
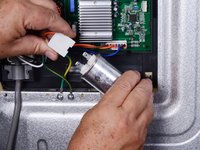
    • Pull the connector straight off the capacitor to disconnect it.

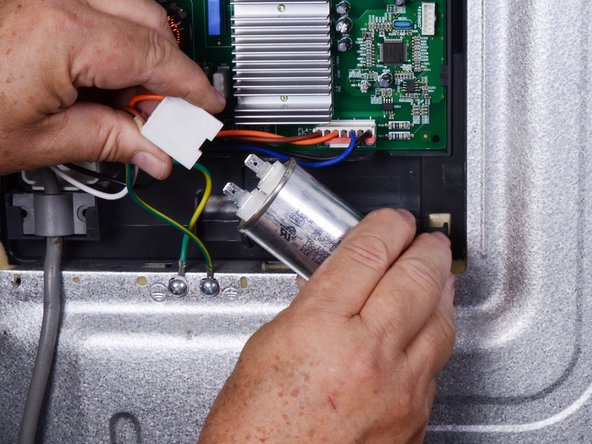
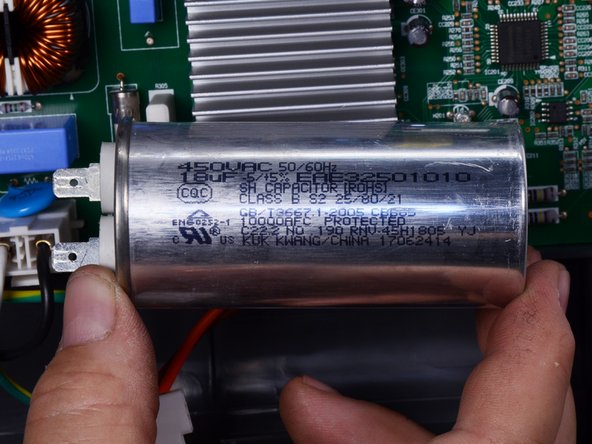
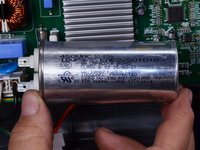
    • Remove the capacitor.

Conclusione

To reassemble your device, follow these instructions in reverse order.

Take your e-waste to an R2 or e-Stewards certified recycler.

Repair didn’t go as planned? Try some basic troubleshooting, or ask our  Answers community for help.

Bill Gilbert

Membro da: 06/30/22

29.938 Reputazione

213 Guide realizzate

Team

iFixit Membro di iFixit

Staff

135 Membri

17.198 Guide realizzate

0 Commenti

Aggiungi Commento

Visualizza Statistiche:

Ultime 24 Ore: 3

Ultimi 7 Giorni: 26

Ultimi 30 Giorni: 99

Tutti i Tempi: 284