Questa traduzione è stata generata automaticamente e non è stata ancora revisionata da una persona. Parli questa lingua? Dai un’occhiata.
Introduzione
Se i pulsanti del dispositivo non rispondono, potrebbe essere necessario sostituirli; questa guida ti mostrerà come fare, ma richiede un po' di saldatura.
Cosa ti serve
-
-
-
Solleva le quattro coperture adesive su ciascuno degli angoli sul fondo dell'orologio usando uno strumento di apertura in plastica o l'unghia.
 Chiedi a FixBot
-
-
-
Sul fondo dell'orologio, usa l'unghia per spingere la copertura della batteria verso destra.
-
Solleva la copertura della batteria verso l'alto e verso destra per rivelare le batterie.
-
-
-
Rimuovi le due batterie AA premendo l'estremità opposta alla molla verso la molla stessa e sollevandole.
-
Una volta rimosse le batterie, chiudi la copertura.
-
-
-
-
Usa un cacciavite a croce Phillips #2 lungo per svitare tutte e sei le viti a croce Phillips da 10 mm all'interno del fondo dell'orologio.
-
Capovolgi il dispositivo per far cadere le viti, facendo attenzione a prenderle per non perderne nessuna.
-
-
-
Capovolgi l'orologio.
-
Rimuovi la parte superiore dell'orologio afferrando il retro del dock dell'iPhone e tirando verso l'alto.
-
-
-
-
-
Usando il cacciavite a croce Phillips #2, svita le sette viti a croce Phillips da 6 mm sul circuito stampato fissato alla parte superiore del telaio.
-
-
Strumento utilizzato in questo passaggio:Tweezers$4.99
-
Stacca il circuito stampato dal resto dell'orologio afferrando i lati del connettore del cavo a nastro bianco sul lato sinistro della scheda e tirandolo dritto verso l'esterno. Potrebbe essere necessario utilizzare le pinzette per afferrare il connettore.
-
-
-
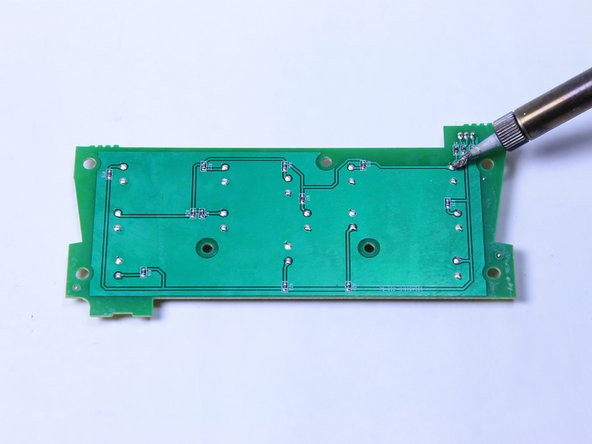
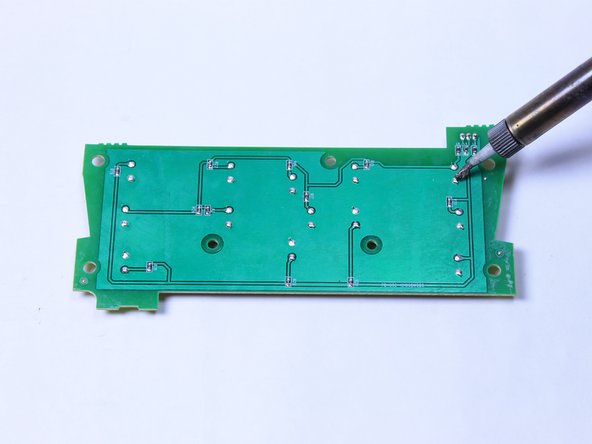
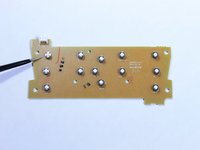
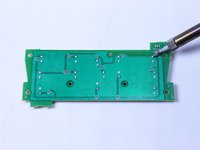
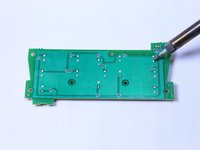
Usa questa guida alla saldatura per rimuovere e sostituire eventuali tasti che non funzionano.
-
-


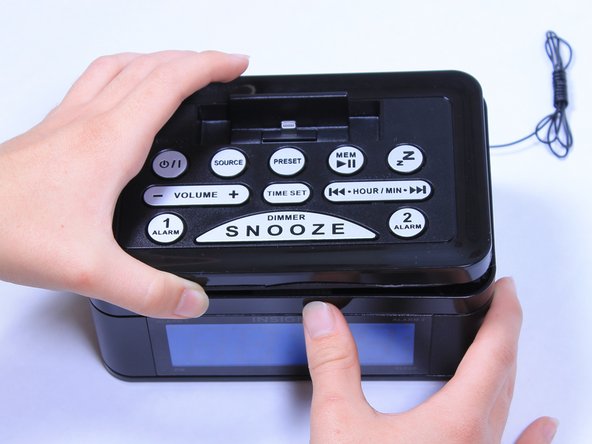
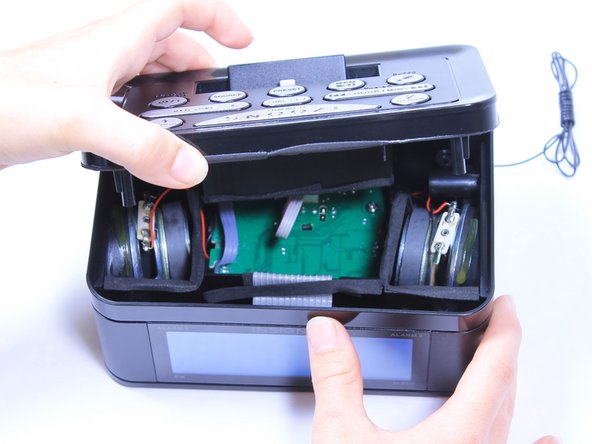
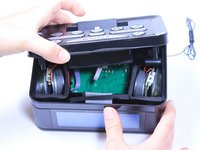


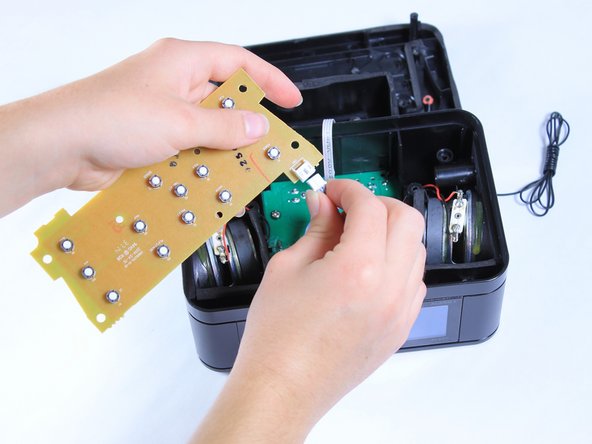

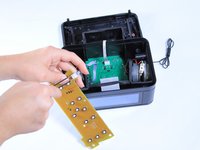
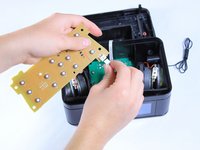

Per rimontare il dispositivo, segui queste istruzioni in ordine inverso.

Team

Baylor, Team 6-9, Williams Fall 2015 Membro di Baylor, Team 6-9, Williams Fall 2015
BU-WILLIAMS-F15S6G9
3 Membri
54 guide realizzate
