Salta al contenuto principale
Unisciti alla Community delle riparazioni - Crea un account

Hott T725-8G Screen/Display Replacement

Cosa ti serve

  1. Hott T725-8G Screen/Display Replacement, Screen/Display: passo 1, immagine 1 di 1
    • Use the Metal Spudger tool and your fingers to peel off any existing screen protector.

    Chiedi a FixBot
  2. Hott T725-8G Screen/Display Replacement: passo 2, immagine 1 di 1
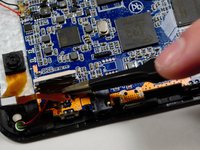
    • Remove black electrical tape to release the sensor and ribbon wires connecting the camera to the motherboard.

    Chiedi a FixBot
  3. Hott T725-8G Screen/Display Replacement: passo 3, immagine 1 di 1
    • Dislodge the sensor from the front panel.

    Chiedi a FixBot
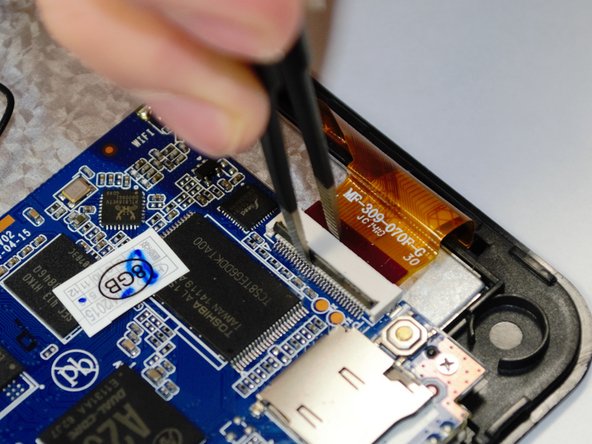
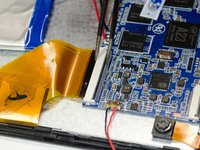
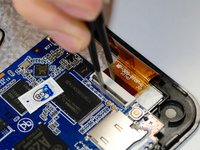
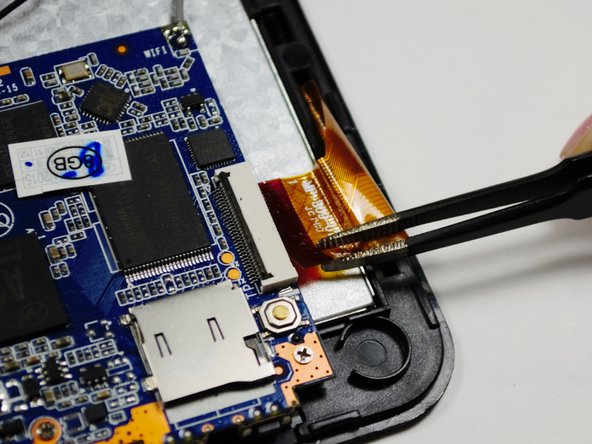
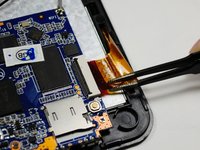
  4. Hott T725-8G Screen/Display Replacement: passo 4, immagine 1 di 2 Hott T725-8G Screen/Display Replacement: passo 4, immagine 2 di 2
    Strumento utilizzato in questo passaggio:
    Tweezers
    $4.99
    • Use a pair of Precision Tweezers to squeeze the clip of the ribbon wire to release it.

    Chiedi a FixBot
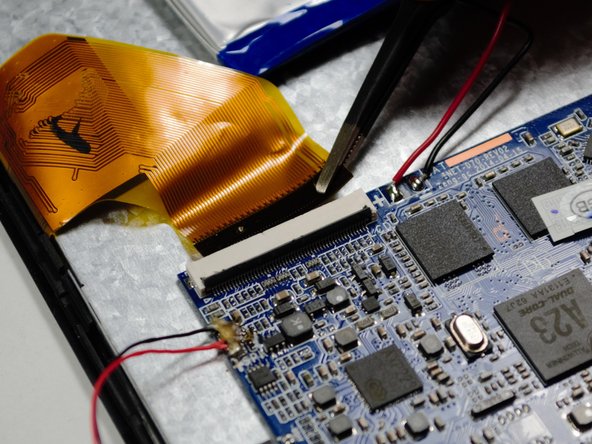
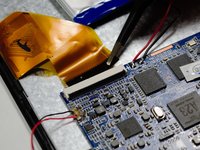
  5. Hott T725-8G Screen/Display Replacement: passo 5, immagine 1 di 3 Hott T725-8G Screen/Display Replacement: passo 5, immagine 2 di 3 Hott T725-8G Screen/Display Replacement: passo 5, immagine 3 di 3
    • Using a pair of the Precision Tweezers, remove the ribbon wire from the clip.

    Chiedi a FixBot
  6. Hott T725-8G Screen/Display Replacement: passo 6, immagine 1 di 1
    • Follow the guide to remove the motherboard from the back of the display.

    Chiedi a FixBot
  7. Hott T725-8G Screen/Display Replacement: passo 7, immagine 1 di 1
    • Follow the guide to remove the battery from the back of the display.

    Chiedi a FixBot
  8. Hott T725-8G Screen/Display Replacement: passo 8, immagine 1 di 1
    • With the motherboard and battery detached, use the Metal Spudger tool to gently remove the display from the front panel.

    Chiedi a FixBot
  9. Hott T725-8G Screen/Display Replacement: passo 9, immagine 1 di 1
    • Remove Digitizer Panel from the front panel.

    Chiedi a FixBot
  10. Hott T725-8G Screen/Display Replacement: passo 10, immagine 1 di 1
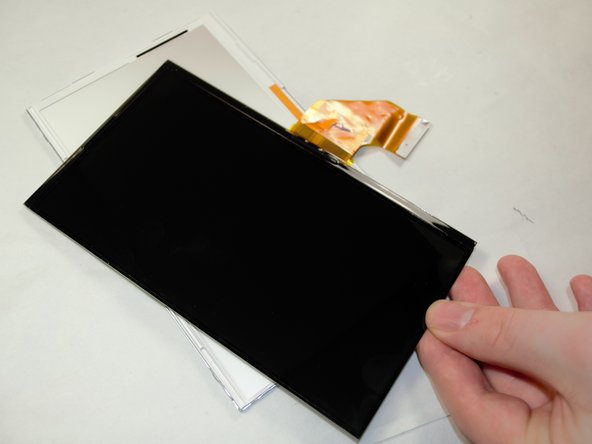
    • Remove the LCD 5-Point Touch Screen from the display case.

    Chiedi a FixBot
  11. Hott T725-8G Screen/Display Replacement: passo 11, immagine 1 di 1
    • Remove the display from the plastic casing. The screen is now ready for replacement.

    Chiedi a FixBot
Conclusione

To reassemble your device, follow these instructions in reverse order.

Altre 2 persone hanno completato questa guida.

Team

UMass Dartmouth, Team 6-2, Martin Fall 2016 Membro di UMass Dartmouth, Team 6-2, Martin Fall 2016

UMASSD-MARTIN-F16S6G2

3 Membri

11 guide realizzate

0Commenti sulla guida

Aggiungi Commento

Visualizza statistiche:

Ultime 24 ore: 1

Ultimi 7 giorni: 5

Ultimi 30 giorni: 40

Tutti i Tempi: 520