Introduzione
Use this guide to replace the WLAN module in a HP Pavilion 15-cc561st (product number 1KU29UA).
This component enables your laptop to connect to local area networks (via Wi-Fi) and to personal area networks (via Bluetooth). If you experience problems with Wi-Fi or Bluetooth, troubleshoot your device before considering replacing the WLAN module.
Only replace the WLAN module with a module that is authorized for use in the computer by the governmental agency that regulates wireless devices in your country or region. If you receive a warning message after replacing the module, remove the module to restore device functionality.
Shut down the laptop, disconnect all external devices, and unplug the AC adapter before beginning. Take the appropriate precautions if your battery is swollen.
Cosa ti serve
-
Strumento utilizzato in questo passaggio:Magnetic Project Mat$19.95
-
Use a Phillips #0 screwdriver to remove five screws from the bottom cover:
-
Two 5.6 mm screws
-
Three 5.8 mm screws
 Chiedi a FixBot
-
-
-
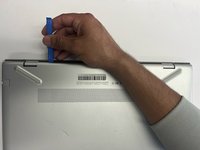
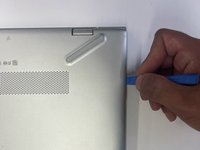
Insert an opening tool into the space between the display hinges and the bottom cover.
-
Firmly push the opening tool upwards to separate the bottom cover from these areas.
-
-
-
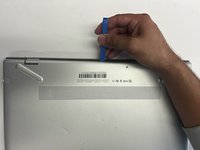
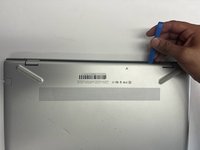
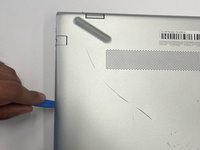
Insert your opening tool and firmly push the tool upwards along the rear edge.
-
-
-
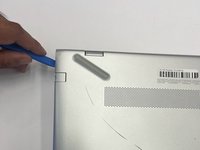
Use the opening tool again on the left and right sides.
-
Start prying at the areas closer to the rear of the laptop (near the display hinges) before moving towards areas that are closer to the front of the laptop (away from the display hinges).
-
-
-
-
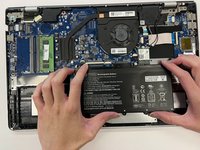
Use a Phillips #0 screwdriver to remove the five 5.7 mm screws that secure the battery.
-
-
-
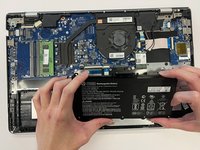
Pull the battery towards the front edge of the laptop to disconnect it from the 8-pin battery connector.
-
Lift the disconnected battery upwards to remove it.
-
-
-
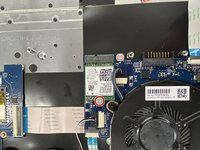
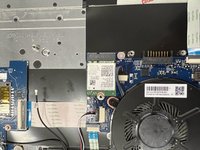
Disconnect the WLAN antenna cables from the terminals on the WLAN module:
-
Cable labeled "1/AUX" which connects to the "Aux" terminal
-
Cable labeled "2/MAIN" which connects to the "Main" terminal
-
-
-
Use a Phillips #0 screwdriver to remove the 3.0 mm screw that secures the WLAN module.
-
-
-
Pull the WLAN module away from the slot at the angle it rises from.
-


To reassemble your device, follow these instructions in reverse order.
Team

CSU Los Angeles, Team 6-4, Adachi Fall 2022 Membro di CSU Los Angeles, Team 6-4, Adachi Fall 2022
CSULA-ADACHI-F22S6G4
4 Membri
7 guide realizzate