Salta al contenuto principale
Google Pixel 3 Back Cover Adhesive Installation

Google Pixel 3 Back Cover Adhesive Installation

Chayton Ritter

Chayton Ritter e 2 altri collaboratori

Ultimo aggiornamento il May 7, 2024

30 - 45 minuti
Moderato

Introduzione

Vai al passo 1

This repair guide was authored by the iFixit staff and hasn’t been endorsed by Google. Learn more about our repair guides here.

Follow this guide to correctly apply back cover adhesive to your Pixel 3 after a repair.

Before you begin, you should have already removed your Pixel’s back cover and set it aside. Detailed instructions for this can be found here.

Cosa ti serve

Ricambi

Strumenti

Mostra di più…

  1. Google Pixel 3 Back Cover Adhesive Installation, Remove adhesive residue from the frame: passo 1, immagine 1 di 3 Google Pixel 3 Back Cover Adhesive Installation, Remove adhesive residue from the frame: passo 1, immagine 2 di 3 Google Pixel 3 Back Cover Adhesive Installation, Remove adhesive residue from the frame: passo 1, immagine 3 di 3
    • Pick and scrape away the old adhesive from the frame.

    • Use a spudger to scrape away any lingering adhesive.

    • Don't use metal tools to scrape away adhesive as this will damage the frame.

    • For best results, clean the area underneath the removed adhesive with 90% or greater isopropyl alcohol to prep the surface for the new adhesive.

  2. Google Pixel 3 Back Cover Adhesive Installation, Remove adhesive residue from the back cover: passo 2, immagine 1 di 3 Google Pixel 3 Back Cover Adhesive Installation, Remove adhesive residue from the back cover: passo 2, immagine 2 di 3 Google Pixel 3 Back Cover Adhesive Installation, Remove adhesive residue from the back cover: passo 2, immagine 3 di 3
    • Repeat the previous step for the back cover adhesive.

    • Don't use metal tools to scrape away adhesive as this will damage the back cover coating.

    • Don't use isopropyl alcohol near the rear camera bracket as it will damage its adhesive and foam.

  3. Google Pixel 3 Back Cover Adhesive Installation, Prepare the replacement adhesive: passo 3, immagine 1 di 1
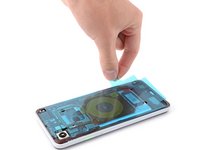
    • Peel away the clear plastic lining to expose the frame side of the replacement adhesive.

  4. Google Pixel 3 Back Cover Adhesive Installation, Apply the adhesive: passo 4, immagine 1 di 2 Google Pixel 3 Back Cover Adhesive Installation, Apply the adhesive: passo 4, immagine 2 di 2
    • Be very careful during this step! The adhesive is very sticky and can't be repositioned once it sticks. Misaligned adhesive can lead to an improper seal.

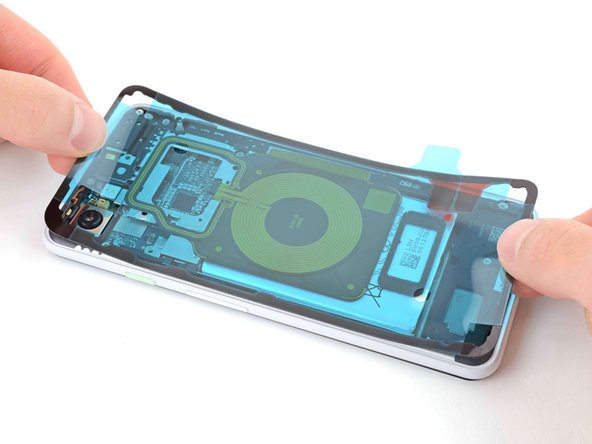
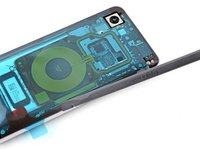
    • Lower the adhesive onto the frame.

    • Use the rear camera and corners to properly align the adhesive.

  5. Google Pixel 3 Back Cover Adhesive Installation, Secure the adhesive to the frame: passo 5, immagine 1 di 2 Google Pixel 3 Back Cover Adhesive Installation, Secure the adhesive to the frame: passo 5, immagine 2 di 2
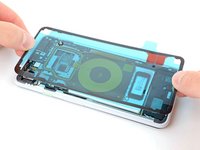
    • Use the flat end of a spudger or your fingernail to press down on the adhesive.

    • Slide along the perimeter to secure the adhesive to the frame.

  6. Google Pixel 3 Back Cover Adhesive Installation, Peel away the outer plastic lining: passo 6, immagine 1 di 2 Google Pixel 3 Back Cover Adhesive Installation, Peel away the outer plastic lining: passo 6, immagine 2 di 2
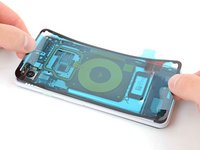
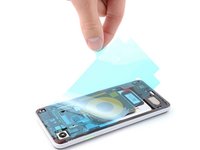
    • Peel away the blue outer plastic lining on the back cover side of the adhesive.

  7. Google Pixel 3 Back Cover Adhesive Installation, Connect the fingerprint sensor cable: passo 7, immagine 1 di 2 Google Pixel 3 Back Cover Adhesive Installation, Connect the fingerprint sensor cable: passo 7, immagine 2 di 2
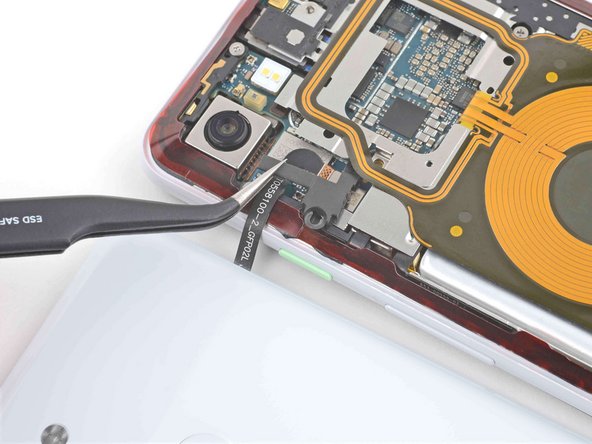
    Attrezzo utilizzato in questo passaggio:
    Tweezers
    $4.99
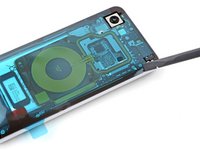
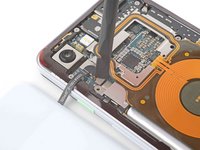
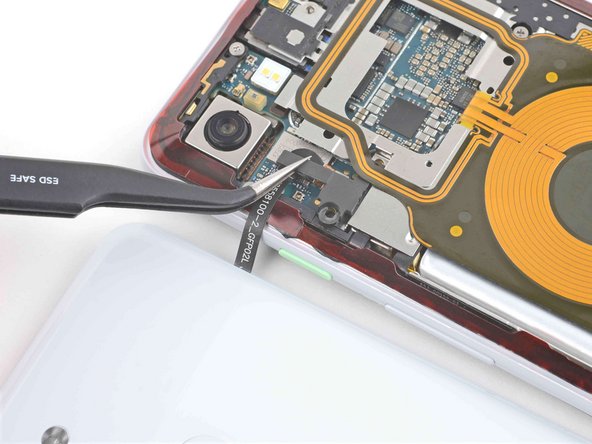
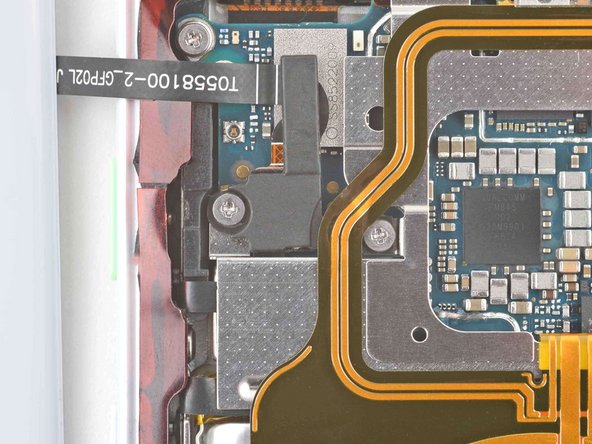
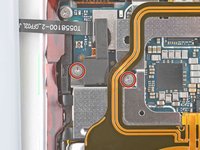
    • Use tweezers or your fingers to position the fingerprint sensor cable over its connector on the motherboard.

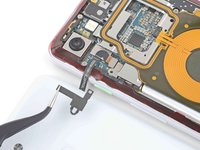
    • Use the flat end of a spudger or your finger to press down on the connector to secure it to the motherboard.

  8. Google Pixel 3 Back Cover Adhesive Installation: passo 8, immagine 1 di 3 Google Pixel 3 Back Cover Adhesive Installation: passo 8, immagine 2 di 3 Google Pixel 3 Back Cover Adhesive Installation: passo 8, immagine 3 di 3
    • Use tweezers or your fingers to place the bracket over the fingerprint sensor cable.

  9. Google Pixel 3 Back Cover Adhesive Installation: passo 9, immagine 1 di 2 Google Pixel 3 Back Cover Adhesive Installation: passo 9, immagine 2 di 2
    • Use a Phillips PH00 screwdriver to install the two 4.1 mm screws securing the bracket to the frame.

  10. Google Pixel 3 Back Cover Adhesive Installation, Peel away the remaining plastic lining: passo 10, immagine 1 di 2 Google Pixel 3 Back Cover Adhesive Installation, Peel away the remaining plastic lining: passo 10, immagine 2 di 2
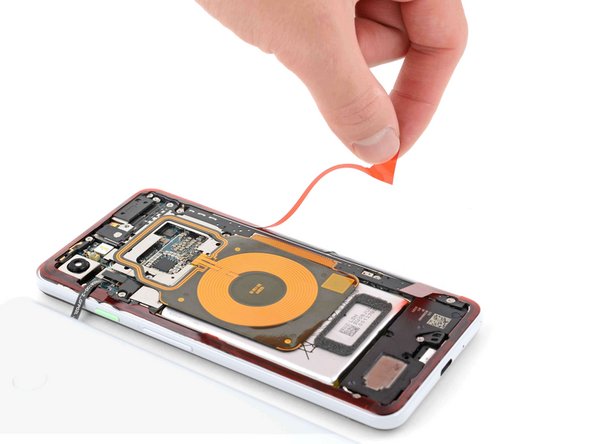
    • Peel away the red plastic lining to expose the back cover side of the adhesive.

  11. Google Pixel 3 Back Cover Adhesive Installation, Secure the back cover to the frame: passo 11, immagine 1 di 2 Google Pixel 3 Back Cover Adhesive Installation, Secure the back cover to the frame: passo 11, immagine 2 di 2
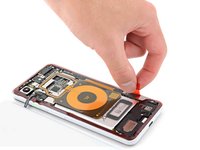
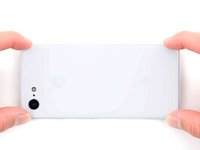
    • Lower the back cover onto the frame.

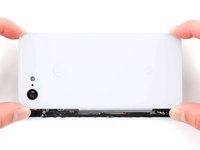
    • Press down on all edges of the back cover to secure it to the frame.

    • To help the adhesive bond more securely, heat the perimeter of the back cover and then place the phone face-down under a heavy stack of books for 30 minutes.

Conclusione

Repair didn’t go as planned? Try some basic troubleshooting, or ask our Pixel 3 Answers community for help.

Altre 9 persone hanno completato questa guida.

Chayton Ritter

Membro da: 08/21/20

22.449 Reputazione

105 Guide realizzate

Team

Guide Team Membro di Guide Team

Staff

9 Membri

11.335 Guide realizzate

0 Commenti

Aggiungi Commento

Visualizza Statistiche:

Ultime 24 Ore: 3

Ultimi 7 Giorni: 17

Ultimi 30 Giorni: 58

Tutti i Tempi: 3,352