Questa traduzione è stata generata automaticamente e non è stata ancora revisionata da una persona. Parli questa lingua? Dai un’occhiata.

Sostituzione del pulsante di selezione del GameStop Universal System

Ultimo aggiornamento il 14 ago 2026
Visualizzazioni: 939
Visualizza statistiche:
- Ultime 24 ore:
- 3
- Ultimi 7 giorni:
- 21
- Ultimi 30 giorni:
- 79
- Tutti i Tempi:
- 939
Commenti: 0
Nessuno ha lasciato commenti su questa guida. Sarai il primo?
Vai ai commenti della guidaCompletato: 1 2
1 persona ha contrassegnato questa guida come "completata". Sarai il prossimo?
2 persone hanno contrassegnato questa guida come "completata". Compreso te, ottimo lavoro!
Preferiti: 0 1
Nessuno ha preferito (e si è iscritto) questa guida. Sarai il primo?
1 persona ha aggiunto ai preferiti (e si è iscritta a) questa guida, e sei tu!
Introduzione
Vai al passo 1 ↓Il GameStop Universal System è un dispositivo che ti permette di collegare più console alla televisione e passare facilmente dall'una all'altra. Il pulsante di selezione consente all'utente di scegliere quale console utilizzare quando sono attive contemporaneamente diverse piattaforme di gioco.
Se il pulsante di selezione non funziona correttamente e non ti permette di scegliere la piattaforma desiderata, segui questa guida. Ti mostrerà come sostituire il pulsante di selezione. Prima di iniziare questa riparazione, assicurati di spegnere il dispositivo per evitare ulteriori danni. Questa semplice guida richiede poco tempo e un po' di pazienza per sostituire il pulsante di selezione.
Cosa ti serve
Strumenti

-
-
-
Rimuovi le tre viti del pannello frontale sulla parte inferiore del dispositivo utilizzando il cacciavite a croce Phillips #00.
 Chiedi a FixBot
-
-
-
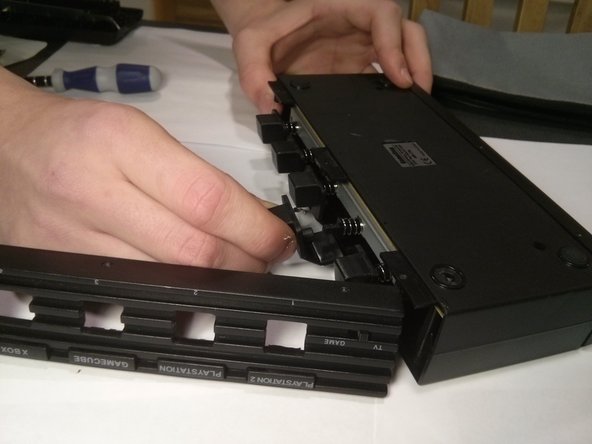
Fai leva con attenzione sul pannello frontale del dispositivo per esporre il pulsante da sostituire.
-
-
-
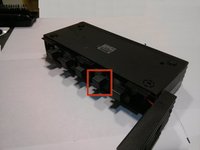
Tira con decisione il pulsante da sostituire per liberarlo dal suo alloggiamento.
-
-
-
-
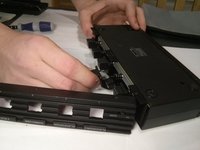
Riaggancia il pannello frontale in posizione.
-
Riposiziona le tre viti del pannello frontale.
-
-




Il pulsante di selezione del sistema dovrebbe ora funzionare correttamente. Porta i tuoi rifiuti elettronici a un riciclatore certificato R2 o e-Stewards.
Annulla: non ho completato questa guida.
Un'altra persona ha completato questa guida.

Team

UMass Dartmouth, Team 4-6, Vijaybhaskar Fall 2013 Membro di UMass Dartmouth, Team 4-6, Vijaybhaskar Fall 2013
UMASSD-VIJAYBHASKAR-F13S4G6
4 Membri
24 guide realizzate
