Salta al contenuto principale
Unisciti alla Community delle riparazioni - Crea un account

Ematic FunTab 3 Motherboard Replacement

Cosa ti serve

    1. Ematic FunTab 3 Motherboard Replacement, Back Panel: passo 1, immagine 1 di 3 Ematic FunTab 3 Motherboard Replacement, Back Panel: passo 1, immagine 2 di 3 Ematic FunTab 3 Motherboard Replacement, Back Panel: passo 1, immagine 3 di 3
      • Turn off the device before starting

      • To prevent damage, open the device on the side without the buttons.

      • Insert the hooked end of the plastic opening tool in the gap between the screen and the back panel on the edge of the device.

      • Slide the plastic opening tool down the long side of the device.

      • Insert tool again and slide it down the long slide of the case a second time.

      Chiedi a FixBot

      Aggiungi Commento

    2. Ematic FunTab 3 Motherboard Replacement: passo 2, immagine 1 di 1
      • Pull the back panel away from the screen.

      Chiedi a FixBot

      Aggiungi Commento

    1. Ematic FunTab 3 Motherboard Replacement, Battery: passo 3, immagine 1 di 1
      • Remove the black tape to reveal the wire ribbon connector.

      Chiedi a FixBot

      Aggiungi Commento

    2. Ematic FunTab 3 Motherboard Replacement: passo 4, immagine 1 di 3 Ematic FunTab 3 Motherboard Replacement: passo 4, immagine 2 di 3 Ematic FunTab 3 Motherboard Replacement: passo 4, immagine 3 di 3
      Strumento utilizzato in questo passaggio:
      Tweezers
      $4.99
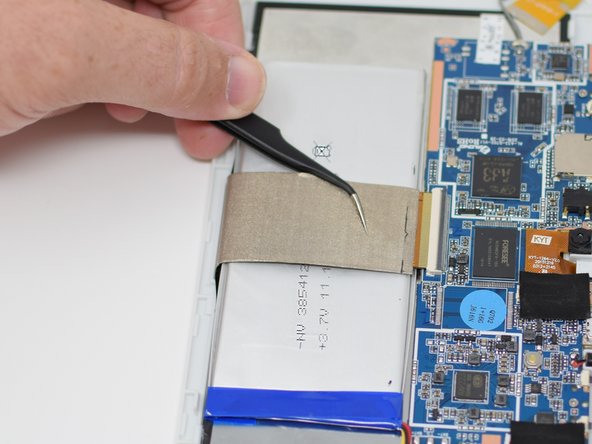
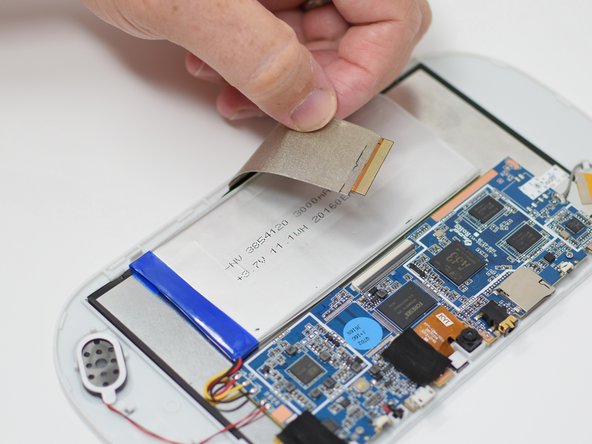
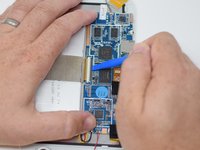
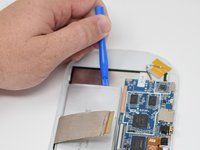
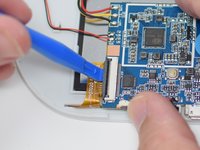
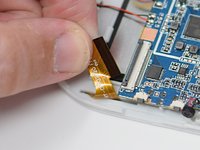
      • Flip up the black retaining tab using the plastic opening tool.

      • Pull out the large wire ribbon that crosses over the battery.

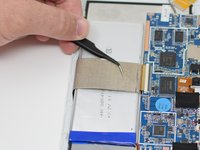
      • You may need tweezers to pull out the wire ribbon.

      Chiedi a FixBot

      Aggiungi Commento

    3. Ematic FunTab 3 Motherboard Replacement: passo 5, immagine 1 di 3 Ematic FunTab 3 Motherboard Replacement: passo 5, immagine 2 di 3 Ematic FunTab 3 Motherboard Replacement: passo 5, immagine 3 di 3
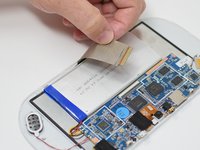
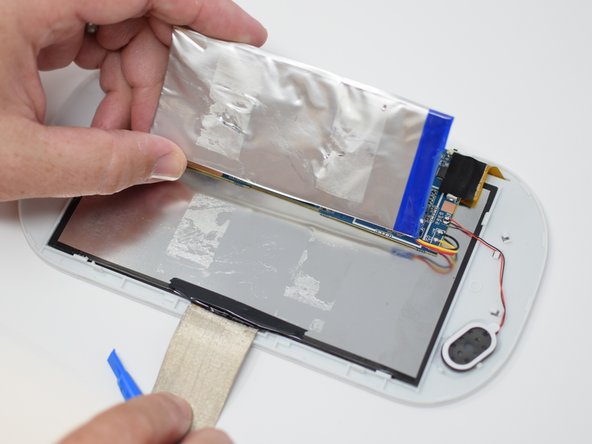
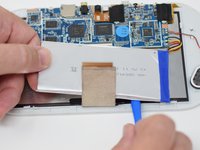
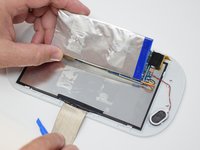
      • Insert the plastic opening tool under the battery.

      • Using the plastic opening tool, pry up the battery.

      • There is tape on the back of the battery. Some more force may be required to separate the battery from the back of the display.

      Chiedi a FixBot

      Aggiungi Commento

    4. Ematic FunTab 3 Motherboard Replacement: passo 6, immagine 1 di 2 Ematic FunTab 3 Motherboard Replacement: passo 6, immagine 2 di 2
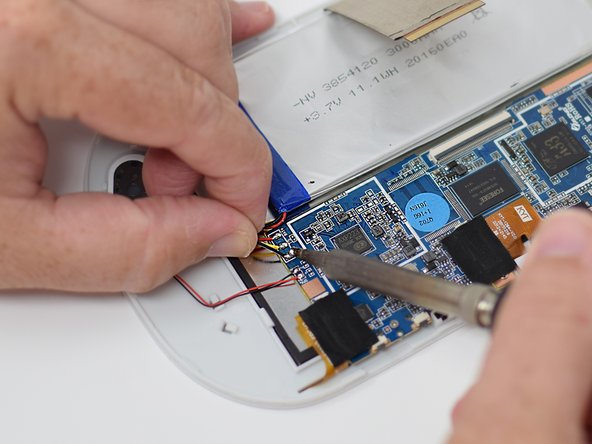
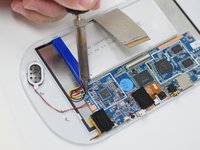
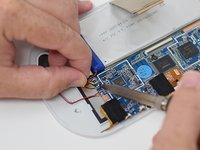
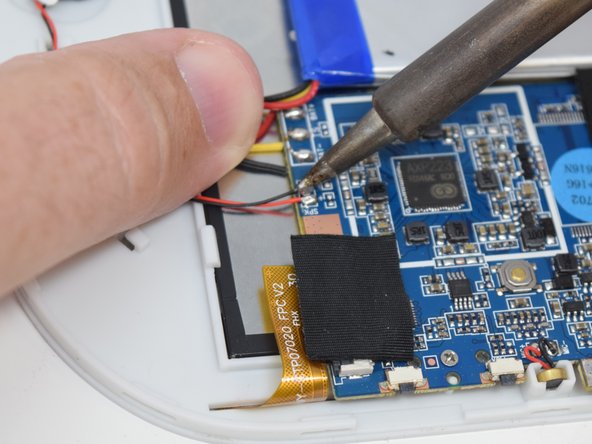
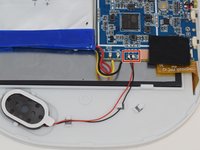
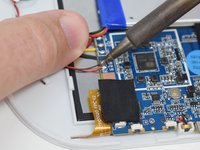
      • Remove the wires from the motherboard using a soldering iron tool. Here is a link on How To Solder and Desolder Connections.

      • After the connections are desoldered, remove the battery.

      • Close the black ribbon retaining tabs once ribbons are inserted during reassembly.

      Chiedi a FixBot

      Aggiungi Commento

    1. Ematic FunTab 3 Motherboard Replacement, Speaker: passo 7, immagine 1 di 2 Ematic FunTab 3 Motherboard Replacement, Speaker: passo 7, immagine 2 di 2
      Chiedi a FixBot

      Aggiungi Commento

    2. Ematic FunTab 3 Motherboard Replacement: passo 8, immagine 1 di 3 Ematic FunTab 3 Motherboard Replacement: passo 8, immagine 2 di 3 Ematic FunTab 3 Motherboard Replacement: passo 8, immagine 3 di 3
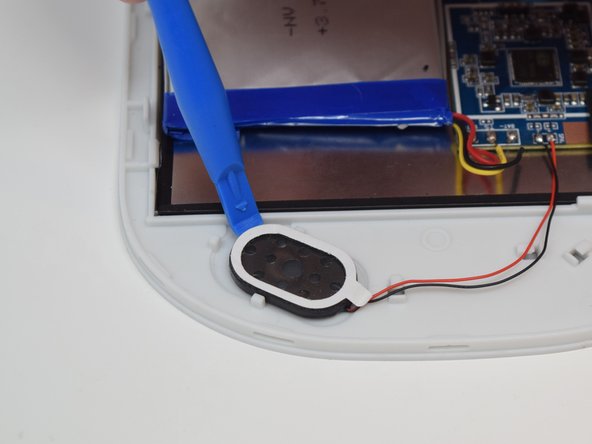
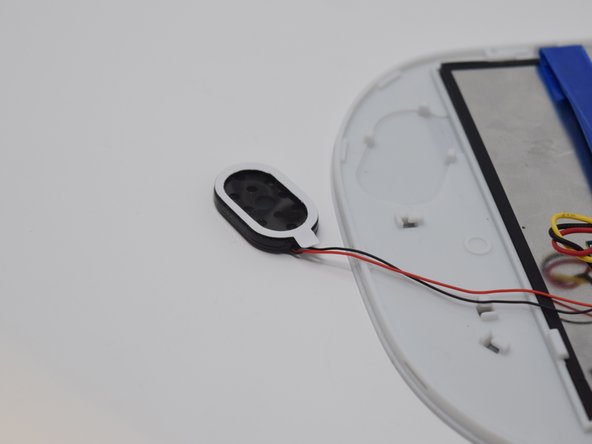
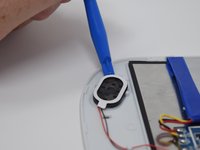
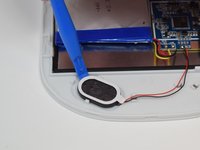
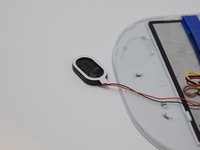
      • After the connections are desoldered, remove the speaker by prying it up using a plastic opening tool.

      • There is glue on the back of the speaker. Some more force may be required.

      Chiedi a FixBot

      Aggiungi Commento

    1. Ematic FunTab 3 Motherboard Replacement, Camera: passo 9, immagine 1 di 2 Ematic FunTab 3 Motherboard Replacement, Camera: passo 9, immagine 2 di 2
      • Remove the black tape to reveal the wire ribbon connector.

      Chiedi a FixBot

      Aggiungi Commento

    2. Ematic FunTab 3 Motherboard Replacement: passo 10, immagine 1 di 1
      • Use the plastic opening tool to flip up the black retaining tab.

      Chiedi a FixBot

      Aggiungi Commento

    3. Ematic FunTab 3 Motherboard Replacement: passo 11, immagine 1 di 2 Ematic FunTab 3 Motherboard Replacement: passo 11, immagine 2 di 2
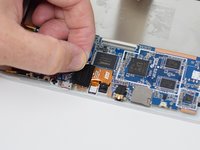
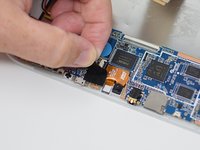
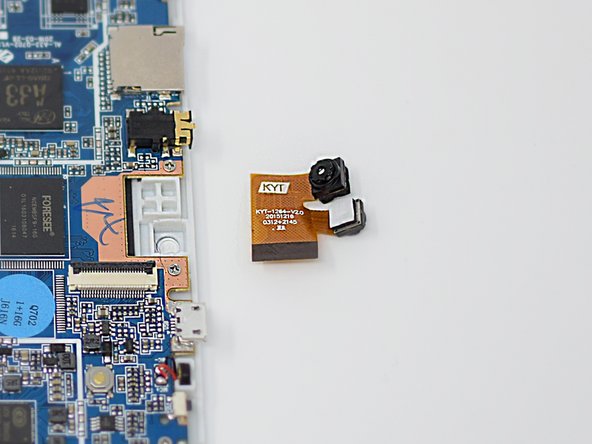
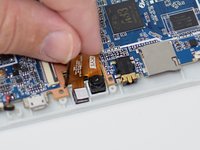
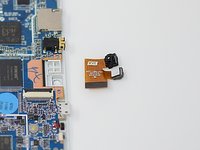
      • Pull out the wire ribbon connected to the camera.

      • The camera is held in place by glue, so extra force may be required.

      • Remove the camera from the device.

      • Close the black ribbon retaining tabs once ribbons are inserted during reassembly.

      Chiedi a FixBot

      Aggiungi Commento

    1. Ematic FunTab 3 Motherboard Replacement, Motherboard: passo 12, immagine 1 di 1
      • Remove the black tape to reveal the screen connector.

      Chiedi a FixBot

      Aggiungi Commento

    2. Ematic FunTab 3 Motherboard Replacement: passo 13, immagine 1 di 2 Ematic FunTab 3 Motherboard Replacement: passo 13, immagine 2 di 2
      • Flip up the retaining tab using the plastic opening tool.

      • Pull out the screen wire ribbon to disconnect the screen and motherboard.

      Chiedi a FixBot

      Aggiungi Commento

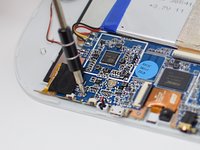
    3. Ematic FunTab 3 Motherboard Replacement: passo 14, immagine 1 di 2 Ematic FunTab 3 Motherboard Replacement: passo 14, immagine 2 di 2
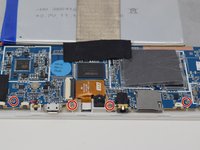
      • Using a PH 00 screwdriver, remove the four 4.5 mm screws that are holding the motherboard in place.

      Chiedi a FixBot

      Aggiungi Commento

    4. Ematic FunTab 3 Motherboard Replacement: passo 15, immagine 1 di 1
      • It is now safe to remove and replace the old motherboard with your new motherboard.

      • Close the black ribbon retaining tabs once ribbons are inserted during reassembly.

      Chiedi a FixBot

      Aggiungi Commento

Conclusione

To reassemble your device, follow these instructions in reverse order.

Annulla: non ho completato questa guida.

Team

UW Tacoma, Team S1-G5, Cardinal Summer 2018 Membro di UW Tacoma, Team S1-G5, Cardinal Summer 2018

UWT-CARDINAL-SU18S1G5

4 Membri

12 guide realizzate

0Commenti sulla guida

Aggiungi Commento

Visualizza statistiche:

Ultime 24 ore: 0

Ultimi 7 giorni: 4

Ultimi 30 giorni: 22

Tutti i Tempi: 629