Salta al contenuto principale
Unisciti alla Community delle riparazioni - Crea un account

Depth Sensor Node Streambed Installation Procedure

Cosa ti serve

  1. Depth Sensor Node Streambed Installation Procedure, Preparing and setting first strut channel: passo 1, immagine 1 di 3 Depth Sensor Node Streambed Installation Procedure, Preparing and setting first strut channel: passo 1, immagine 2 di 3 Depth Sensor Node Streambed Installation Procedure, Preparing and setting first strut channel: passo 1, immagine 3 di 3
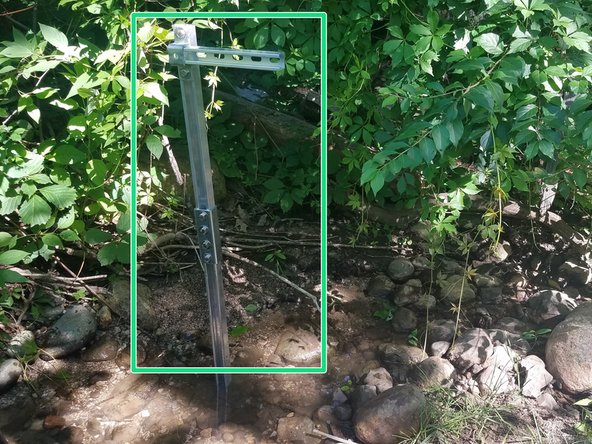
    • Clear large rocks from the streambed to make it easier to install the strut channel.

    • Place cleared rocks downstream so they do not damage the node during a storm.

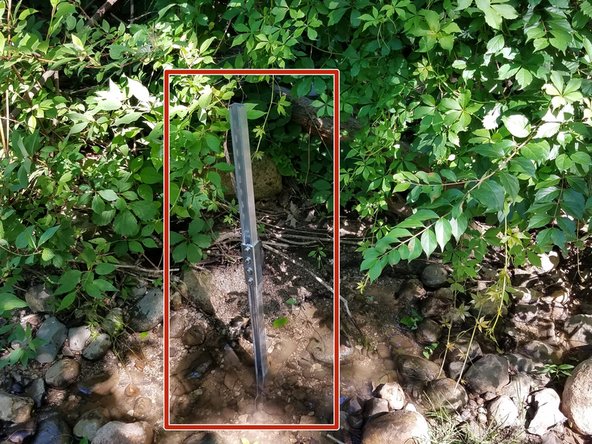
    • Set 5 ft steel strut channel into place.

    • Ensure the open side of the strut channel faces south so that the solar panel receives maximum sunlight! Addtionally, be careful not to deform the steel strut channel too much. A bit of deformation is okay.

    • Use the post pounder to drive the strut channel 3 ft into the stream bed.

    Chiedi a FixBot

    Aggiungi Commento

  2. Depth Sensor Node Streambed Installation Procedure, Attaching strut channel connector: passo 2, immagine 1 di 3 Depth Sensor Node Streambed Installation Procedure, Attaching strut channel connector: passo 2, immagine 2 di 3 Depth Sensor Node Streambed Installation Procedure, Attaching strut channel connector: passo 2, immagine 3 di 3
    • Place two spring strut channel nuts into the strut channel and then place the strut channel connector.

    • Two of the strut channel connector holes should be above the strut channel for connecting the top strut channel.

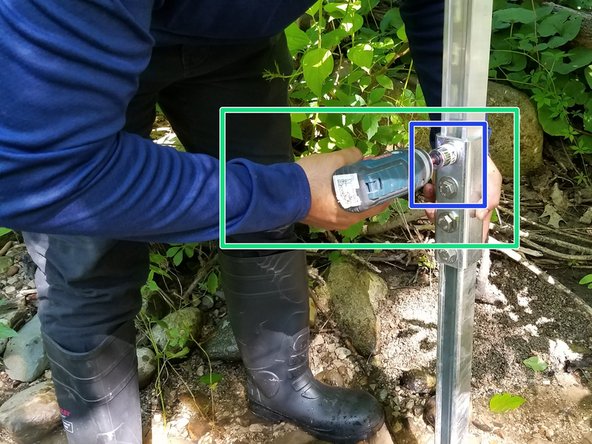
    • Insert two washers and screws into the nuts.

    Chiedi a FixBot

    Aggiungi Commento

  3. Depth Sensor Node Streambed Installation Procedure, Attaching additional strut channel: passo 3, immagine 1 di 3 Depth Sensor Node Streambed Installation Procedure, Attaching additional strut channel: passo 3, immagine 2 di 3 Depth Sensor Node Streambed Installation Procedure, Attaching additional strut channel: passo 3, immagine 3 di 3
    • This is what the attached strut channel connector looks like from above.

    • Place two additional spring strut channel nuts into the aluminum strut channel to be attached.

    • Insert the last two washers and screws into the nuts.

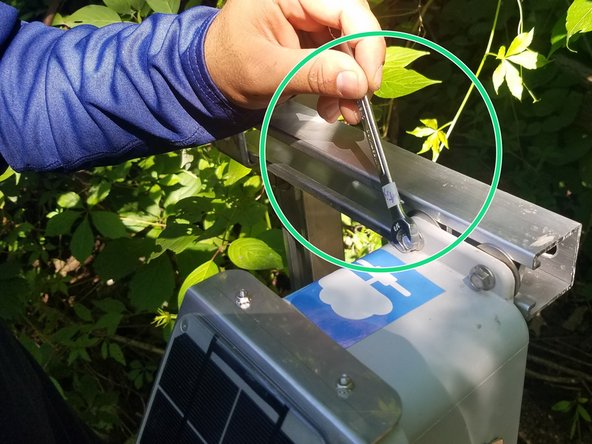
    • Use an impact driver to secure the screws into place. The impact driver should have a 3/4 '' Socket connected via a socket adapter.

    • Socket Adapter

    • This is what the extended strut channel looks like.

    Chiedi a FixBot

    Aggiungi Commento

  4. Depth Sensor Node Streambed Installation Procedure, Attaching the  strut channel arm: passo 4, immagine 1 di 3 Depth Sensor Node Streambed Installation Procedure, Attaching the  strut channel arm: passo 4, immagine 2 di 3 Depth Sensor Node Streambed Installation Procedure, Attaching the  strut channel arm: passo 4, immagine 3 di 3
    • Line up a 1 ft strut channel with a u-bracket to the vertical strut channel.

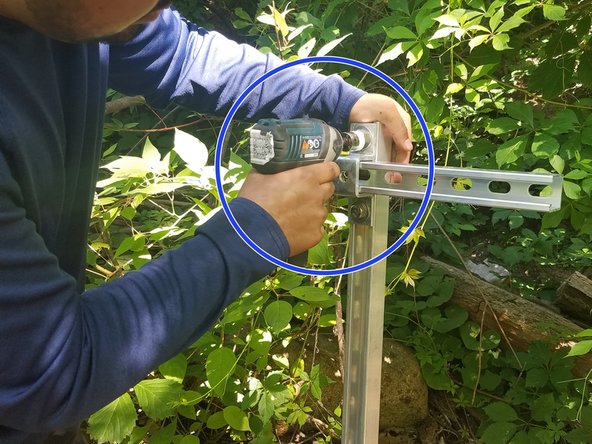
    • Put two spring strut channel nuts into the vertical strut channel. Insert two washers and screws into the u-bracket to hold the strut channel arm.

    • Use the impact driver to tighten the screws.

    • This is a what the final node holding structure looks like.

    Chiedi a FixBot

    Aggiungi Commento

  5. Depth Sensor Node Streambed Installation Procedure, Attaching the node: passo 5, immagine 1 di 3 Depth Sensor Node Streambed Installation Procedure, Attaching the node: passo 5, immagine 2 di 3 Depth Sensor Node Streambed Installation Procedure, Attaching the node: passo 5, immagine 3 di 3
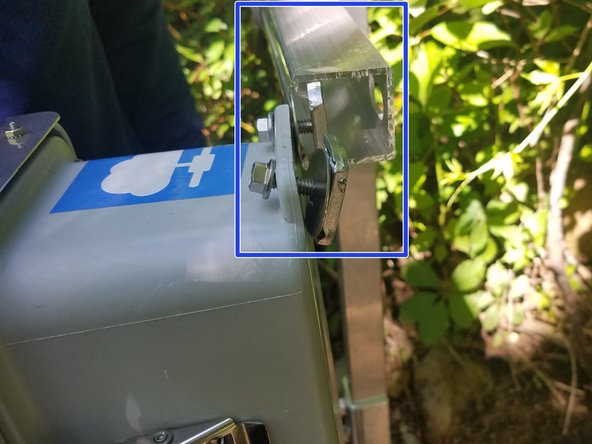
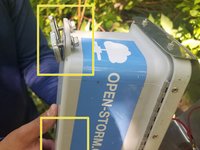
    • Place two screws into the node enclosure with the 5/16'' washer and strut channel nuts on the backside.

    • You can remove the strut channel nut spring to make installation easier.

    • Slide the node into the strut channel arm.

    • The washer should be on the outside of the strut channel and the strut channel nut should be on the inside.

    • Tighten the screws with a 3/8 inch wrench.

    Chiedi a FixBot

    Aggiungi Commento

  6. Depth Sensor Node Streambed Installation Procedure, Attaching the lock: passo 6, immagine 1 di 1
    • Create a 4 number lock combination.

    • Projects have set lock combinations. Ask the lab for guidance.

    Chiedi a FixBot

    Aggiungi Commento

  7. Depth Sensor Node Streambed Installation Procedure, Measuring starting depth: passo 7, immagine 1 di 3 Depth Sensor Node Streambed Installation Procedure, Measuring starting depth: passo 7, immagine 2 di 3 Depth Sensor Node Streambed Installation Procedure, Measuring starting depth: passo 7, immagine 3 di 3
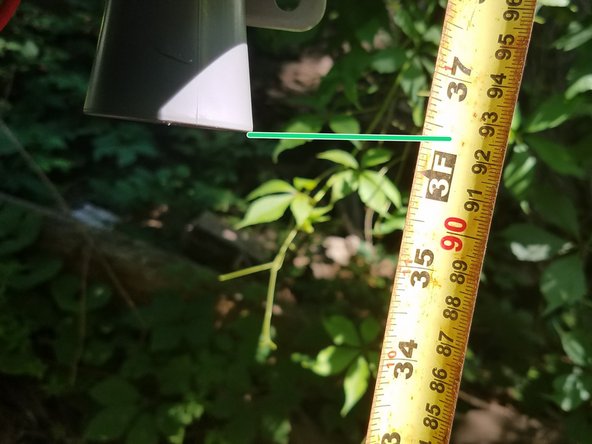
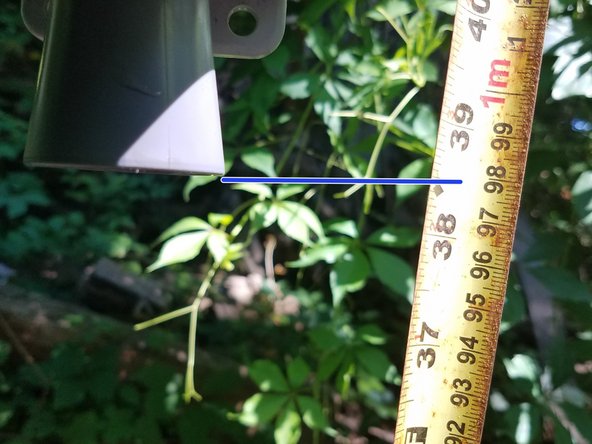
    • Using a tape measure, measure the length from the bottom of the ultrasonic depth sensor to the water surface.

    • Measure the length from the bottom of the ultrasonic depth sensor to the bottom of the stream bed.

    Chiedi a FixBot

    Aggiungi Commento

  8. Depth Sensor Node Streambed Installation Procedure, Trim foliage that may block solar panel: passo 8, immagine 1 di 2 Depth Sensor Node Streambed Installation Procedure, Trim foliage that may block solar panel: passo 8, immagine 2 di 2
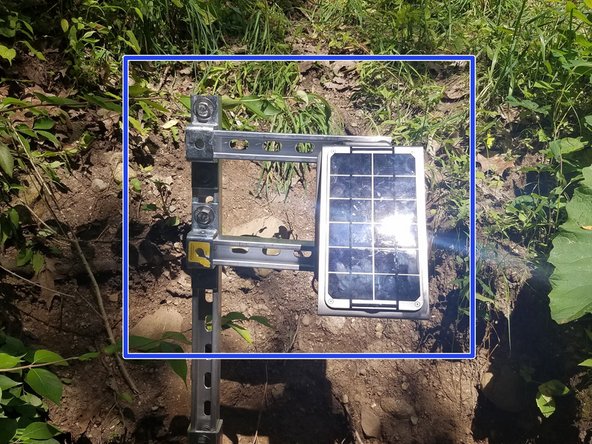
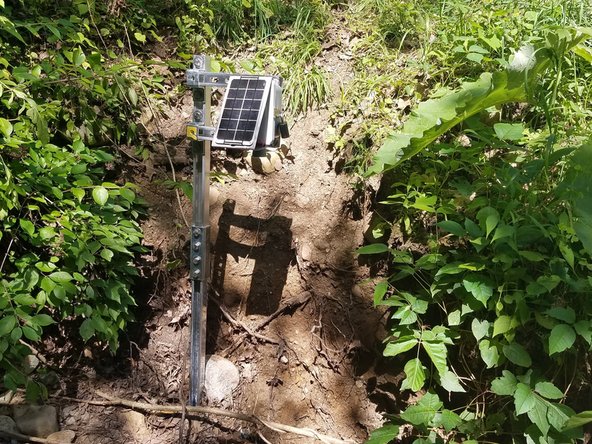
    • If foliage may block the solar panel from charging, trim some branches.

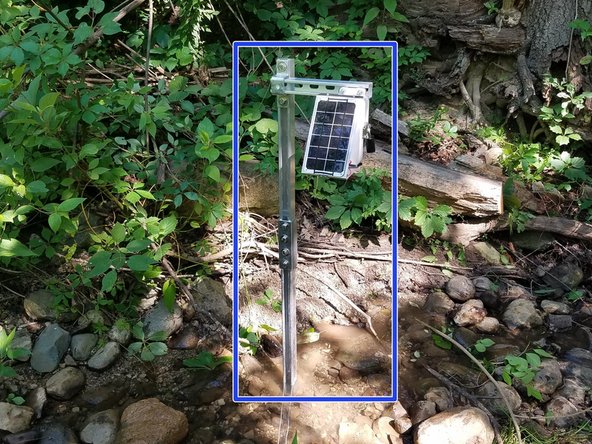
    • This is a completely installed stream bed depth sensor node!

    Chiedi a FixBot

    Aggiungi Commento

  9. Depth Sensor Node Streambed Installation Procedure, Attaching additional strut channel arm: passo 9, immagine 1 di 2 Depth Sensor Node Streambed Installation Procedure, Attaching additional strut channel arm: passo 9, immagine 2 di 2
    • Sometimes two strut channel arms are preferred over one.

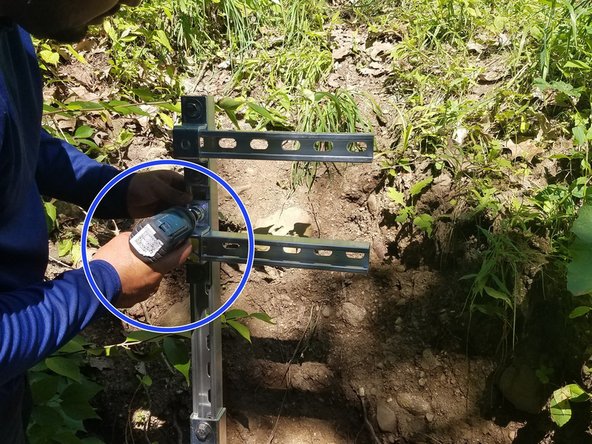
    • Attach a second 1 ft strut channel arm using the same hardware as the first strut channel arm.

    • Use the node enclosure to determine how far apart the two arms need to be.

    • Tighten the screws with the impact drill.

    Chiedi a FixBot

    Aggiungi Commento

  10. Depth Sensor Node Streambed Installation Procedure, Attaching node to two arms: passo 10, immagine 1 di 3 Depth Sensor Node Streambed Installation Procedure, Attaching node to two arms: passo 10, immagine 2 di 3 Depth Sensor Node Streambed Installation Procedure, Attaching node to two arms: passo 10, immagine 3 di 3
    • Place four screws into the node enclosure with the washer and strut channel nuts on the backside.

    • You can remove the strut channel nut spring to make installation easier.

    • Slide the node into the strut channel arm.

    • The washer should be on the outside of the strut channel and the strut channel nut should be on the inside.

    • Tighten the screws with a 3/8 inch wrench.

    • This is what the node looks like attached to two strut channel arms.

    Chiedi a FixBot

    Aggiungi Commento

Conclusione

To reassemble your device, follow these instructions in reverse order.

Annulla: non ho completato questa guida.

Un'altra persona ha completato questa guida.

Brooke Mason

Membro da: 05/29/19

2.958 Reputazione

17 guide realizzate

Team

Open-Storm Membro di Open-Storm

Community

14 Membri

24 guide realizzate

0Commenti sulla guida

Aggiungi Commento

Visualizza statistiche:

Ultime 24 ore: 1

Ultimi 7 giorni: 6

Ultimi 30 giorni: 27

Tutti i Tempi: 646