Introduzione
The Creative Ziio boasts excellent sound quality and usability. It uses a 7'' LCD screen that cannot be replaced by a generic screen. Replacement screens may be provided by contacting Creative, depending on warranty details. Searching local tech stores or online tech supply sites may be helpful as well.
Cosa ti serve
-
-
Remove the back panel by using the plastic opening tool to carefully pry around the panel's edges.
 Chiedi a FixBot
-
-
-
Remove the four 3mm Philips #00 screws around the large silver battery.
-
-
-
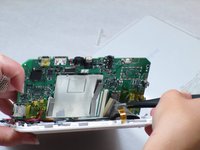
Remove the four 4mm Philips #00 screws on the edges of the circuit board.
-
-
-
Strumento utilizzato in questo passaggio:Tweezers$4.99
-
Remove the ribbon cable from the exposed side of circuit board near the headphone jack.
-
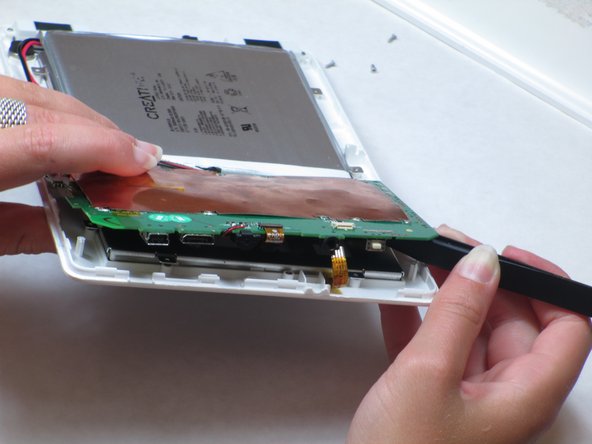
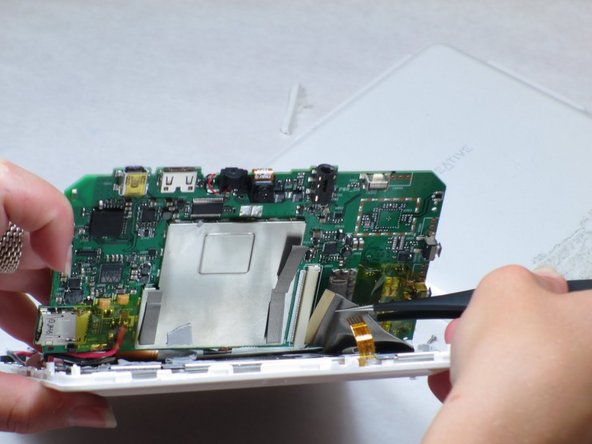
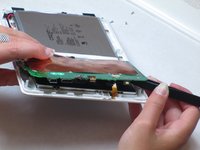
Carefully lift up the circuit board on the detached side.
-
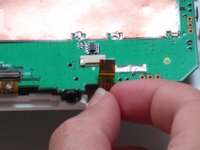
Disconnect the second ribbon cable by pulling the end of the ribbon from its housing on the circuit board with tweezers.
-
-
-
On the opposite end of the device: Remove the ribbon cable in between the speakers at the end of the battery.
-
-
-
There are three additional 3mm Philips #00 screws underneath the circuit board that need to be removed.
-
Now, remove the battery and circuit board with the LCD attached and turn it over so the screen is facing upwards.
-





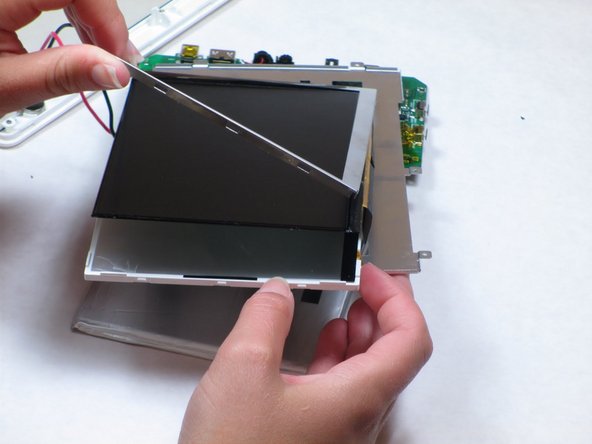

To reassemble your device, follow these instructions in reverse order.
Annulla: non ho completato questa guida.
Altre 2 persone hanno completato questa guida.

Team

Cal Poly, Team 14-10, Maness Spring 2013 Membro di Cal Poly, Team 14-10, Maness Spring 2013
CPSU-MANESS-S13S14G10
4 Membri
15 guide realizzate
2Commenti sulla guida
Where can I buy Creative Ziio 7" LCD Scren?
i need LCD Creative Labs ZIIO 7 Inch Tablet, where i can buy?... please help me... thx before...
