Introduzione
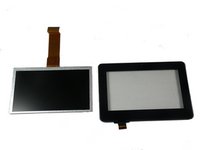
Use this guide to replace your child's touchscreen display on your ClickN Kids tablet (identified with model number P774A-GR).
The touchscreen display provides you with an electronic display that is touch-controlled by fingertip movements. Your display screen may need to be replaced if the glass is broken, cracked, or unresponsive as this will affect your ability to use the touchscreen display.
Before using this guide, make sure you are careful with any shattered glass if your display is broken or cracked. You can use the Applicazione nastro adesivo sullo schermo guide to help with tips for removing glass.
Before beginning, make sure to power off your tablet completely and disconnect from any external power source.
Cosa ti serve
-
-
-
Insert a plastic opening tool into the space between the screen and the back side.
 Chiedi a FixBot
-
-
-
Press the plastic opening tool in until you hear a “click” and that part of the tablet opens.
-
Press and slide the plastic opening tool around all sides of the tablet until all sides pop off.
-
-
-
Lift the detached screen from the camera side until you can see the inside of the tablet.
-
-
-
-
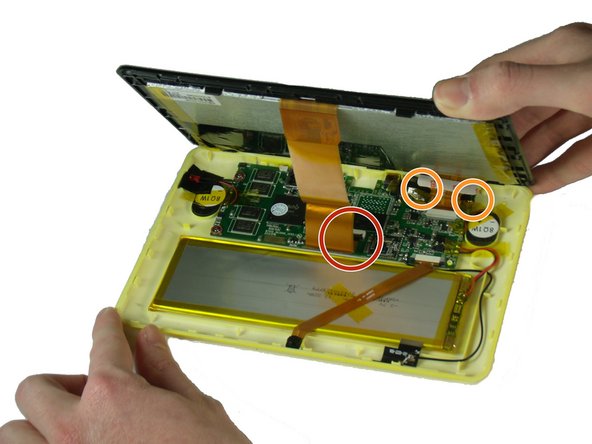
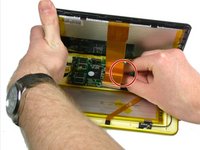
There is a black tab behind the long ribbon cable. Lift up the black tab.
-
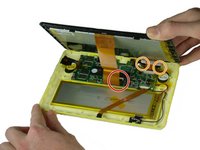
For the ribbon cable in the back, pull the black tabs on the side out.
-
Detach the ribbon cables connecting the screen to the motherboard.
-
Remove any tape that is holding down the ribbon cables. Set it aside.
-
Once the ribbon cables are freed, separate the top and bottom sides.
-
-
-
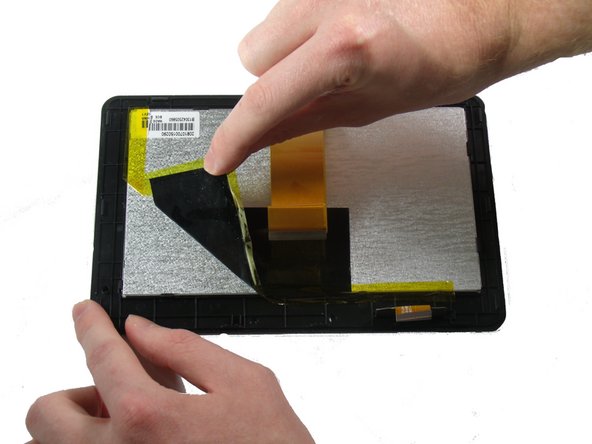
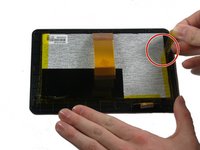
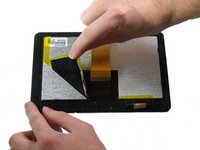
Remove the yellow tape on the right side. Easiest side to get.
-
Remove the black and yellow tape stuck together on the left and bottom sides of the screen.
-
-
-
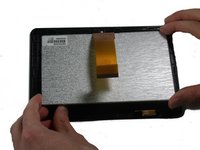
Flex the sides of the tablet until the clips holding the display to the screen case pop loose.
-
-
-
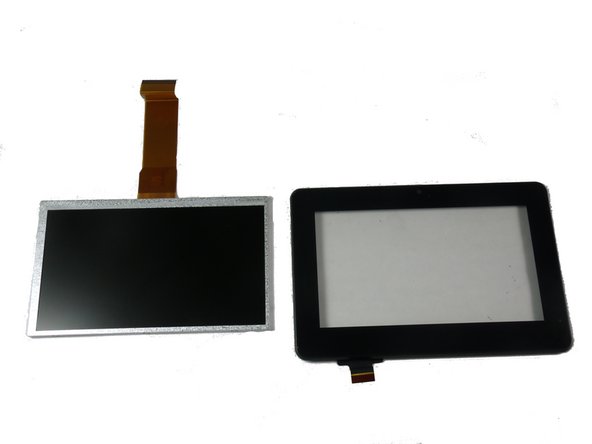
Pull the display from the top side to detach it from the screen case.
-
-





To reassemble your device, follow these instructions in reverse order.
Annulla: non ho completato questa guida.
Altre 4 persone hanno completato questa guida.

Team

Baylor, Team 4-4, Williams Spring 2015 Membro di Baylor, Team 4-4, Williams Spring 2015
BU-WILLIAMS-S15S4G4
3 Membri
8 guide realizzate
