Salta al contenuto principale
Unisciti alla Community delle riparazioni - Crea un account

Chromo Noria Touch Screen Replacement

Cosa ti serve

    1. Chromo Noria Touch Screen Replacement, Back Panel: passo 1, immagine 1 di 3 Chromo Noria Touch Screen Replacement, Back Panel: passo 1, immagine 2 di 3 Chromo Noria Touch Screen Replacement, Back Panel: passo 1, immagine 3 di 3
      • Insert your Plastic Opening Tool into the crease between the front panel and back panel.

      • Slide the Opening Tool around the entire device. As you progress, you should see the device open.

      Chiedi a FixBot

      Aggiungi Commento

    2. Chromo Noria Touch Screen Replacement: passo 2, immagine 1 di 1
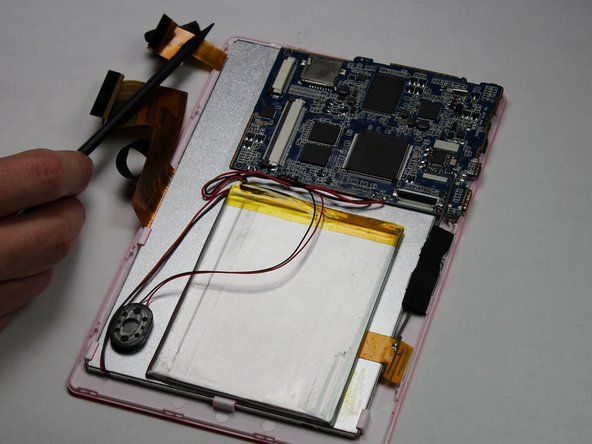
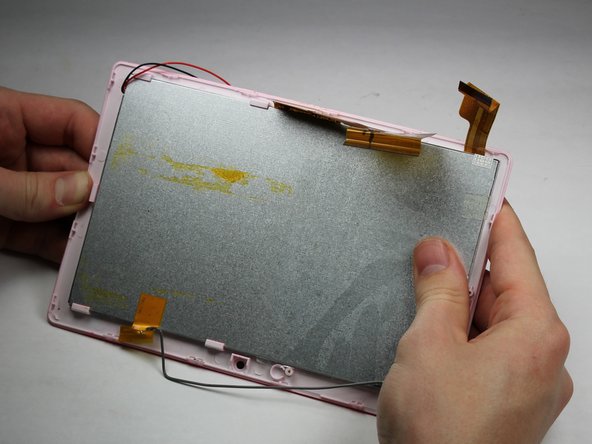
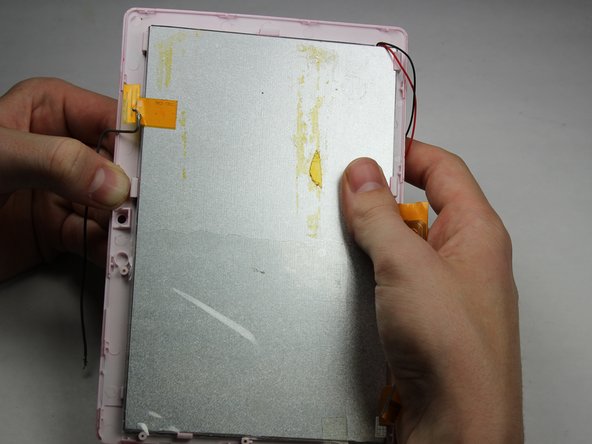
      • Carefully turn the device over.

      • Lay the back panel aside so you can see the device's parts.

      Chiedi a FixBot

      Aggiungi Commento

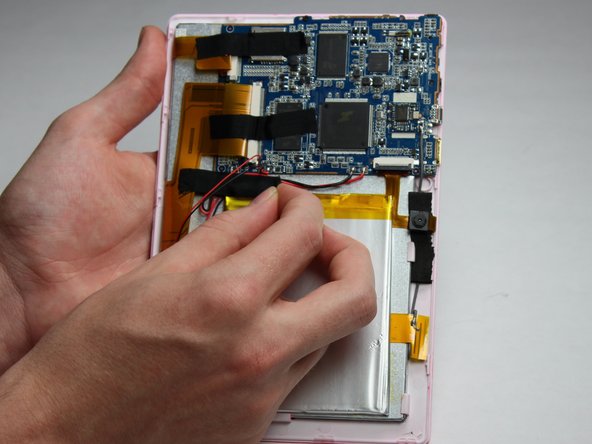
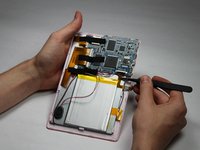
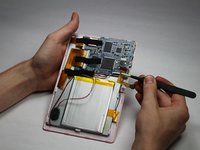
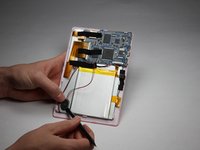
    1. Chromo Noria Touch Screen Replacement, Battery: passo 3, immagine 1 di 3 Chromo Noria Touch Screen Replacement, Battery: passo 3, immagine 2 di 3 Chromo Noria Touch Screen Replacement, Battery: passo 3, immagine 3 di 3
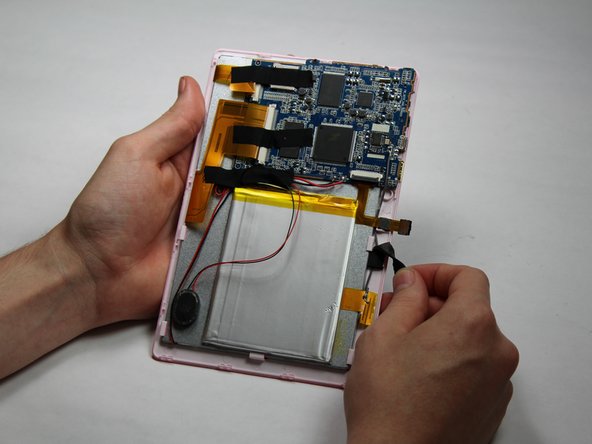
      • Place your finger at the end of the tape closest to the battery.

      • Peel the tape towards the flex cables to free the battery wires.

      Chiedi a FixBot

      Aggiungi Commento

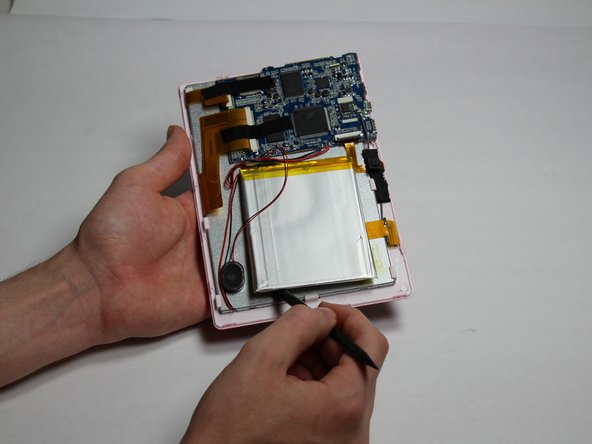
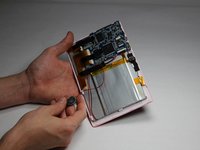
    2. Chromo Noria Touch Screen Replacement: passo 4, immagine 1 di 3 Chromo Noria Touch Screen Replacement: passo 4, immagine 2 di 3 Chromo Noria Touch Screen Replacement: passo 4, immagine 3 di 3
      • Using the spudger tool, place the tool along an edge of the battery.

      • Be careful not to bend or break the battery! Batteries contain hazards materials.

      • Move the spudger around the edges of the battery to detach it from the tablet.

      Chiedi a FixBot

      Aggiungi Commento

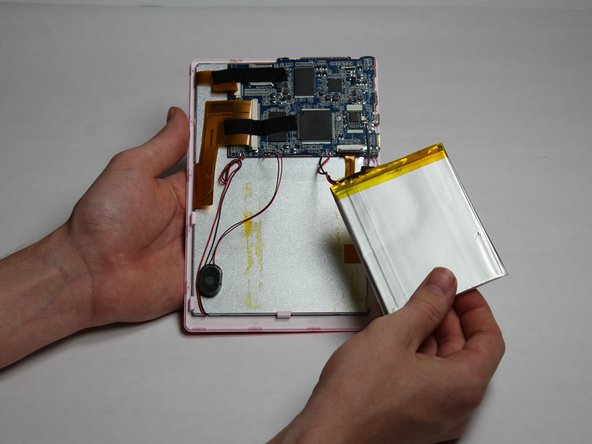
    3. Chromo Noria Touch Screen Replacement: passo 5, immagine 1 di 1
      • Soldering irons get very hot! Be careful when handling one. If you'd like a tutorial on how to use one, click here.

      • Using a soldering iron, desolder both of the battery wires. The battery's wires are located to the left of the camera's flex cable.

      • Remove the battery.

      Chiedi a FixBot

      Aggiungi Commento

    1. Chromo Noria Touch Screen Replacement, Camera: passo 6, immagine 1 di 2 Chromo Noria Touch Screen Replacement, Camera: passo 6, immagine 2 di 2
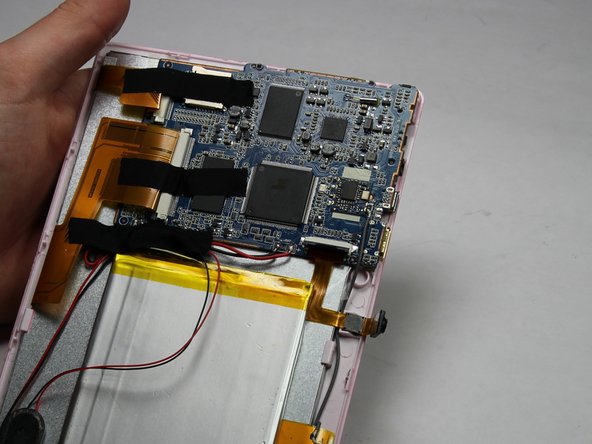
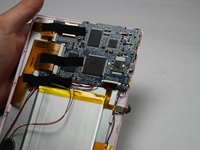
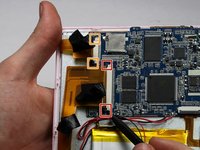
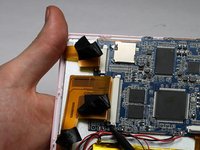
      • Carefully detach one side of the black tape from the board.

      Chiedi a FixBot

      Aggiungi Commento

    2. Chromo Noria Touch Screen Replacement: passo 7, immagine 1 di 2 Chromo Noria Touch Screen Replacement: passo 7, immagine 2 di 2
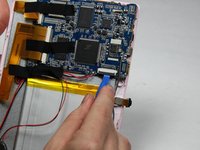
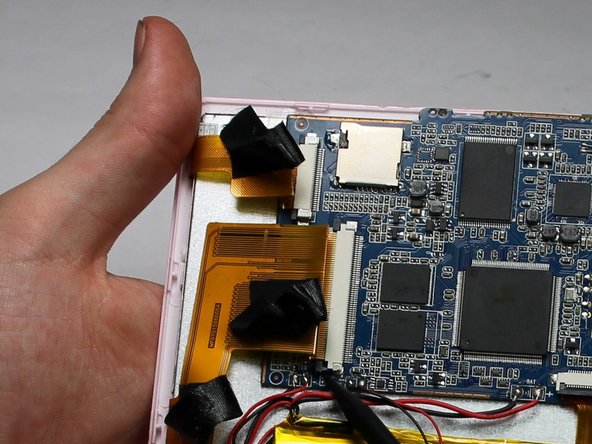
      • Using a small plastic opening tool, flip the black connector up until it makes "tick" sound.

      • Now, the flexing cable is ready to be removed.

      Chiedi a FixBot

      Aggiungi Commento

    3. Chromo Noria Touch Screen Replacement: passo 8, immagine 1 di 2 Chromo Noria Touch Screen Replacement: passo 8, immagine 2 di 2
      Strumento utilizzato in questo passaggio:
      Tweezers
      $4.99
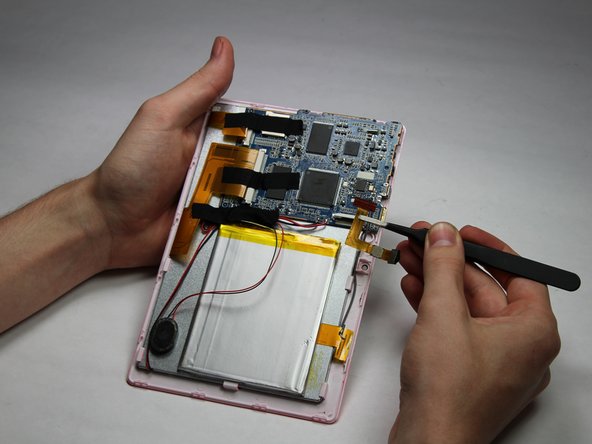
      • Using a pair of tweezers, hold the flexing cable right below the black connector.

      • Gently pull the flexing cable out of the connector while balancing the other side of the device with another hand.

      Chiedi a FixBot

      Aggiungi Commento

    1. Chromo Noria Touch Screen Replacement, Speaker: passo 9, immagine 1 di 1
      • Using your spudger tool, remove speaker from the backboard.

      Chiedi a FixBot

      Aggiungi Commento

    2. Chromo Noria Touch Screen Replacement: passo 10, immagine 1 di 2 Chromo Noria Touch Screen Replacement: passo 10, immagine 2 di 2
      • Using the spudger tool, detach the speaker from the back of the screen.

      Chiedi a FixBot

      Aggiungi Commento

    3. Chromo Noria Touch Screen Replacement: passo 11, immagine 1 di 1
      • Soldering irons get very hot! Be careful when handling one. If you'd like a tutorial on how to use one, click here.

      • Using a Soldering Iron, desolder both wires from the motherboard.

      Chiedi a FixBot

      Aggiungi Commento

    1. Chromo Noria Touch Screen Replacement, Motherboard: passo 12, immagine 1 di 2 Chromo Noria Touch Screen Replacement, Motherboard: passo 12, immagine 2 di 2
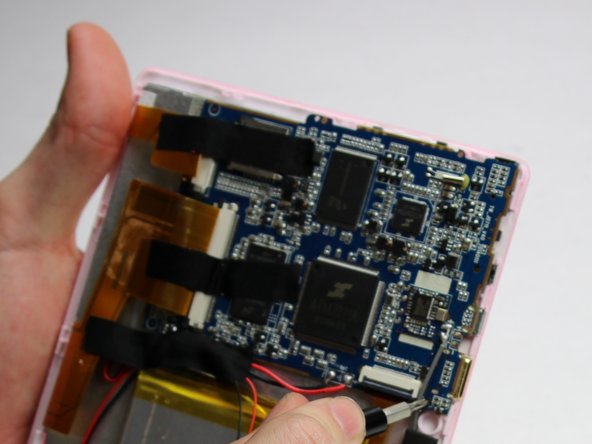
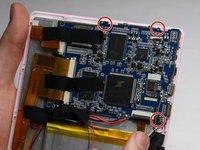
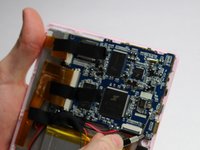
      • Using a Phillips #00 Precision Screwdriver, remove the three 3mm screws by turning the screwdriver counter-clockwise.

      Chiedi a FixBot

      Aggiungi Commento

    2. Chromo Noria Touch Screen Replacement: passo 13, immagine 1 di 1
      • Remove the three pieces of tap keeping the wires in place.

      Chiedi a FixBot

      Aggiungi Commento

    3. Chromo Noria Touch Screen Replacement: passo 14, immagine 1 di 3 Chromo Noria Touch Screen Replacement: passo 14, immagine 2 di 3 Chromo Noria Touch Screen Replacement: passo 14, immagine 3 di 3
      • Place a spudger on the small black pins on either side of the flex cables.

      • Gently push the spudger towards the back of flex cables to unlock the flex cable.

      • Remove the flex cables from their insert.

      Chiedi a FixBot

      Aggiungi Commento

    4. Chromo Noria Touch Screen Replacement: passo 15, immagine 1 di 1
      • Soldering irons get very hot! Be careful when handling one. If you'd like a tutorial on how to use one, click here.

      • Desolder the eight connections.

      Chiedi a FixBot

      Aggiungi Commento

    5. Chromo Noria Touch Screen Replacement: passo 16, immagine 1 di 1
      • Lift the motherboard to remove.

      Chiedi a FixBot

      Aggiungi Commento

    1. Chromo Noria Touch Screen Replacement, Touch Screen: passo 17, immagine 1 di 3 Chromo Noria Touch Screen Replacement, Touch Screen: passo 17, immagine 2 di 3 Chromo Noria Touch Screen Replacement, Touch Screen: passo 17, immagine 3 di 3
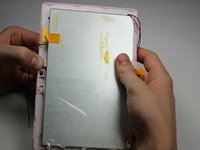
      • Apply downward pressure to each of the clips that hold the touchscreen to the plastic surround.

      • Careful to not apply so much pressure as to break the device! These hinges should move easily.

      • Work your way around the device in a clockwise motion as you progress.

      Chiedi a FixBot

      Aggiungi Commento

Conclusione

To reassemble your device, follow these instructions in reverse order.

Annulla: non ho completato questa guida.

Un'altra persona ha completato questa guida.

Nick Rohn

Membro da: 10/30/16

475 Reputazione

3 guide realizzate

Team

Baylor, Team 5-6, Williams Fall 2016 Membro di Baylor, Team 5-6, Williams Fall 2016

BU-WILLIAMS-F16S5G6

3 Membri

12 guide realizzate

0Commenti sulla guida

Aggiungi Commento

Visualizza statistiche:

Ultime 24 ore: 1

Ultimi 7 giorni: 6

Ultimi 30 giorni: 23

Tutti i Tempi: 613