Questa traduzione è stata generata automaticamente e non è stata ancora revisionata da una persona. Parli questa lingua? Dai un’occhiata.
Introduzione
Questa guida fornisce una procedura passo dopo passo su come accedere e sostituire il lettore di schede SD nella Canon PowerShot A550
Cosa ti serve
-
-
-
Svita un totale di 6 viti a croce Phillips da 4,45 mm utilizzando un cacciavite a croce Phillips #00.
-
Ci sono 2 viti sul lato sinistro (guardando la parte anteriore della fotocamera).
-
Ci sono 3 viti sul fondo
-
C'è 1 vite sul lato destro
 Chiedi a FixBot
-
-
-
Ruota la fotocamera per accedere al lato inferiore.
-
Apri la copertura della scheda di memoria facendo scorrere verso l'alto il pulsante "CARD/BATT." e tirando poi la copertura verso sinistra.
-
-
-
Ecco come appare lo scomparto della scheda SD/batteria una volta aperto.
-
Rimuovi una vite a croce Phillips da 4,45 mm dallo scomparto della scheda SD/batteria utilizzando un cacciavite a croce Phillips #00.
-
-
-
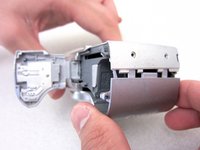
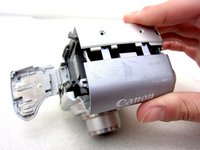
Rimuovi delicatamente la copertura frontale dal corpo della fotocamera.
-
-
-
-
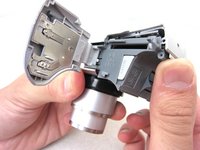
La fotocamera dovrebbe apparire così una volta rimossa la copertura anteriore.
-
-
Strumento utilizzato in questo passaggio:Tweezers$4.99
-
Inizia dal vano batteria e rimuovi la cover posteriore.
-
Rimuovi il cavo a nastro di collegamento dal corpo della fotocamera usando un paio di pinzette.
-
-
-
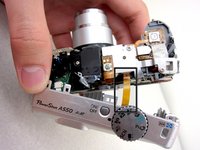
Una volta rimossa la piattina che collega la cover posteriore, il retro del corpo macchina dovrebbe apparire come in questa immagine.
-
-
-
-
-
Rimuovi le due viti a croce Phillips da 4,35 mm attorno allo schermo LCD usando un cacciavite a croce Phillips #00.
-
Allenta il fermo del cavo a nastro nero usando uno strumento di apertura
-
Libera lo schermo LCD rimuovendo il cavo a nastro dal corpo della fotocamera.
-
-
-
Svita 2 viti a croce Phillips da 3,35 mm dalla parte anteriore del circuito stampato utilizzando un cacciavite a croce Phillips #00.
-
-
Strumento utilizzato in questo passaggio:Tweezers$4.99
-
Sblocca il morsetto a nastro nero usando uno strumento di apertura per iPod per sollevarlo.
-
Rimuovi il nastro che collega il circuito stampato dal corpo della fotocamera usando le pinzette.
-
Il lettore di schede SD è fissato sul retro del circuito stampato. Il gruppo composto dal circuito stampato e dalla scheda SD deve essere sostituito.
-
-




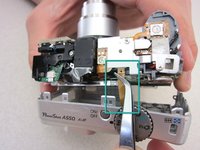


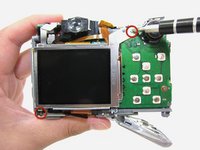
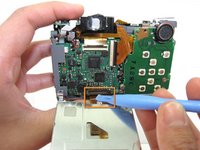
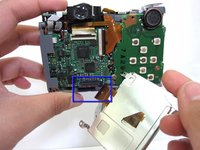


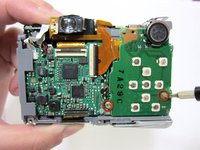
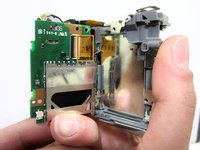


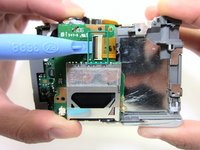
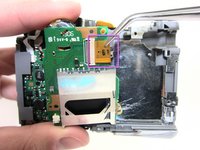
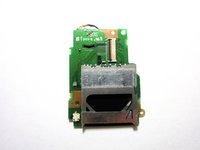
Per rimontare il dispositivo, segui queste istruzioni in ordine inverso.
Annulla: non ho completato questa guida.
Un'altra persona ha completato questa guida.

Team

Cal Poly, Team 8-6, Regan Spring 2011 Membro di Cal Poly, Team 8-6, Regan Spring 2011
CPSU-REGAN-S11S8G6
4 Membri
96 guide realizzate
