Salta al contenuto principale
Unisciti alla Community delle riparazioni - Crea un account

Asus A53S Fan Assembly Replacement

Cosa ti serve

    1. Asus A53S Fan Assembly Replacement, Motherboard: passo 1, immagine 1 di 3 Asus A53S Fan Assembly Replacement, Motherboard: passo 1, immagine 2 di 3 Asus A53S Fan Assembly Replacement, Motherboard: passo 1, immagine 3 di 3
      • Power off your device and remove the battery before beginning this guide.

      • Flip the laptop so the underside is facing up.

      • Using a Phillips #01 screwdriver, unscrew the two 6 mm screws.

      Chiedi a FixBot

      Aggiungi Commento

    2. Asus A53S Fan Assembly Replacement: passo 2, immagine 1 di 2 Asus A53S Fan Assembly Replacement: passo 2, immagine 2 di 2
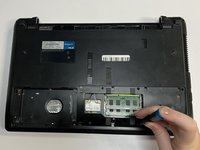
      • Place a spudger under the white wire and pull it up gently, disconnecting it from the Wi-Fi card.

      • Use the same method on the black wire.

      Chiedi a FixBot

      Aggiungi Commento

    3. Asus A53S Fan Assembly Replacement: passo 3, immagine 1 di 3 Asus A53S Fan Assembly Replacement: passo 3, immagine 2 di 3 Asus A53S Fan Assembly Replacement: passo 3, immagine 3 di 3
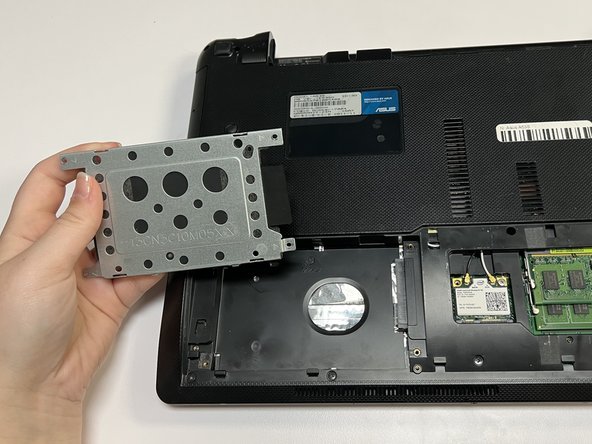
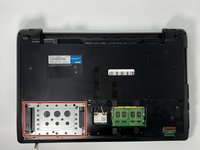
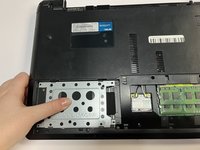
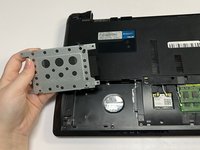
      • Push the hard drive to the left and remove it.

      Chiedi a FixBot

      Aggiungi Commento

    4. Asus A53S Fan Assembly Replacement: passo 4, immagine 1 di 2 Asus A53S Fan Assembly Replacement: passo 4, immagine 2 di 2
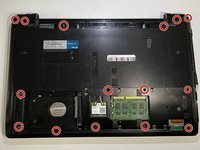
      • Using a Phillips #01 screwdriver, unscrew the fifteen 6 mm screws.

      Chiedi a FixBot

      Aggiungi Commento

    5. Asus A53S Fan Assembly Replacement: passo 5, immagine 1 di 2 Asus A53S Fan Assembly Replacement: passo 5, immagine 2 di 2
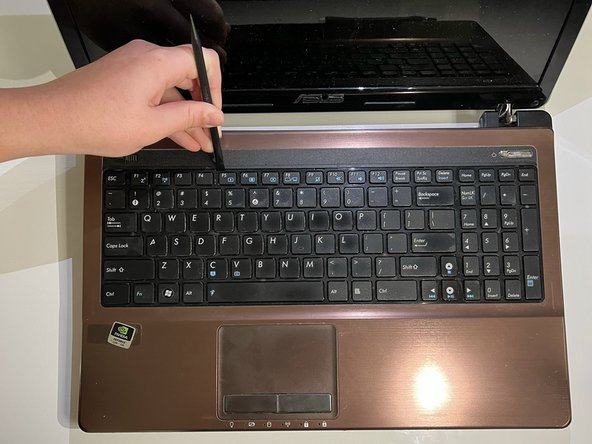
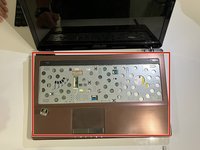
      • Flip over the laptop and open it.

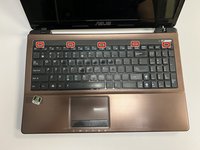
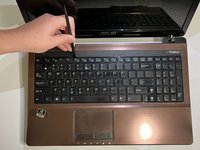
      • Using the spudger, insert the flat end into the notches at the top of the keyboard and slowly "pop" the keyboard up and out of the device.

      Chiedi a FixBot

      Aggiungi Commento

    6. Asus A53S Fan Assembly Replacement: passo 6, immagine 1 di 2 Asus A53S Fan Assembly Replacement: passo 6, immagine 2 di 2
      • Using the flat end of the spudger, lift the black ZIF connector lock bar and disconnect the keyboard from the computer.

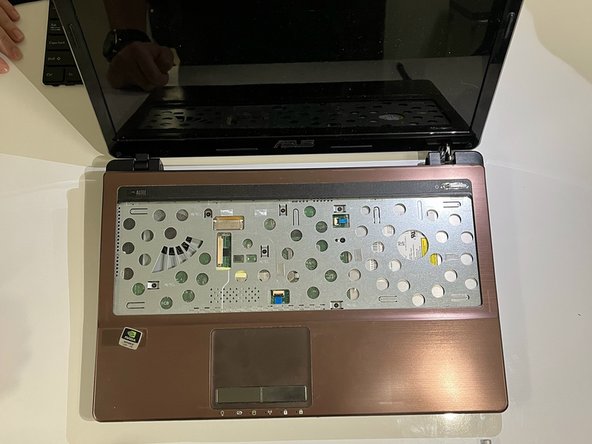
      • Remove the keyboard.

      Chiedi a FixBot

      Aggiungi Commento

    7. Asus A53S Fan Assembly Replacement: passo 7, immagine 1 di 2 Asus A53S Fan Assembly Replacement: passo 7, immagine 2 di 2
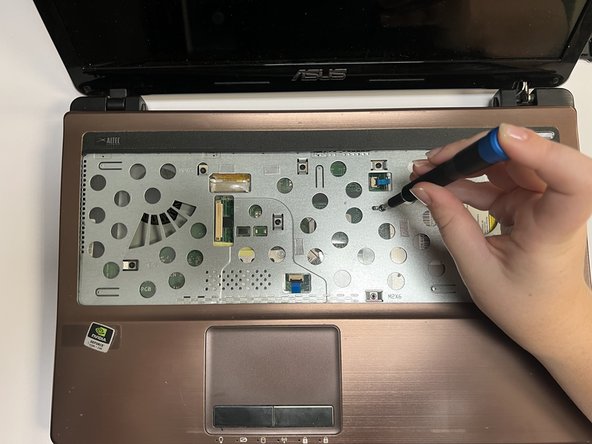
      • Using the spudger, place the flat end under the black lock bar holding the power switch. Push the spudger up and to the left, disconnecting the power switch.

      • Use the same technique on the touchpad to disconnect it.

      Chiedi a FixBot

      Aggiungi Commento

    8. Asus A53S Fan Assembly Replacement: passo 8, immagine 1 di 2 Asus A53S Fan Assembly Replacement: passo 8, immagine 2 di 2
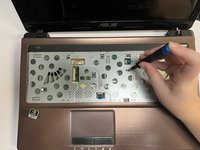
      • Using a Phillips #01 screwdriver, unscrew the seven 6 mm screws.

      Chiedi a FixBot

      Aggiungi Commento

    9. Asus A53S Fan Assembly Replacement: passo 9, immagine 1 di 1
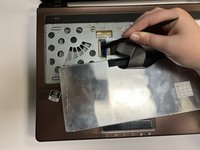
      • Gently pull out the optical drive.

      Chiedi a FixBot

      Aggiungi Commento

    10. Asus A53S Fan Assembly Replacement: passo 10, immagine 1 di 1
      • Flip the laptop back over so that the bottom is facing up.

      • Use a Phillips #01 screwdriver to unscrew the three 6 mm screws.

      Chiedi a FixBot

      Aggiungi Commento

    11. Asus A53S Fan Assembly Replacement: passo 11, immagine 1 di 2 Asus A53S Fan Assembly Replacement: passo 11, immagine 2 di 2
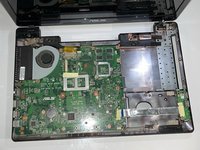
      • Turn the laptop back over so that you can open it.

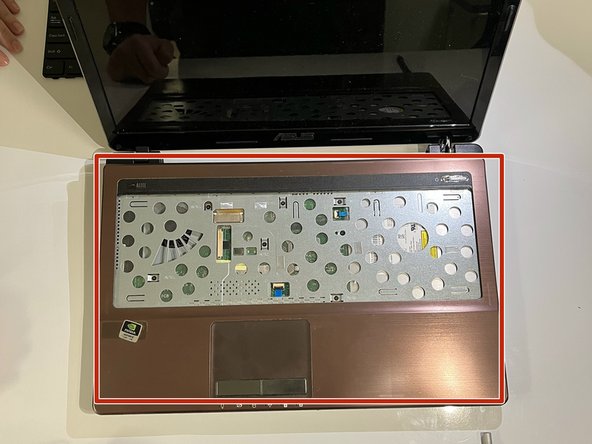
      • Gently separate the cover from the laptop by putting an opening tool between the cover and the lower part of the laptop.

      Chiedi a FixBot

      Aggiungi Commento

    12. Asus A53S Fan Assembly Replacement: passo 12, immagine 1 di 1
      • Remove the yellow tape.

      Chiedi a FixBot

      Aggiungi Commento

    13. Asus A53S Fan Assembly Replacement: passo 13, immagine 1 di 1
      • Using the flat end of a spudger, flip ZIF connector lock bar up, disconnecting the USB board from the mother board.

      Chiedi a FixBot

      Aggiungi Commento

    14. Asus A53S Fan Assembly Replacement: passo 14, immagine 1 di 2 Asus A53S Fan Assembly Replacement: passo 14, immagine 2 di 2
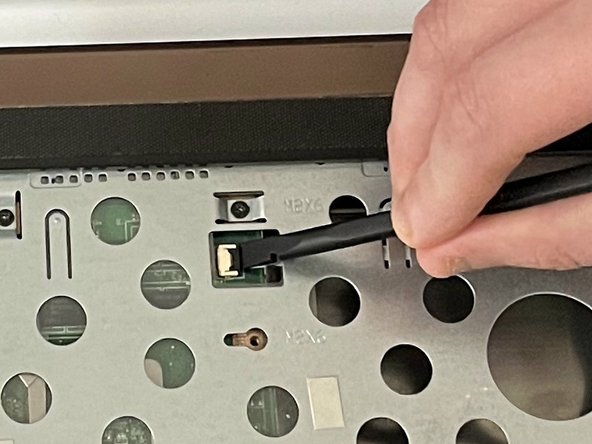
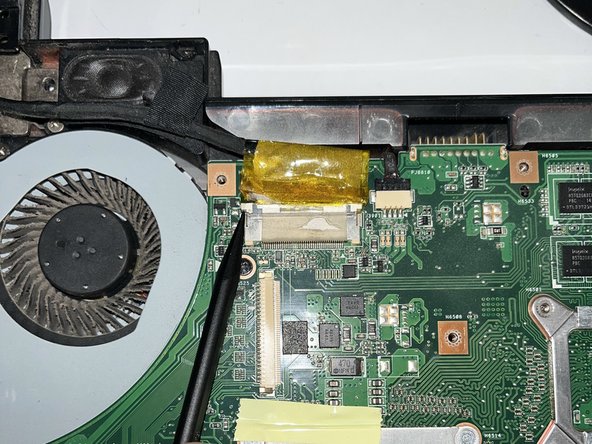
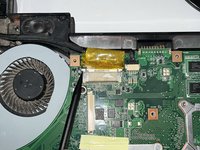
      • Using the pointy end of a spudger, push upwards on the notches of the tan part of the LCD connector.

      Chiedi a FixBot

      Aggiungi Commento

    15. Asus A53S Fan Assembly Replacement: passo 15, immagine 1 di 2 Asus A53S Fan Assembly Replacement: passo 15, immagine 2 di 2
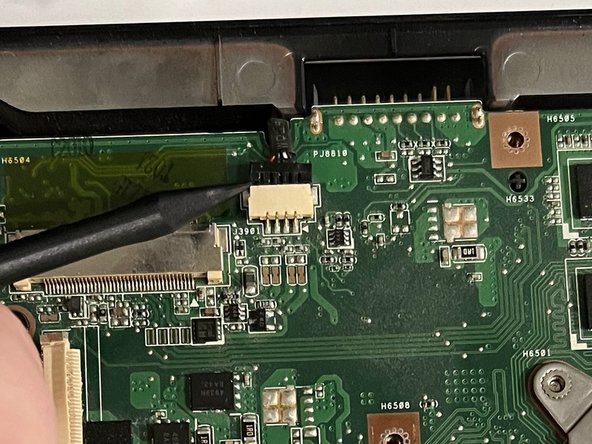
      • Using the pointy end of a spudger, gently push upwards on the black part of the speaker connector.

      Chiedi a FixBot

      Aggiungi Commento

    16. Asus A53S Fan Assembly Replacement: passo 16, immagine 1 di 2 Asus A53S Fan Assembly Replacement: passo 16, immagine 2 di 2
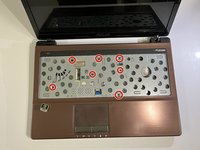
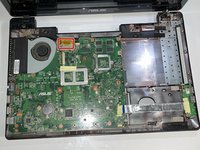
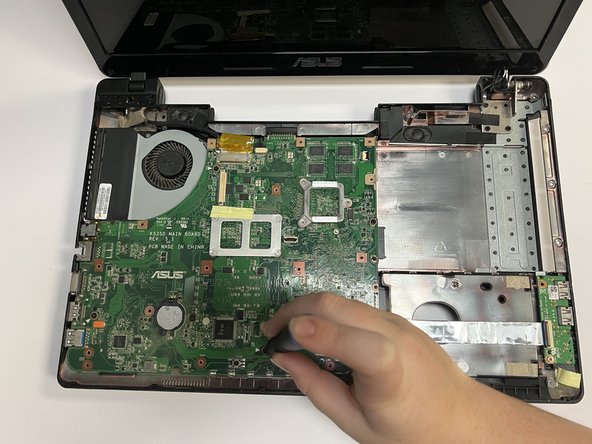
      • Using a Phillips #01 screwdriver, unscrew the five 6 mm screws at the indicated places.

      • Using a Phillips #01 screwdriver, unscrew the 5 mm screws.

      • All of these screws are indicated by a small white arrow.

      Chiedi a FixBot

      Aggiungi Commento

    17. Asus A53S Fan Assembly Replacement: passo 17, immagine 1 di 2 Asus A53S Fan Assembly Replacement: passo 17, immagine 2 di 2
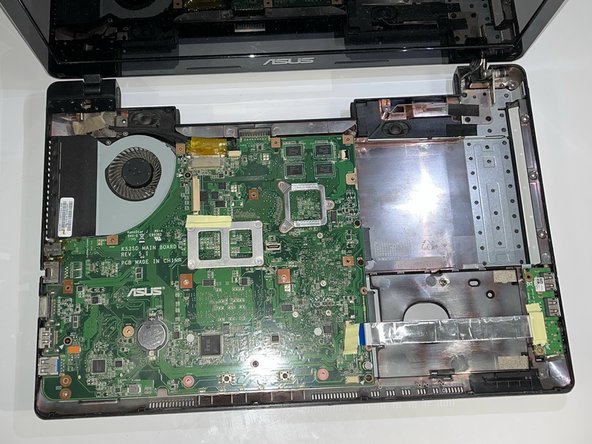
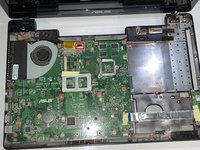
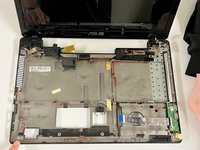
      • Gently lift the motherboard, removing it from the laptop shell.

      Chiedi a FixBot

      Aggiungi Commento

    1. Asus A53S Fan Assembly Replacement, Fan Assembly: passo 18, immagine 1 di 3 Asus A53S Fan Assembly Replacement, Fan Assembly: passo 18, immagine 2 di 3 Asus A53S Fan Assembly Replacement, Fan Assembly: passo 18, immagine 3 di 3
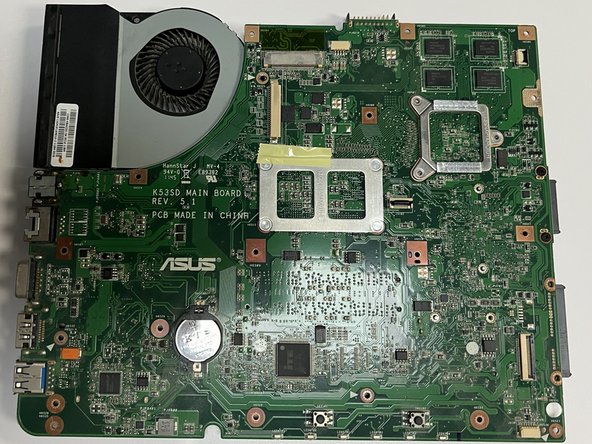
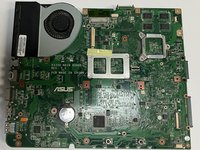
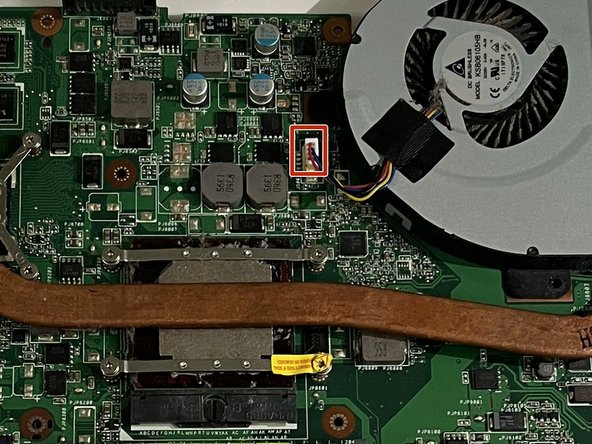
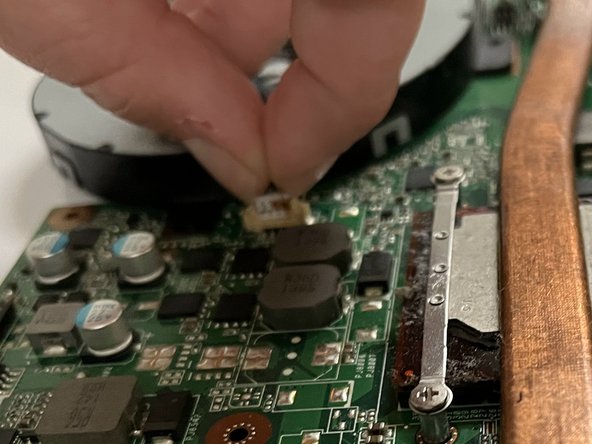
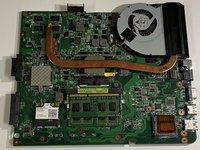
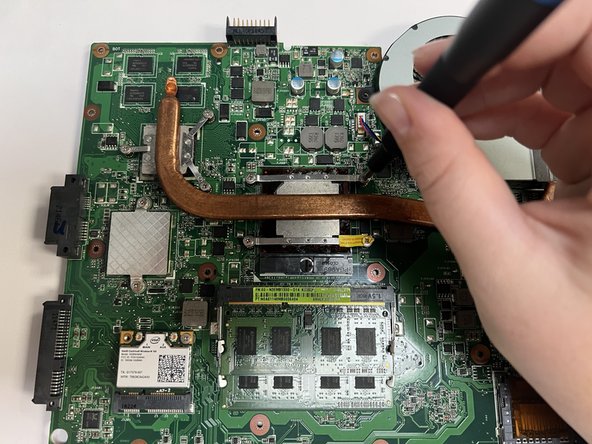
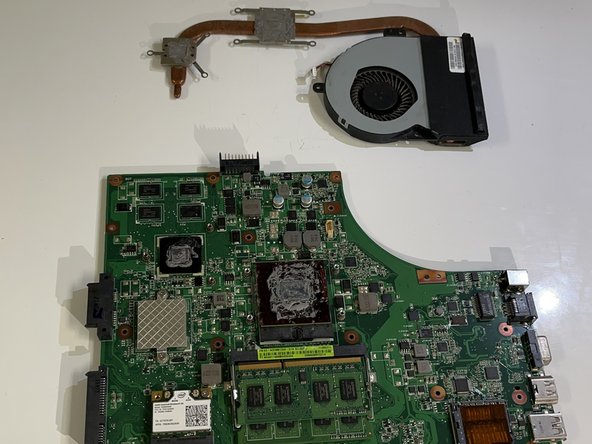
      • Flip the motherboard so that the fan and heat sink are facing up.

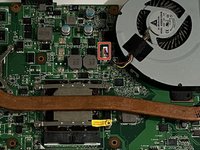
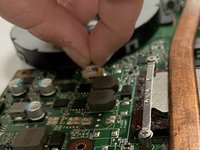
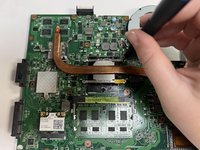
      • Pinch the upper part of the connector and pull upwards, slightly shimmying it side to side, to disconnect the fan.

      Chiedi a FixBot

      Aggiungi Commento

    2. Asus A53S Fan Assembly Replacement: passo 19, immagine 1 di 3 Asus A53S Fan Assembly Replacement: passo 19, immagine 2 di 3 Asus A53S Fan Assembly Replacement: passo 19, immagine 3 di 3
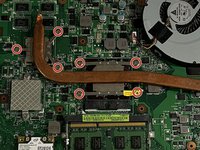
      • Using a Phillips #01 screwdriver, unscrew the seven 5 mm screws.

      • Remove the fan assembly.

      Chiedi a FixBot

      Aggiungi Commento

Conclusione

To reassemble your device, follow these instructions in reverse order.

Annulla: non ho completato questa guida.

Altre 2 persone hanno completato questa guida.

0Commenti sulla guida

Aggiungi Commento

Visualizza statistiche:

Ultime 24 ore: 0

Ultimi 7 giorni: 8

Ultimi 30 giorni: 59

Tutti i Tempi: 1,085