Salta al contenuto principale
Unisciti alla Community delle riparazioni - Crea un account

Anki Vector Capacitive Touch Sensor Replacement

Cosa ti serve

  1. Anki Vector  Capacitive Touch Sensor Replacement, Belts: passo 1, immagine 1 di 1
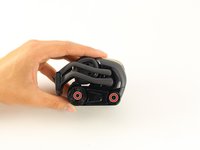
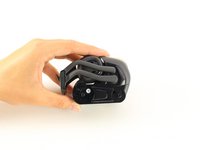
    • Raise Vector's arms above his head.

    Chiedi a FixBot
    Aggiungi Commento

  2. Anki Vector  Capacitive Touch Sensor Replacement: passo 2, immagine 1 di 2 Anki Vector  Capacitive Touch Sensor Replacement: passo 2, immagine 2 di 2
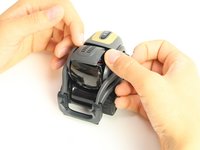
    • Using your thumb and index finger, grab the lower portion of the belt near the large wheel and pull the belt off.

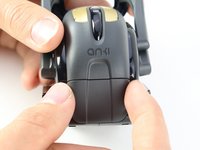
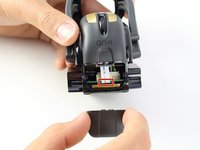
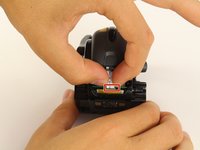
    • Repeat on the other side.

    Chiedi a FixBot

    Aggiungi Commento

  3. Anki Vector  Capacitive Touch Sensor Replacement, LCD Facial Display: passo 3, immagine 1 di 3 Anki Vector  Capacitive Touch Sensor Replacement, LCD Facial Display: passo 3, immagine 2 di 3 Anki Vector  Capacitive Touch Sensor Replacement, LCD Facial Display: passo 3, immagine 3 di 3
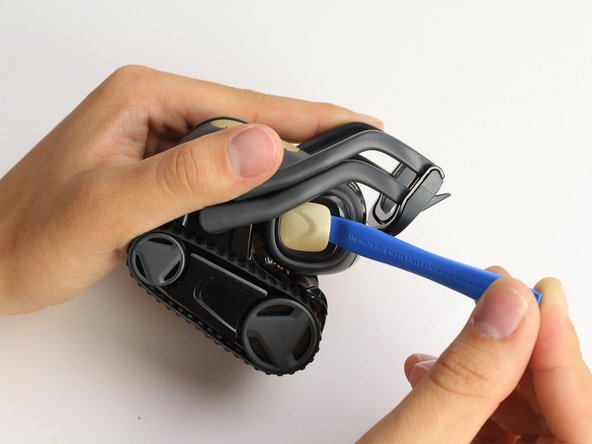
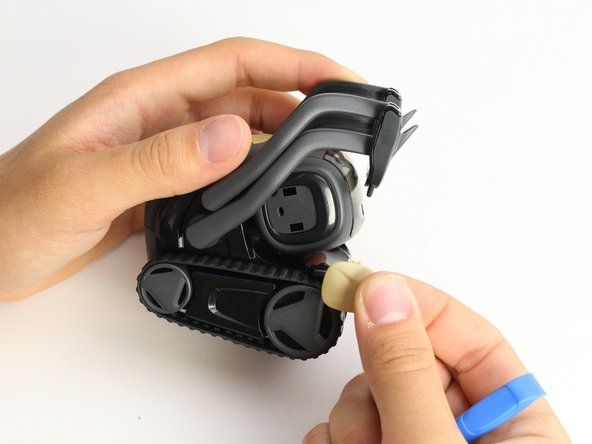
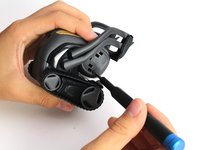
    • Using the iFixit opening tool, insert the corner under Vector's golden side panel and lightly twist.

    • Repeat this step on the other side.

    • The panel should pop off without much force.

    Chiedi a FixBot

    Aggiungi Commento

  4. Anki Vector  Capacitive Touch Sensor Replacement: passo 4, immagine 1 di 3 Anki Vector  Capacitive Touch Sensor Replacement: passo 4, immagine 2 di 3 Anki Vector  Capacitive Touch Sensor Replacement: passo 4, immagine 3 di 3
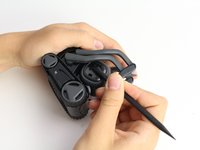
    • Insert the corner of the square end of the spudger under the side plate above the partially visible screw.

    • Lightly turn the spudger to separate the plate from Vector's head.

    • Work the spudger around the plate until it comes off.

    • Repeat this step on the the other side.

    Chiedi a FixBot

    Aggiungi Commento

  5. Anki Vector  Capacitive Touch Sensor Replacement: passo 5, immagine 1 di 2 Anki Vector  Capacitive Touch Sensor Replacement: passo 5, immagine 2 di 2
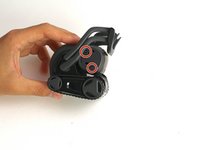
    • Using a Phillips #0 screwdriver, unscrew the two 2 mm screws on the side of Vector's head.

    • Repeat this step on the opposite side.

    Chiedi a FixBot
    Aggiungi Commento

  6. Anki Vector  Capacitive Touch Sensor Replacement: passo 6, immagine 1 di 2 Anki Vector  Capacitive Touch Sensor Replacement: passo 6, immagine 2 di 2
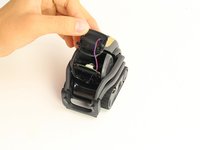
    • Pull apart Vector's head. It should separate down the middle.

    • Remove the screen protector by gently pulling it free from the two face halves.

    Chiedi a FixBot
    Aggiungi Commento

  7. Anki Vector  Capacitive Touch Sensor Replacement: passo 7, immagine 1 di 3 Anki Vector  Capacitive Touch Sensor Replacement: passo 7, immagine 2 di 3 Anki Vector  Capacitive Touch Sensor Replacement: passo 7, immagine 3 di 3
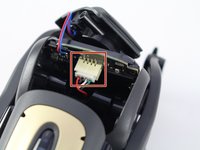
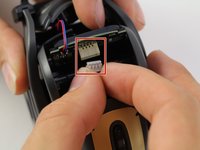
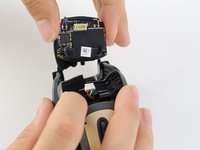
    • Using your thumb and index finger, unplug the display from the plug in Vector's neck.

    • Pull the LCD and speaker assembly from Vector's head.

    • There is a very thin insulating rubber sheet located at the base of the screen. Be careful not to tear it when removing the display.

    Chiedi a FixBot
    Aggiungi Commento

  8. Anki Vector  Capacitive Touch Sensor Replacement, Capacitive Touch Sensor: passo 8, immagine 1 di 2 Anki Vector  Capacitive Touch Sensor Replacement, Capacitive Touch Sensor: passo 8, immagine 2 di 2
    • Using the Jimmy, insert the straight edge of the blade in recess groove in Vector's front wheel.

    • Slowly apply torque to the jimmy until the wheel cover pops off.

    • Repeat for the rear wheel.

    Chiedi a FixBot

    Aggiungi Commento

  9. Anki Vector  Capacitive Touch Sensor Replacement: passo 9, immagine 1 di 2 Anki Vector  Capacitive Touch Sensor Replacement: passo 9, immagine 2 di 2
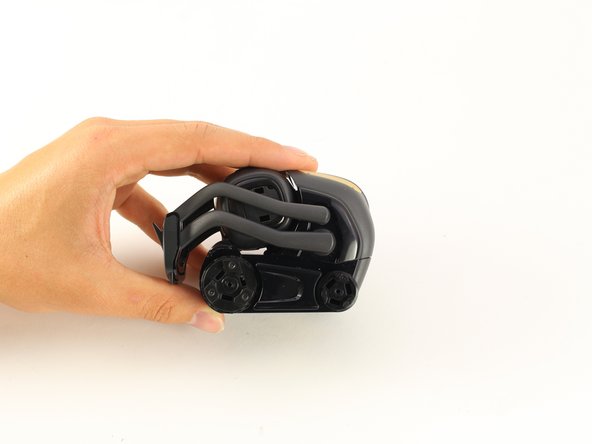
    • Using a Phillips #0 screwdriver, unscrew the two screws on the exposed wheels.

    • Once the screws are gone, remove the wheels from Vector's body.

    • Repeat this on the other side.

    Chiedi a FixBot
    Aggiungi Commento

  10. Anki Vector  Capacitive Touch Sensor Replacement: passo 10, immagine 1 di 3 Anki Vector  Capacitive Touch Sensor Replacement: passo 10, immagine 2 di 3 Anki Vector  Capacitive Touch Sensor Replacement: passo 10, immagine 3 di 3
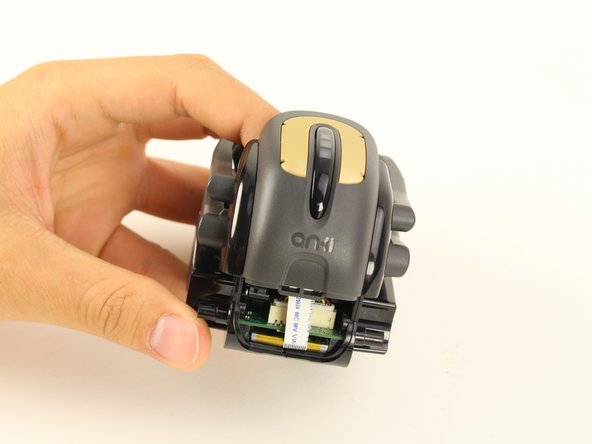
    • Gently remove the rear panel by griping it towards the top and pulling out and up.

    • Gently pull out the ribbon cable from the plug between the motherboard and the weight.

    Chiedi a FixBot
    Aggiungi Commento

  11. Anki Vector  Capacitive Touch Sensor Replacement: passo 11, immagine 1 di 3 Anki Vector  Capacitive Touch Sensor Replacement: passo 11, immagine 2 di 3 Anki Vector  Capacitive Touch Sensor Replacement: passo 11, immagine 3 di 3
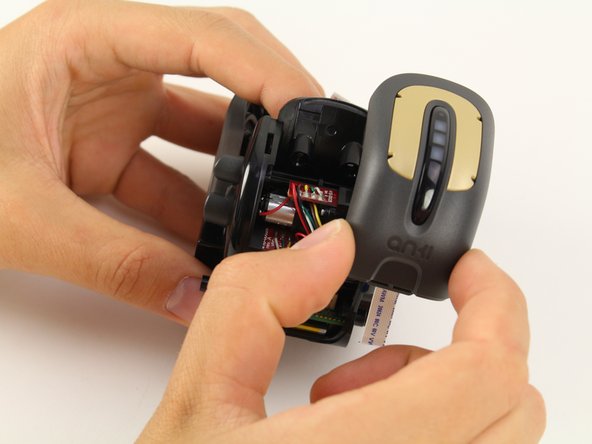
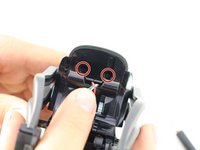
    • Using a Phillips #0 screwdriver, unscrew the two screws located behind Vector's neck.

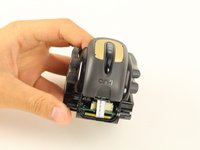
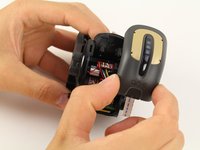
    • Lift the capacitive touch sensor assembly off of the body

    Chiedi a FixBot
    Aggiungi Commento

Conclusione

To reassemble your device, follow these instructions in reverse order.

Annulla: non ho completato questa guida.

Altre 4 persone hanno completato questa guida.

Shay Takei

Membro da: 04/16/19

1.795 Reputazione

5 guide realizzate

Team

Cal Poly, Team S2-G6, Maness Spring 2019 Membro di Cal Poly, Team S2-G6, Maness Spring 2019

CPSU-MANESS-S19S2G6

4 Membri

10 guide realizzate

0Commenti sulla guida

Aggiungi Commento

Visualizza statistiche:

Ultime 24 ore: 1

Ultimi 7 giorni: 8

Ultimi 30 giorni: 46

Tutti i Tempi: 1,984