Introduzione
A zipper slider is responsible for bringing together the two sides of the zipper tape, ensuring that the teeth secure properly. When a slider is broken or missing, the zipper will not stay closed.
This tutorial offers a collection of repair techniques and tricks for addressing zipper issues when standard zipper slider replacement methods aren't effective. Reasons for this may include:
- A non-separating zipper on a pocket or pack
- Damaged zipper tape
- Missing box or pin
Many of these techniques serve as temporary fixes, providing quick solutions until a more permanent sewn repair can be made. Be sure to read through the entire guide before starting the repair to ensure one of the techniques is applicable.
Next, gather the necessary tools and materials. While Patagonia-specific materials are ideal, they are not required. Patagonia replacement parts can be obtained by calling or messaging Patagonia Customer Service.
Alternatively, Patagonia products can be taken to a local retail store for repair evaluation or sent in to Patagonia through their mail-in repair service.
Please note that this guide includes multiple techniques and does not follow a typical step-by-step format.
| Info | Skills | Techniques |
|---|---|---|
| Zipper Top Stops Zipper Corrosion | Top Stop Removal Cutting Zipper Teeth Breaking a Slider Fastening Zippers by Hand Retrack Slider at Damaged Area | Realign Offset Zipper Pocket Slider Replacement - Sacrificial Teeth Isolating Zipper Teeth Damage - Packs Isolating Zipper Teeth Damage - Separating Zippers Isolating Zipper Teeth Damage - Pocket Zippers |
Let's get fixing!
WARNING! Small Parts. Patagonia does not recommend conducting these repairs on garments intended for children age 3 or under. Instead, we recommend return of the product for professional repair services.
The 3 Stages of Patagonia Zipper Repair
- Identify the zipper type
- Diagnose the issue
- Repair the zipper
- Coil Zipper Slider Replacement
- Plastic Tooth Zipper Slider Replacement
- Advanced No-Sew Zipper Repair Techniques
Cosa ti serve
-
-
Before starting any techniques in this guide, identify the correct zipper type, size, and qualities. Reference the Zipper Identification guide for help.
-
-
-
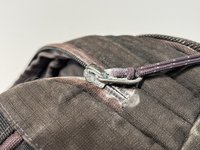
Coil top stops are metal pieces shaped like a claw with three prongs (2 on one side and 1 on the other). They're applied by puncturing through the zipper tape and wrapping the prongs into the coil.
-
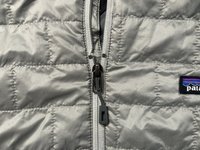
Plastic tooth (Vislon®) top stops are colored metal pieces shaped like a hot dog bun. They clamp onto a toothless area of the zipper tape.
-
Metal top stops are metal piece shaped like a small "c." They clamp onto a toothless area of a metal or plastic tooth zipper tape.
-
Despite the name, top stops can be placed on other locations of the zipper track, not just the top.
-
-
-
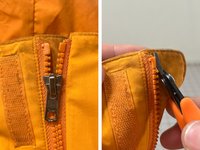
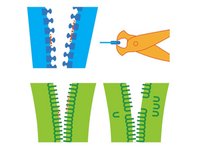
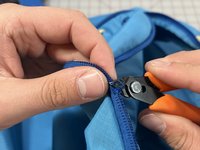
Skill - Use flush cutters to nip off the edge of the plastic, then peel the rest of the plastic away.
-
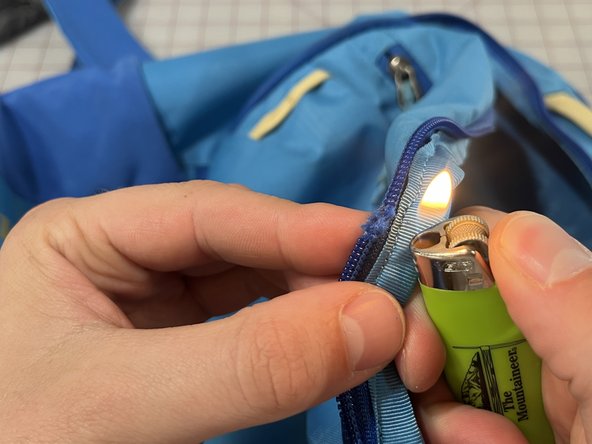
Singe frayed or damaged zipper tape with a lighter.
-
-
-
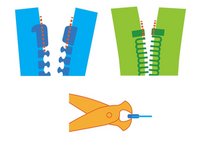
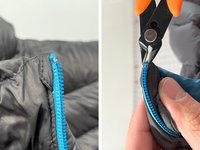
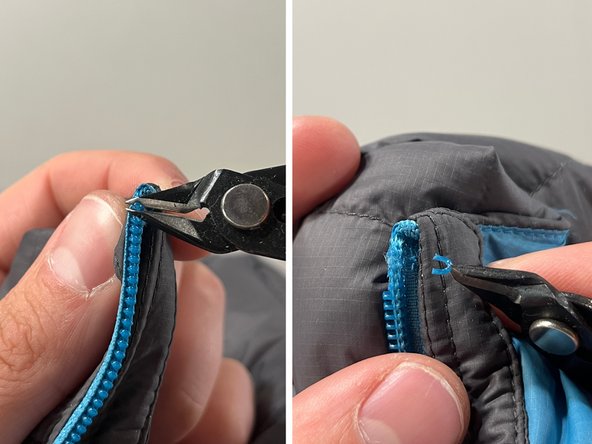
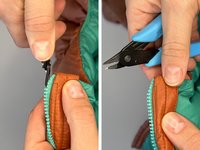
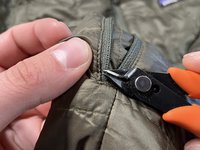
Plastic Tooth - Use flush cutters to snip along the edge of the teeth, then peel the rest of the tooth away from the tape.
-
Coil - Use flush cutters to snip along the edge of the teeth, then pull out the back side of each coil with needle nose pliers.
-
Singe frayed or damaged zipper tape with a lighter.
-
-
-
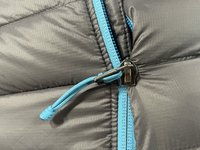
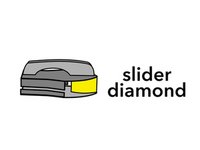
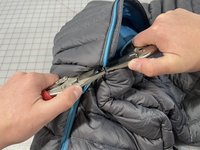
This technique uses two pairs of needle-nose vice grips to break the top and bottom of the slider away from the "diamond" that holds them together, so the slider releases from the zipper teeth.
-
-
-
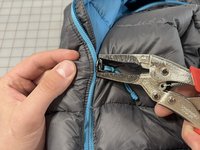
Skill - Clamp the top of the slider with one pair of needle nose vice grips and the bottom of the slider with the other pair of vice grips, making sure no fabric is caught.
-
Use both a twisting motion and a rocking motion to loosen the diamond until it breaks.
-
Steam any fabric that was caught to help prevent future snagging.
-
Discard the broken slider responsibly.
-
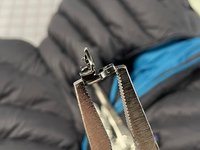
Attach a new slider:
-
-
-
-
Reference this video to see the technique off of a garment.
-
-
-
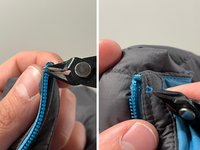
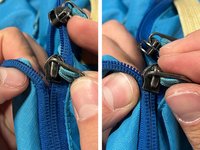
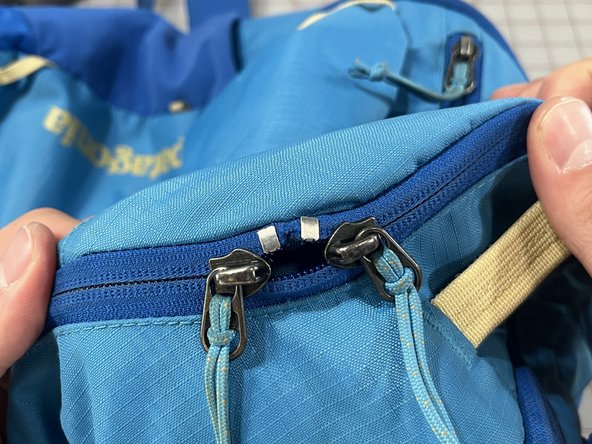
Technique - Bring the slider as close as possible to the unaligned area. Then move the slider away, gently pulling on the side of the zipper that's bubbled, trying to skip teeth. Bring the slider back down and repeat until the skipped area is fixed.
-
-
-
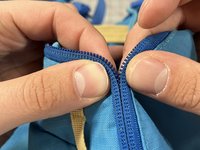
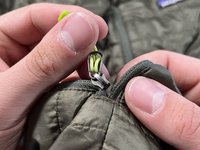
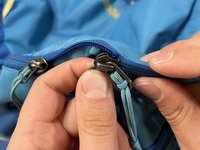
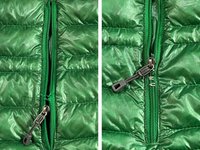
Skill - Begin where the zipper teeth first start to split and use your fingers to manipulate the teeth back together (reference the video in Step 10).
-
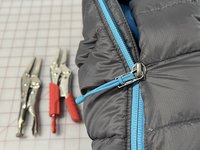
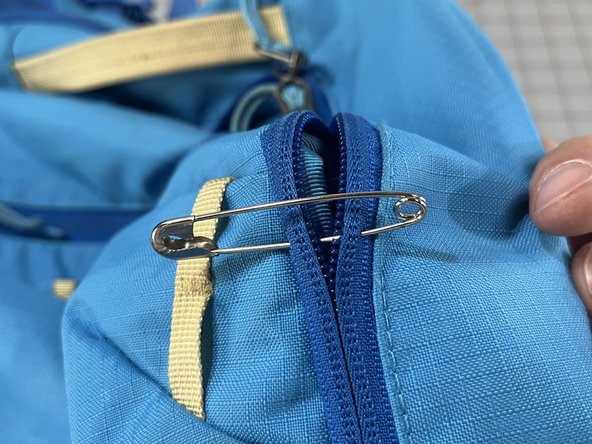
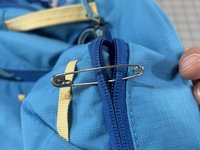
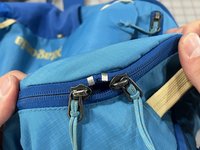
Use a safety pin through the tape to capture progress and to keep the zipper from re-separating (reference image #2).
-
-
-
Reference this video to see the technique in action.
-
-
-
Skill - Remove the teeth at the damaged area and lightly singe the tape if it has frayed. This will leave an open area where the slider can be maneuvered back on to the zipper tape.
-
-
-
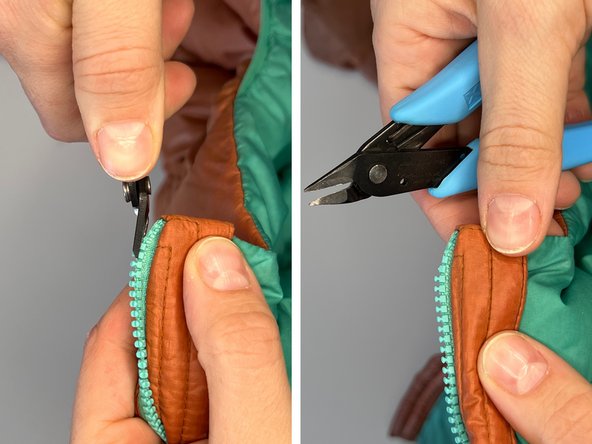
Technique - Remove a small number of teeth from the base of the zipper to create space to retrack a new slider.
-
If the slider remains, break it off.
-
Remove teeth from both sides at the base of the zipper. Take only as many teeth are necessary to retrack the new slider. Singe any fraying.
-
Put on a new slider where the teeth were removed, catching both sides of the zipper, and slide it up.
-
Use a top stop or a hand stitch to lock off the bottom of the zipper.
-
-
-
Issue - There's damage to the zipper on a backpack.
-
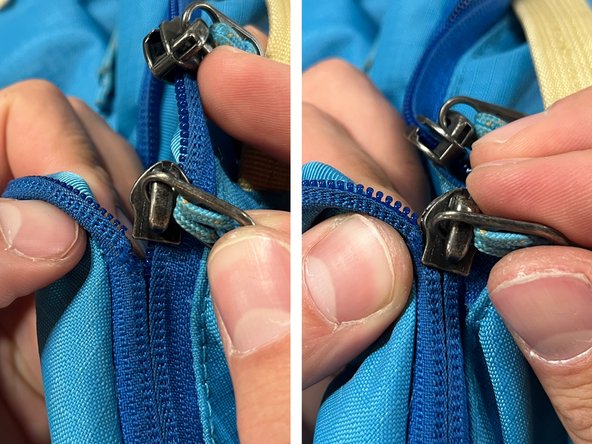
Technique - Isolate each slider to one side of the damage so the damage location will become the place where the sliders meet.
-
Use the skill in Steps 9 and 10 to refasten the zipper teeth on both sides of the damage.
-
Use the skill in Step 11 to retrack both sliders onto the zipper at the damaged area.
-
Place a coil top stop at the damaged area with the sides of the zipper either together or apart depending on preference.
-
-
-
Issue - There's tooth or tape damage on a separating zipper.
-
Technique #1 - Isolate damage on the bottom half of the zipper.
-
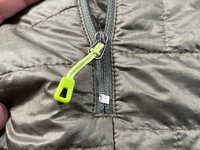
Move the slider to sit above the damage. Apply a coil top stop above and below the damaged area, connecting both sides of the zipper. The jacket is now a half-zip pullover!
-
Technique #2 - Isolate damage on the top half of the zipper.
-
Move the slider to sit below the damage. Apply two coil top stops to the zipper at the damaged area, one on each side of the zipper tape. The jacket will still zip, just not all the way up.
-
-
-
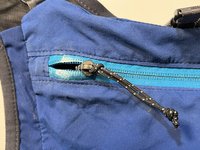
Issue - There's tooth or tape damage on a pocket zipper.
-
Technique #1 - Repair damage below the halfway point.
-
Move the slider above the damage and use a coil top stop to connect both sides of the zipper at the damage. Make sure the user can still fit their hand in opening.
-
Technique #2 - Repair damage above the halfway point.
-
Move the slider below the damage and add coil top stops to both sides of the zipper tape at the damage area. Warn the user that the pocket can't close fully now before pursuing this technique.
-
-
-
Frequently wash any items that come in contact with salt water.
-
Some slightly seized zippers can be freed by rubbing off the corrosion with Coca-Cola and/or rubbing alcohol.
-
If the zipper teeth and tape are in good condition, remove and replace the slider.
-
If the zipper teeth and tape are damaged, pursue a full zipper line replacement.
-