Introduzione
Il Kindle 3 è un ottimo lettore di ebook di Amazon.com.
Cosa ti serve
-
-
-
Fai leva per aprire il retro. Il retro è tenuto in posizione da una dozzina di linguette lungo i lati.
-
Fai leva per estrarlo con una lama X-ACTO o con una spatola in plastica (spudger).
-
Ho usato le unghie poiché una parte del retro si era già aperta dopo che l'ho schiacciato.
 Chiedi a FixBot
-
-
-
Ci sono 24 viti che lo tengono in posizione. Ho usato un cacciavite PH00 e uno PH000 per rimuoverle. Gli stessi sono usati per le viti di un MacBook.
-
La batteria è una batteria ai polimeri di litio da 1750 mAh e 6,47 Wh, che è circa il 10% in più rispetto al Kindle 2.
-
Nota che questa immagine è capovolta.
-
-
-
-
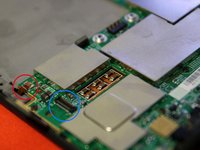
Rimuovi i due cavi sul lato sinistro. Sono tenuti in posizione da un pezzetto di plastica. Usa l'unghia per sganciarlo. Dovrebbe essere molto semplice e richiedere pochissima forza.
-
Cerchiato in rosso è il cavo dei pulsanti laterali.
-
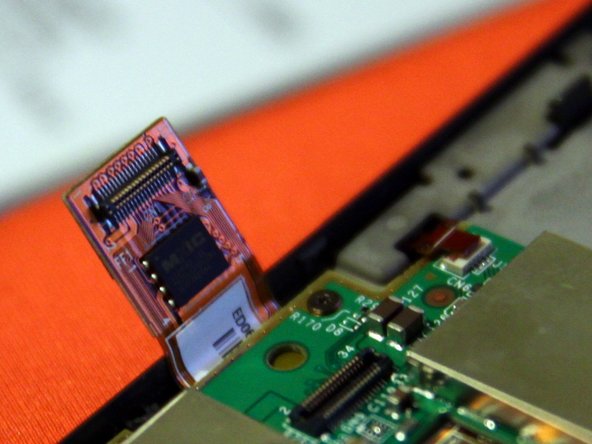
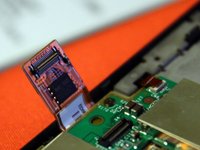
Cerchiato in blu è il cavo del display e-ink. Questo cavo è piuttosto sofisticato, ha persino un paio di circuiti integrati incorporati.
-
-
-
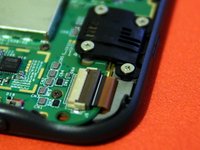
Rimuovi il cavo nell'angolo in basso a destra. Si tratta del cavo della scheda tasti.
-
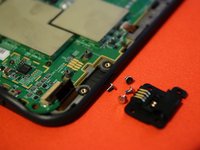
Al di sopra si trova un pezzo di plastica nero che collega il circuito stampato a uno slot esterno per la copertura opzionale e la luce vendute da Amazon.
-
Più in alto (non mostrato) si trova l'altro piccolo cavo che si collega ai tasti laterali.
-
-
-
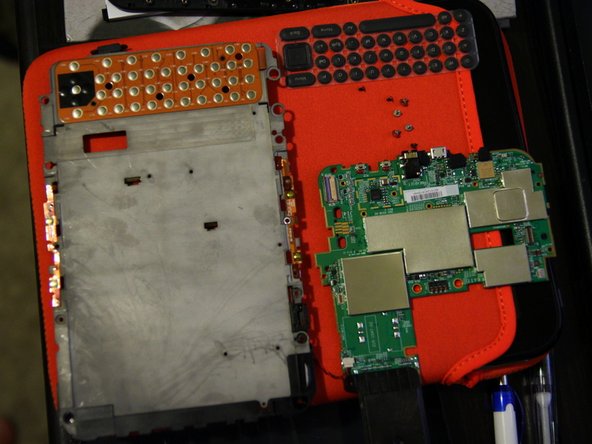
Una volta rimosse tutte le viti mostrate nel primo passaggio, il circuito stampato può essere rimosso facilmente, insieme alla piastra posteriore.
-
-
-
Ed ecco fatto. È molto facile da smontare, ma la maggior parte dei componenti non sono sostituibili, a eccezione dello schermo e della batteria.
-
-







8Commenti sulla guida
The wife dropped her Kindle the other day and now it's stuck on the same screen. I've pulled the battery and the screen stayed on the entire time the battery was out of the housing. Completely confused now. Any suggestions?
cedarwolf@yahoo.com
Thanks for this guide, quite informative. I managed to disassemble the Kindle completely and replace the display. For other users, just be patient and wiggle the ports and connectors slowly until they come out. The same applies when putting back, it all comes nicely to the right place, just be patient. There is useful comment above about screen removal (prying the adhesive), when assembling the screen I used the insulation tape to fix it in position. After putting all the screws back, it will be fitted tightly by means of pressure from other parts, no need to apply adhesive or glue to to secure the screen.
