Introduzione
Amazon's crusade to make household objects more smart (and make more smart household objects) continues this month with the Tap, their first Alexa-equipped portable speaker. Featuring streaming audio and a built-in personal assistant, Tap promises to make your life easier and more connected. But you know what we say—it's what's inside that counts! Join us and find out exactly how smart this speaker is.
Want a look at Tap's landlocked cousins? Head on over to our teardowns of the all-new Echo Dot and the original Amazon Echo to see how this model stacks up.
Not ready to tap out? Follow us on Instagram, Twitter, and Facebook for more teardown and repair news.
Cosa ti serve
-
-
This is Amazon's first portable, Alexa-powered device, so we're excited to see how they've switched things up. Features include:
-
Button-activated Alexa Voice Service
-
Up to 9 hours of audio playback on a single charge
-
Dual 1.5-inch drivers and dual passive radiators for bass extension
-
Single-band 802.11b/g/n Wi-Fi and Bluetooth 4.2
-
Charging cradle
-
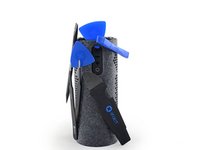
While we're sharpening our tools, here's a sneak peek via X-ray.
-
-
-
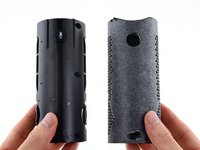
Faceoff! On the right we have the Tap, and on the left, its wirebound siblings. Go on, guys, introduce yourselves.
-
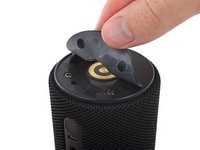
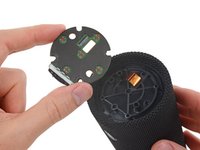
Tap's charging cradle sports two spring contacts that connect to the base at any angle, thanks to this target-shaped pair of circular contacts on the bottom of the Tap.
-
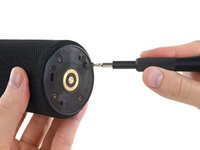
Taking a closer look, we see Tap's model number, PW3840KL, alongside all the usual suspects.
-
-
-
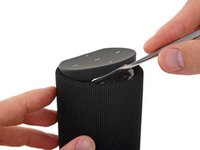
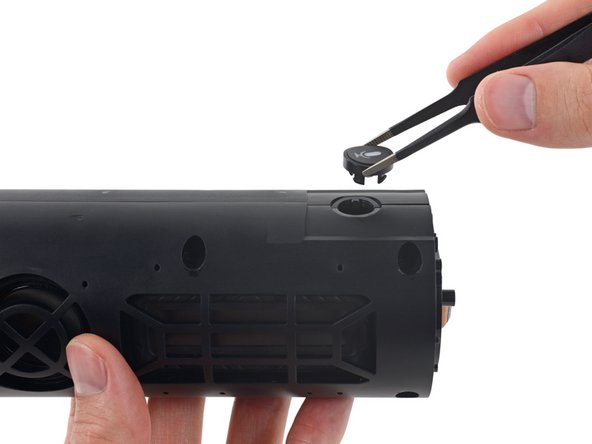
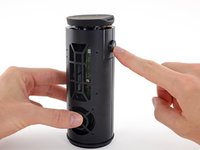
Undeterred, we turn our
attentionspudger to the rubberized control panel at the other end. -
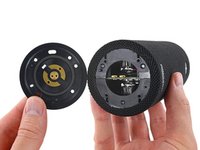
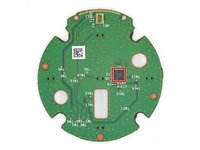
With some assertive prying, the plastic clips give way to reveal a control button breakout board featuring some buttons, a microphone, and a lone IC:
-
National Semiconductor LP55231 Programmable 9-Output LED Driver (as seen in the Echo and Echo Dot)
-
Unfortunately, there are no fasteners lurking at this end either. Time to get
creativedestructive!
-
-
-
-
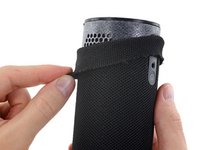
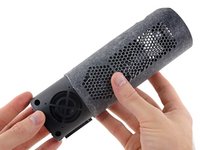
After a good amount of finagling, we finally manage to wriggle the cowling free by sliding it over the power, Bluetooth, and microphone buttons.
-
It may not look like progress, but it is. Just a few screws stand between us and those Taptastic interior goodies.
-
Suddenly the microphone button comes out all willing-like. That would have been helpful in the prior step, but we'll take it!
-
-
-
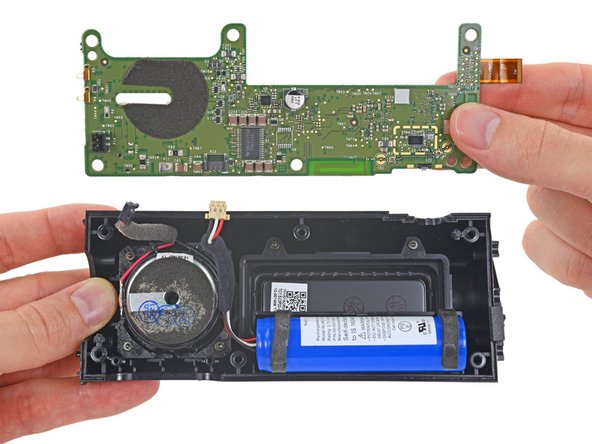
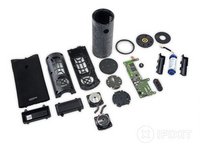
With the sheath shucked and a handful of screws dispatched, the Tap falls open like a book.
-
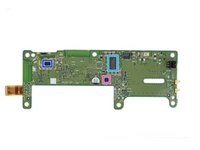
And things are looking up! The I/O panel, mounted by way of a couple screws, attaches to the motherboard via a flex cable and slides right out.
-
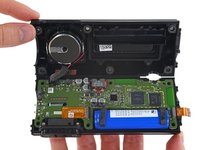
Moving right along, the motherboard jumps out to join the party.
-
-
-
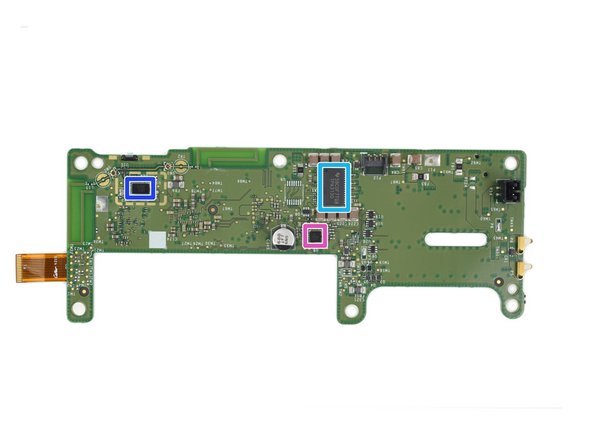
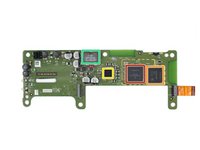
Reaching the brains of this smart speaker, we do our due diligence and identify all the key players:
-
Freescale/NXP MCIMX6L8DVN10AB i.MX 6SoloLite Applications Processor
-
Samsung KMNJ2000ZM-B207 512 Mb DDR2 SDRAM Memory (likely)
-
Maxim MAX77697 PMIC
-
Coilcraft SER1360-272L High Current Shielded Power Inductor
-
Texas Instrument TPA3130 15W Filter-Free Class D Stereo Amplifier
-
Broadcom BCM4343 Wi-Fi and Bluetooth 4.2/Bluetooth Smart SoC
-
Maxim MAX98090 Ultra-Low Power Stereo Audio Codec
-
-
-
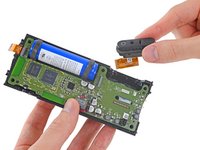
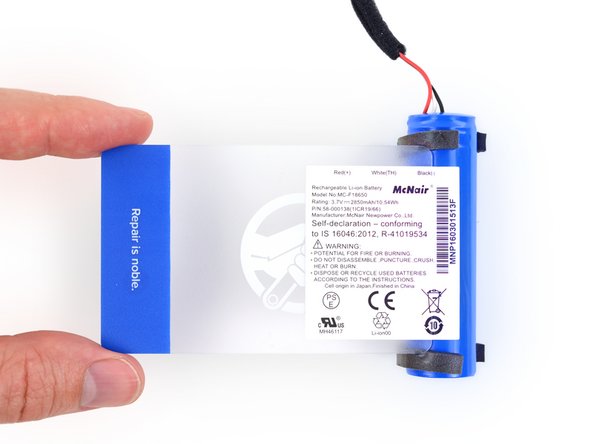
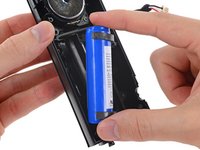
Next to come out is a standard 18650 Lithium Ion cell, widely used in the industry from Tesla vehicles to self-balancing boards.
-
Compare that with the 3.8 V, 2750 mAh, 10.45 Wh battery in the iPhone 6s Plus—a battery with a similar output for a radically different job.
-
-
-
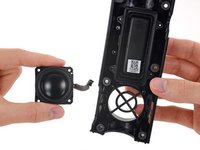
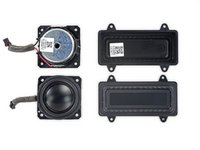
We're down to the real heavy hitters: the speakers!
-
These little 1.5-inch drivers each pair with a larger passive radiator to improve lower end frequency response without additional large drivers or a base response tube.
-
-
-
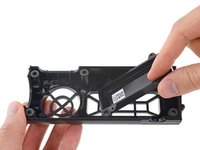
Okay but seriously, those passive radiators aren't even connected to anything. How important could they be?
-
We thought you'd never ask. What we have here is a reassembled Tap with a conspicuous absence of passive radiators. So how does it sound?
-
In a word, bad. Just for kicks, we ran a quick audio spectrum test with the passives out, and again with them in. Our puny human test subjects couldn't even hear the signal below 120 Hz—until we reinstalled the passive radiators, at which point they confidently identified a bassy rumble all the way down at ~90 Hz.
-
Good job, passive radiators.
-
-
-
Amazon Tap Repairability Score: 7 out of 10 (10 being the easiest to repair)
-
The battery, control board, I/O board, and speakers all connect to the motherboard via standard cable connectors.
-
Most components are held in with easily-undone clips or standard screws.
-
Removing the cowling requires a significant amount of force, but it is a nondestructive process.
-
Repairs are straightforward if you know your way in, but could be daunting without a service manual.
-
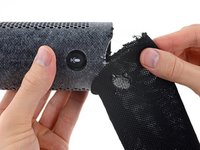
Tough adhesive holds the rubber footing to the base.
-


16Commenti sulla guida
I have been waiting for this teardown of the Amazon Tap. Thank you!
I can't tell from the picture but do you think a better wifi antenna could be added?
How many microphones does it have?
Only 1?
Can the outer speaker cloth be reattached? Why no red dot for that?