Traduzione in corso passo 11
Passo 11

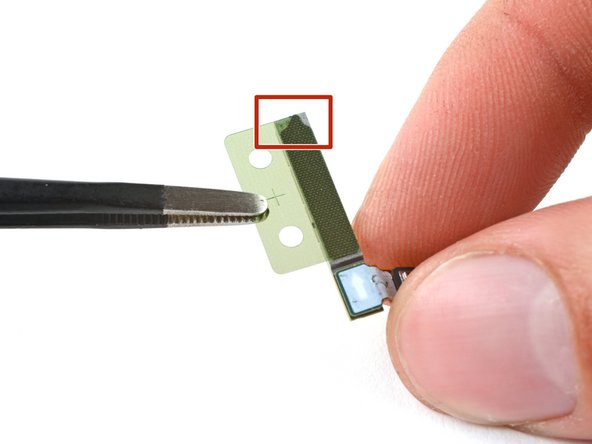


Upper 5G mmWave antenna reassembly information
-
Remove the existing adhesive from the antenna with blunt nose tweezers or your fingers.
-
Remove the clear liner from your new adhesive.
-
Apply the new adhesive to the bottom of the antenna, with its round end farthest from the connector.
-
Remove the green liner from the adhesive before reinstalling the antenna in the frame.
I tuoi contributi sono usati su licenza in base alla licenza open source Creative Commons.