Traduzione in corso passo 5
Passo 5


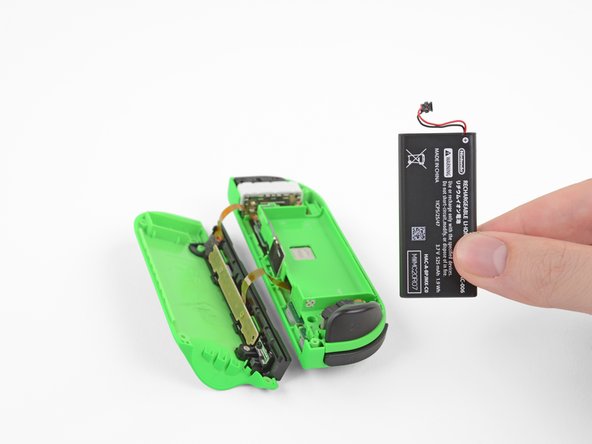


Remove the battery
-
Insert an opening pick between the battery and the Joy-Con housing. Gently pry out the battery, which is lightly taped in place.
I tuoi contributi sono usati su licenza in base alla licenza open source Creative Commons.