Introduzione
Robot vacuums may experience some difficulty maneuvering through a room or are stuck for a number of reasons. Cleaning the wheels under your ionvac may help. However, if your ionvac SmartClean V2 wheels are constantly operating poorly or fail entirely, it may be a sign that the motor wheels must be cleaned or replaced. It is important to occasionally inspect the wheels for any wear and build up of debris.
This guide will show you how to replace the motor wheels and requires more time and attention to detail than other ionvac guides. You will need a Phillips #2 (PH2) screwdriver and a Jimmy tool (or another prying tool) to complete it. Remember to remove and reinstall all parts gently.
Cosa ti serve
-
-
-
Flip your ionvac right-side up, turning it so that the front filter vents are facing forward and the power button is furthest from you.
 Chiedi a FixBot
-
-
-
Use a Phillips screwdriver to remove the 8 screws indicated in red holding the base together.
-
Use the same screwdriver to remove the 8 screws indicated in orange which hold the rims (bumper arms).
-
Remove the rims from your ionvac and set them aside.
-
-
-
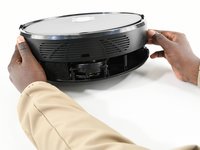
Flip your ionvac right-side up and tilt it upwards at a 45 degree angle.
-
Use a Jimmy or prying tool to wedge the sharp end through the bottom crevice (below the sensors).
-
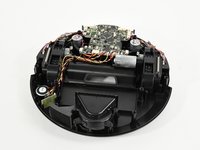
Continue prying the outside rim of your ionvac open. You will feel the top shell (frame or cover) loosen.
-
-
-
-
-
-
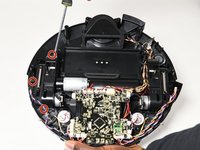
Remove the 3 screws securing the cable assembly housing on the outer side of the motor wheel frame labeled either R (right wheel) or L (left wheel).
-
Set the cable assembly housing to the side.
-
-
-
Unscrew the 3 screws securing the motor wheel frame.
-
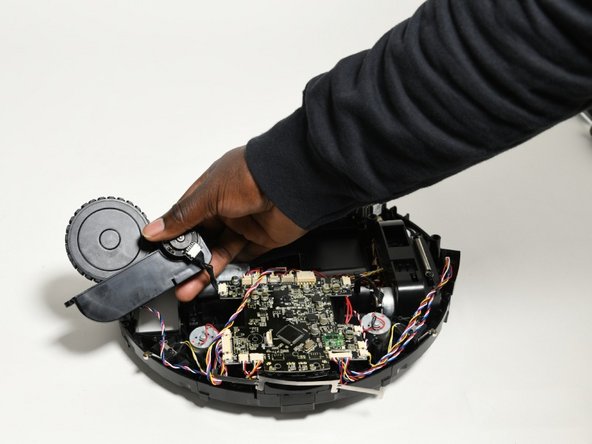
Dislodge the wheel motor frame from the bottom shelf.
-
-
-
Disconnect the cable attaching the motor wheel frame to the logic board.
-
-
-
Carefully pull one end of the spring out of place to remove it from the motor wheel frame.
-
-
-
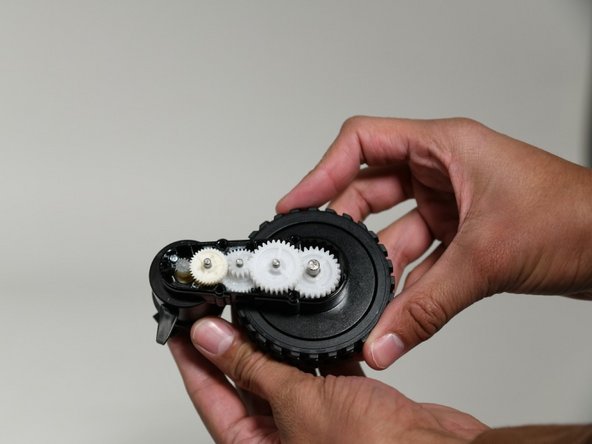
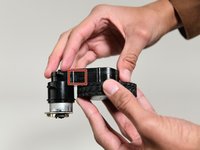
Gently lift the clip on the side to separate the casing and expose the white plastic gears.
-
-
-
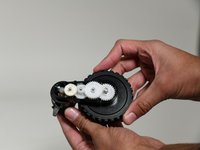
Remove all but the largest gear to expose the silver screws and washers underneath.
-
Unscrew and remove the two silver screws along with each accompanying set of two washers.
-
Now you can remove the motor from the wheel assembly.
-
-




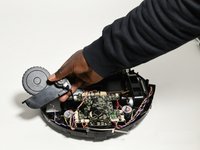


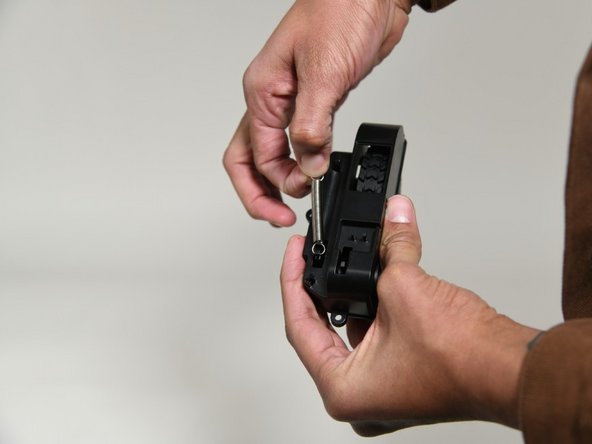



To reassemble your device, follow these instructions in reverse order.
Annulla: non ho completato questa guida.
Altre 2 persone hanno completato questa guida.

Team

University of Colorado Denver, Team 1-1, Campeau Fall 2023 Membro di University of Colorado Denver, Team 1-1, Campeau Fall 2023
UCDENVER-CAMPEAU-F23S1G1
7 Membri
25 guide realizzate
