Introduzione
The iRobot Roomba 890, Model #R890020, is an autonomous robotic vacuum cleaner that is intended to make cleaning more accessible and convenient. If your Roomba 890 wheels become blocked with hair or dust, it is a good idea to replace them. This guide will teach you how to remove and replace the Roomba's two motorized wheel modules, which will help prevent floor damage. There are no specific needs or prerequisites for understanding and implementing the procedures outlined in this guide.
Cosa ti serve
-
-
-
Use a Phillips #2 screwdriver to remove the 7.7 mm screw securing the side brush-head.
-
Remove the yellow brush head.
 Chiedi a FixBot
-
-
-
Place the Roomba with its bottom facing toward you.
-
Use a Phillips #2 screwdriver to remove the four 11 mm screws.
-
-
-
-
Remove the collection bin by pressing the release button on the top side of the Roomba and pulling straight out.
-
-
-
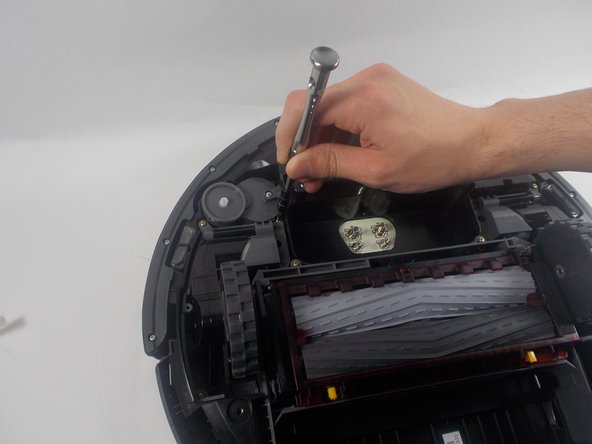
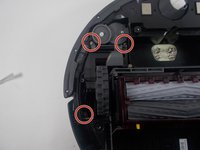
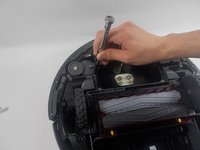
On the underside of the Roomba, use a Phillips #1 screwdriver to remove the three 15.5 mm screws.
-
-






To reassemble your device, follow these instructions in reverse order.

Team

UMass Dartmouth, Team 1-3, Petersen Spring 2022 Membro di UMass Dartmouth, Team 1-3, Petersen Spring 2022
UMASSD-PETERSEN-S22S1G3
3 Membri
20 guide realizzate
